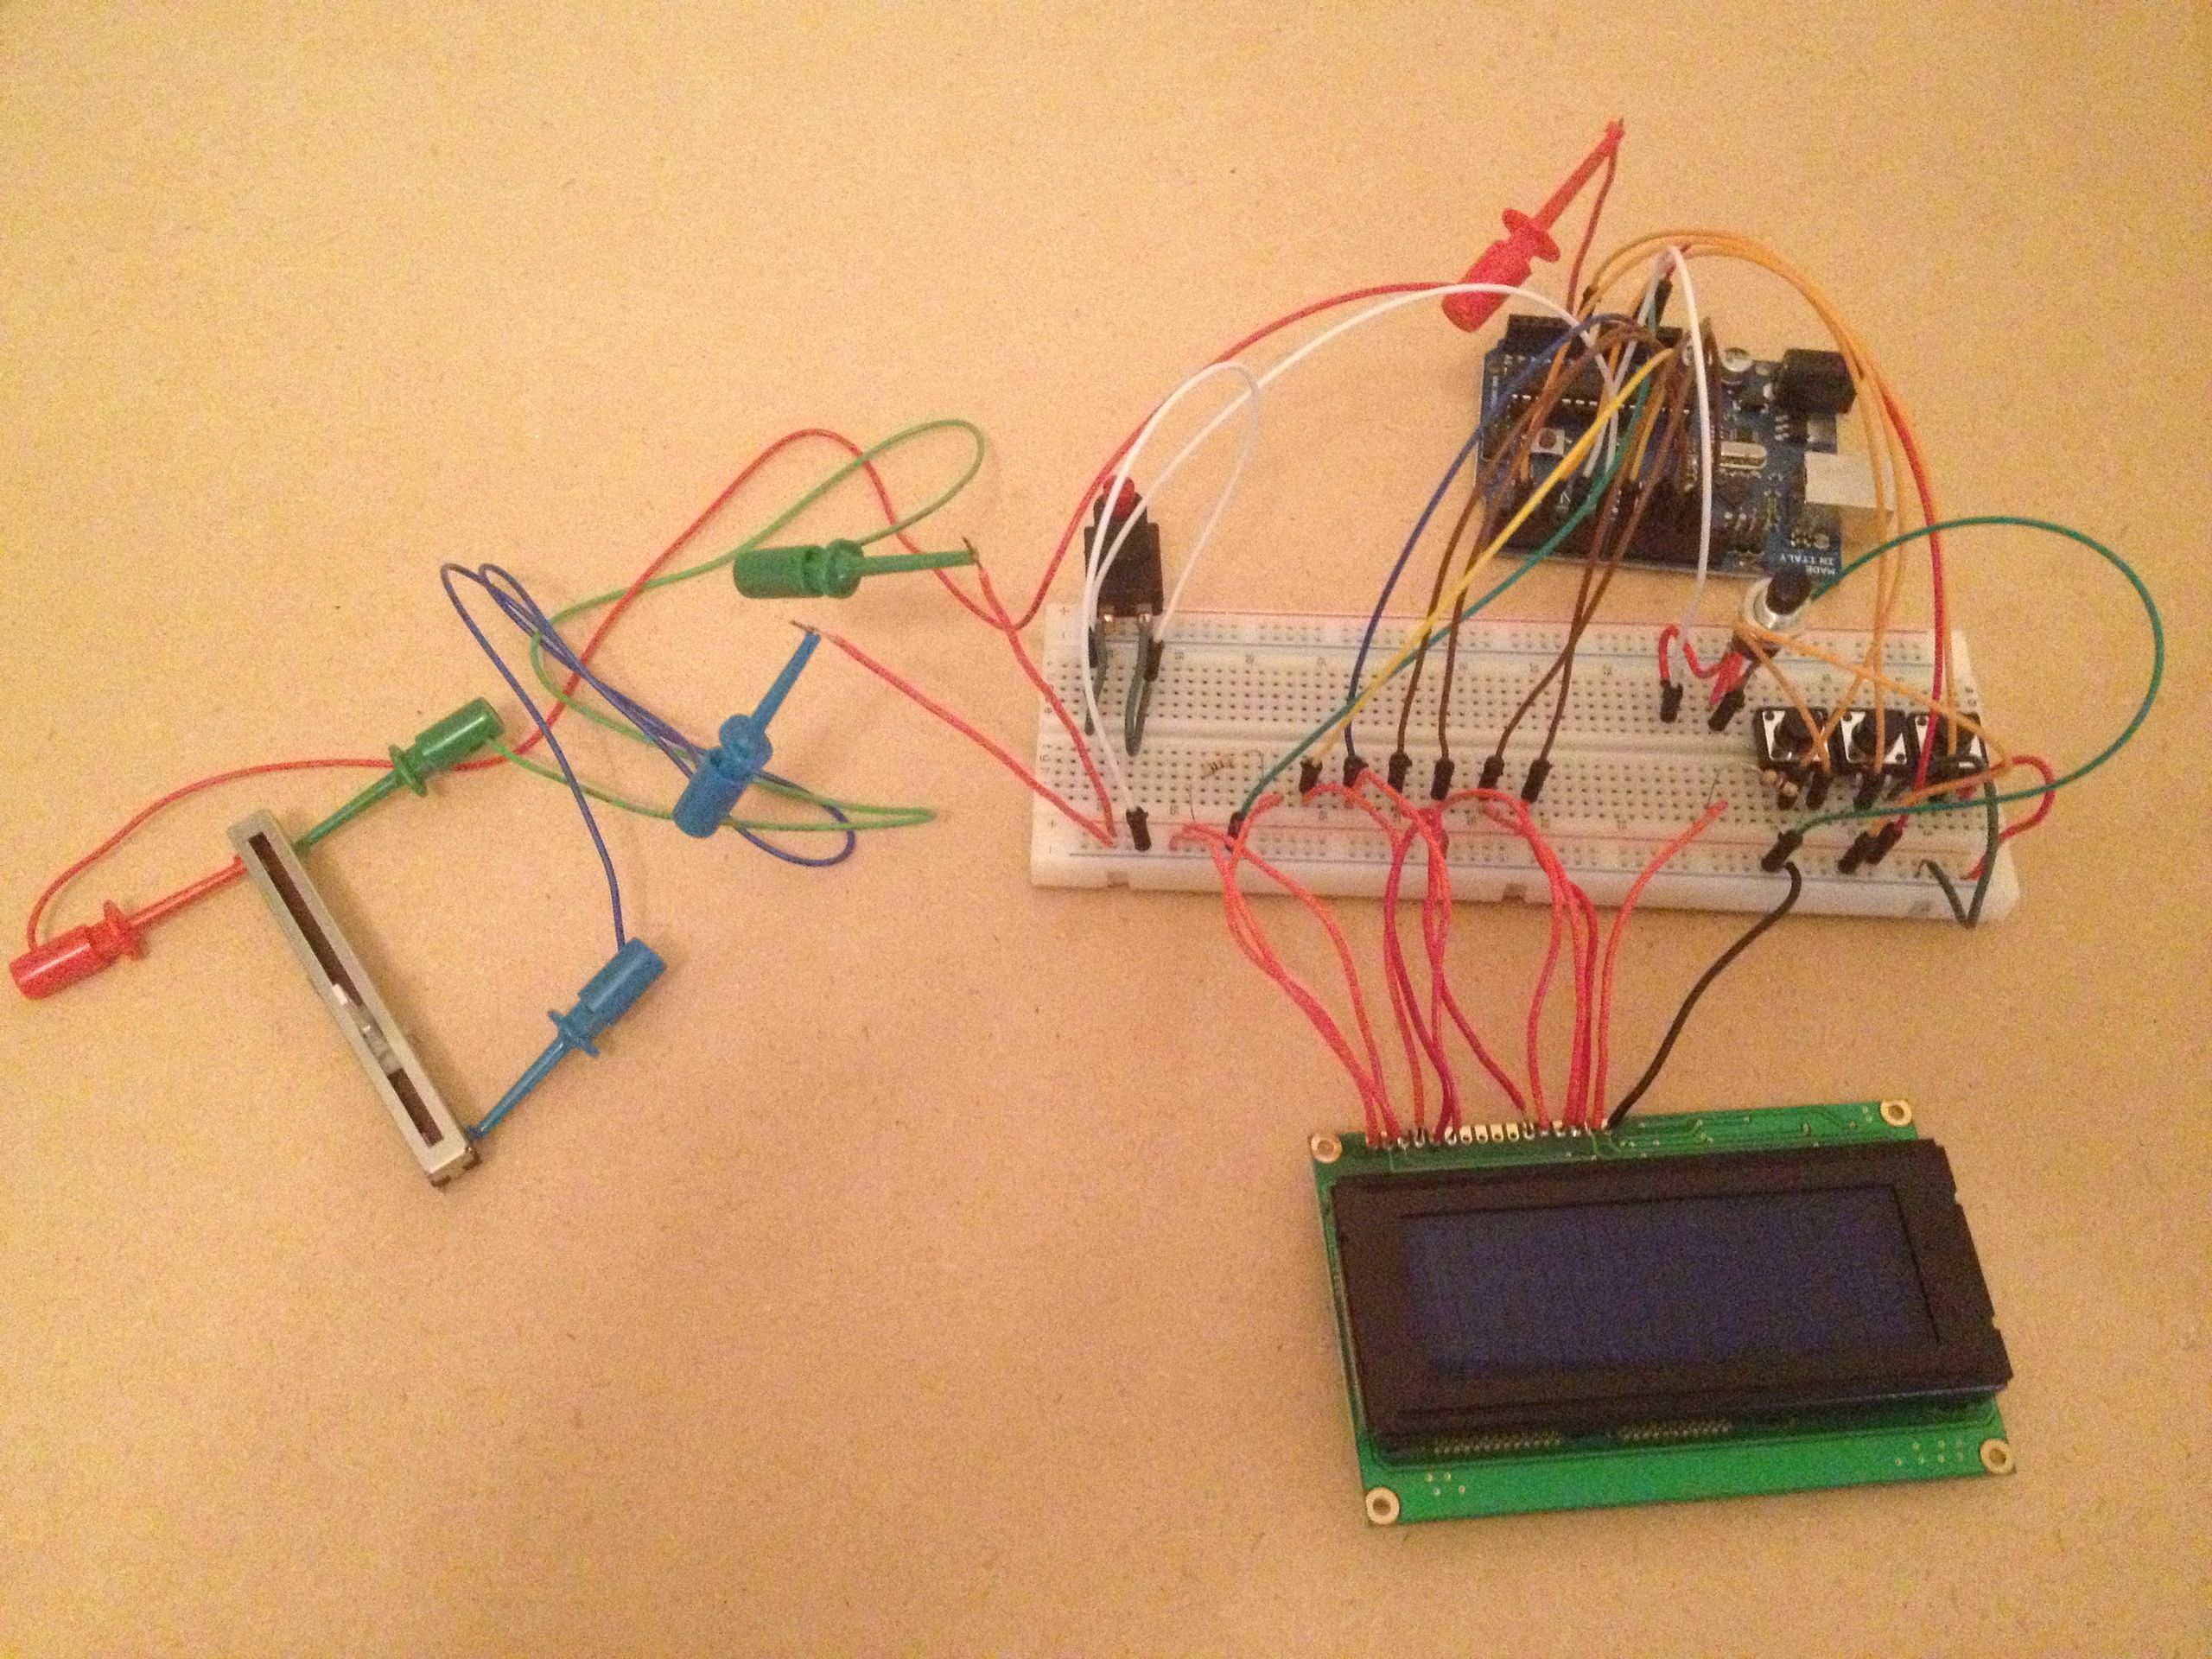

I started to think of new project ideas once the SUFO-2 launch was delayed. I toyed around with ideas and decided it would be fun to spice up my downstairs wet bar with some LED light displays. It would be even more fun to make it interactive. I love projects with LEDs because they make everything better. So began the LED Bar.
My bar has three shelves and the back is made of rectangular mirror sections. There’s lots of opportunity to play with light against the mirrors. Alcohol bottles are made of glass and can scatter light pretty spectacularly. Therefore, it should be cool to put multicolor LEDs under each bottle to light them up. I only use the bottom two shelves for alcohol bottles (no top shelf liquor here) and usually have around 20 or so bottles on hand. Thinking like a computer and keeping everything in multiples of 8, I should be OK with 32 LEDs (16 on each shelf). I also need a way to interact with the LEDs, change their color, change display effects, etc.
Here is the list of features I came up with:
- 32 RGB LEDs with 256 steps per color, which makes over 16 million colors
- LEDs embedded in the shelves so they are hidden from view
- 4×20 LCD screen to display menus and other information
- 4 arrow buttons and 1 enter button to access on-screen options
- 1 large red button that will select a bottle to take a shot from
- 3 slide potentiometers (one for red, green, and blue) to allow mixing custom colors
- All electronics hidden under a section of shelf that can be opened
- Several display effects to keep things interesting
- Ability to disable LEDs if there is no bottle on that spot
- Settings are stored even if unit is turned off
I drew up a schematic, ordered a few parts, and threw a prototype together using an Arduino Uno.
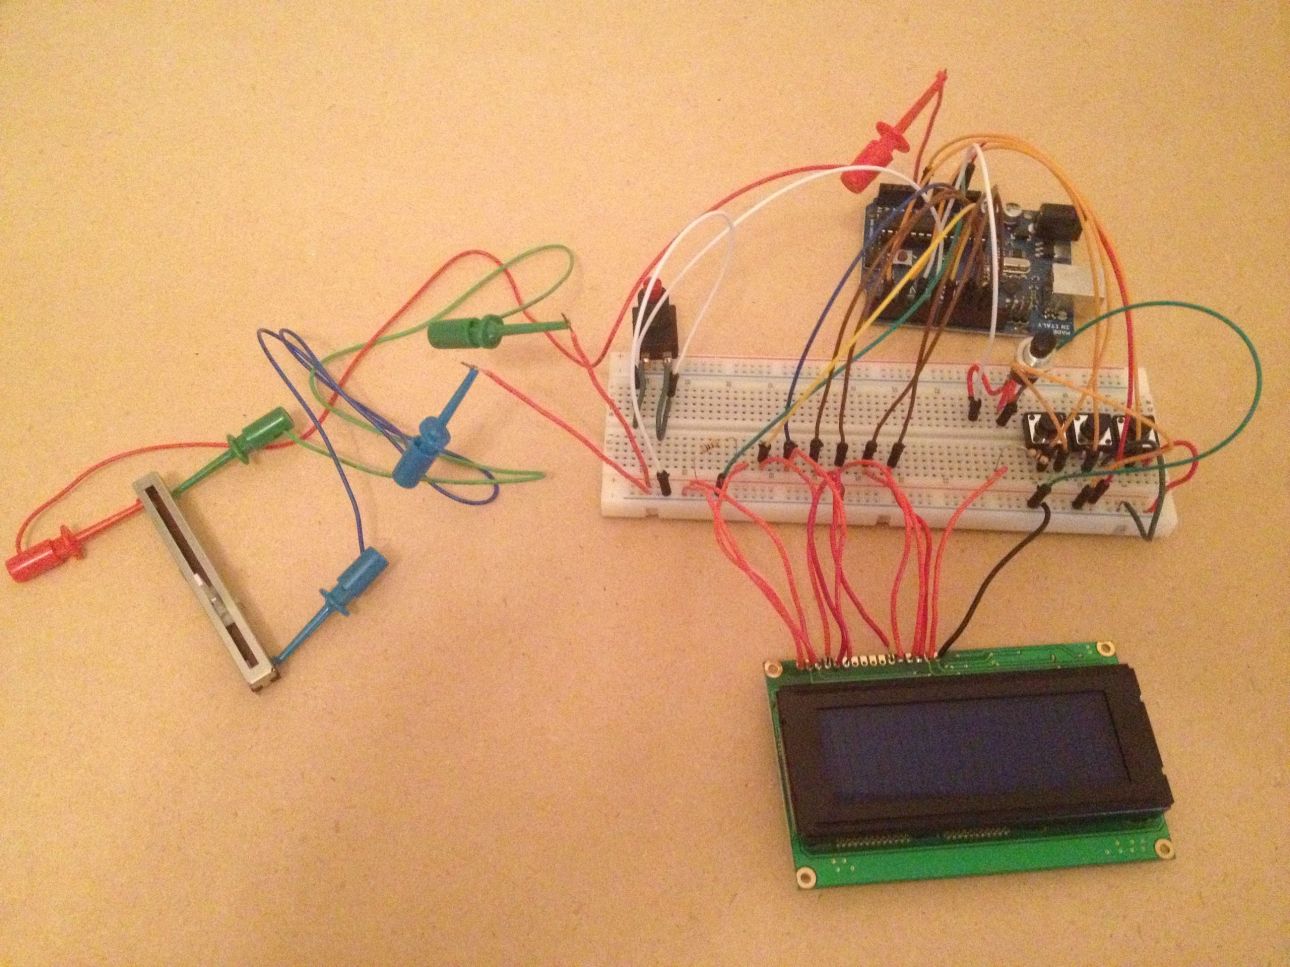
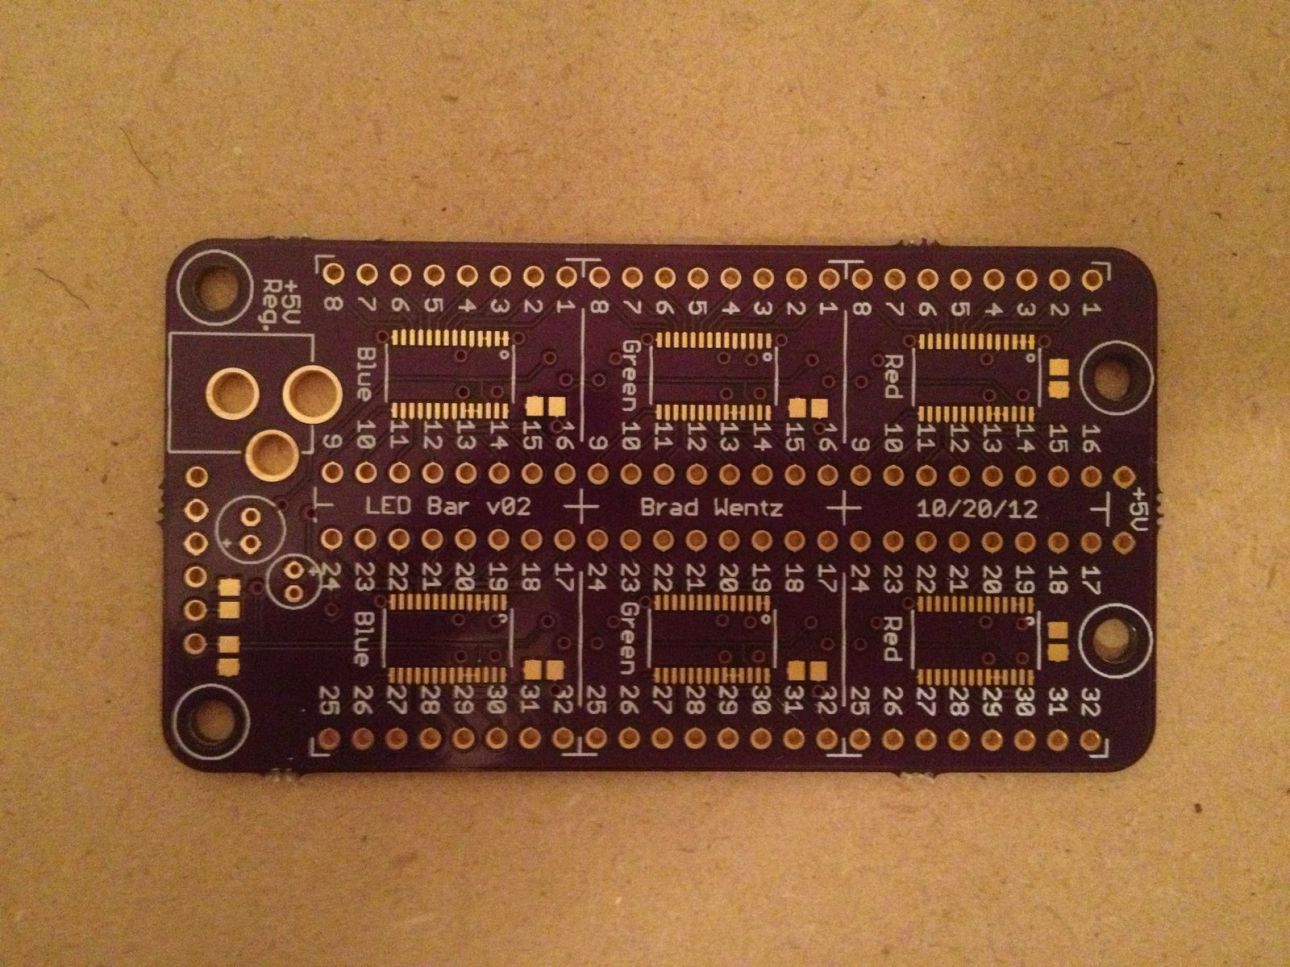
The slide pots, button inputs, and menu system are complete. I designed an LED driver board and received the circuit board in the mail last week. The next steps are assembling the driver board, installing the LEDs into the shelves, creating a custom panel to mount the interface devices, and testing the random shot routine A LOT :-). Check back soon for updates on the build and videos of it in action.


Leave a Reply