
The Wiring panel has 10 banana jacks, numbered 0 through 9. The goal of this panel was to make my kids solve math problems in order to advance the mission. The answer is a two-digit number that tells them where to plug in each end of the banana cable. An answer of 37, for example, means one end goes in jack 3 and the other goes in jack 7.
Problem
A banana jack is just an electrical connection. It has no way to tell you that a cable is plugged in. I racked my brain for the most efficient way to read each jack and work out whether the right two were connected. Every approach I came up with seemed way too complicated from a wiring or code perspective.
Solution
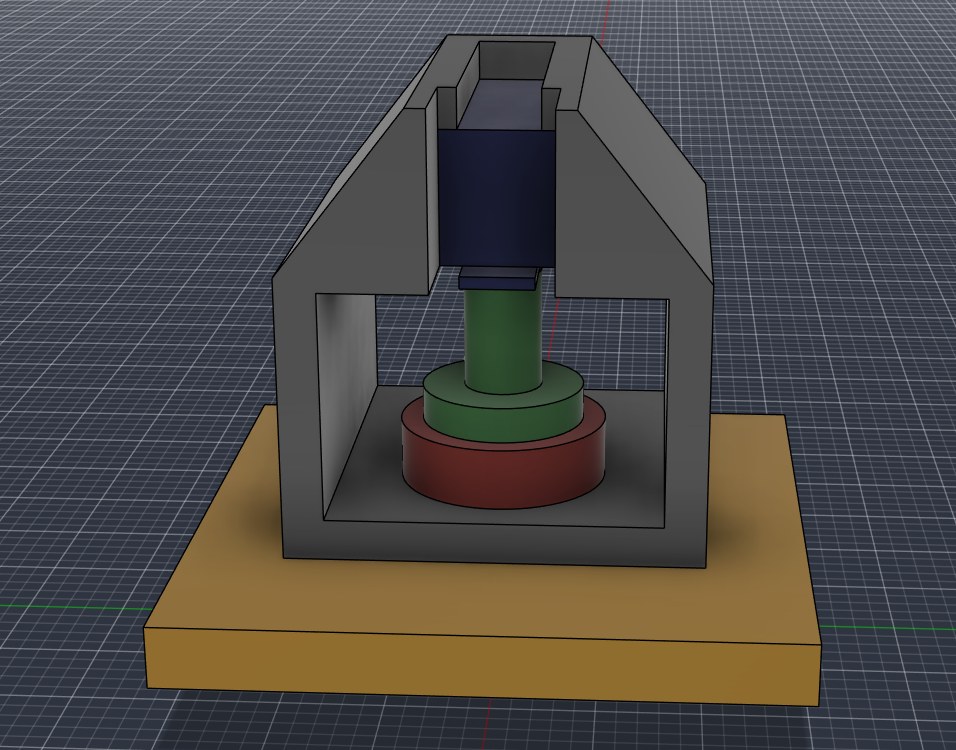
Instead of reading the connection electrically, I decided to detect it mechanically. I designed a small 3D-printed bracket (gray in the model below) that screws onto the back of the panel (yellow) using the nut the banana jack already uses (red). A slot in the top holds a small microswitch (blue). The switch sits at just the right height that a fully inserted banana plug (green) presses it . The switch closes and the Arduino immediately sees it on its next scan.
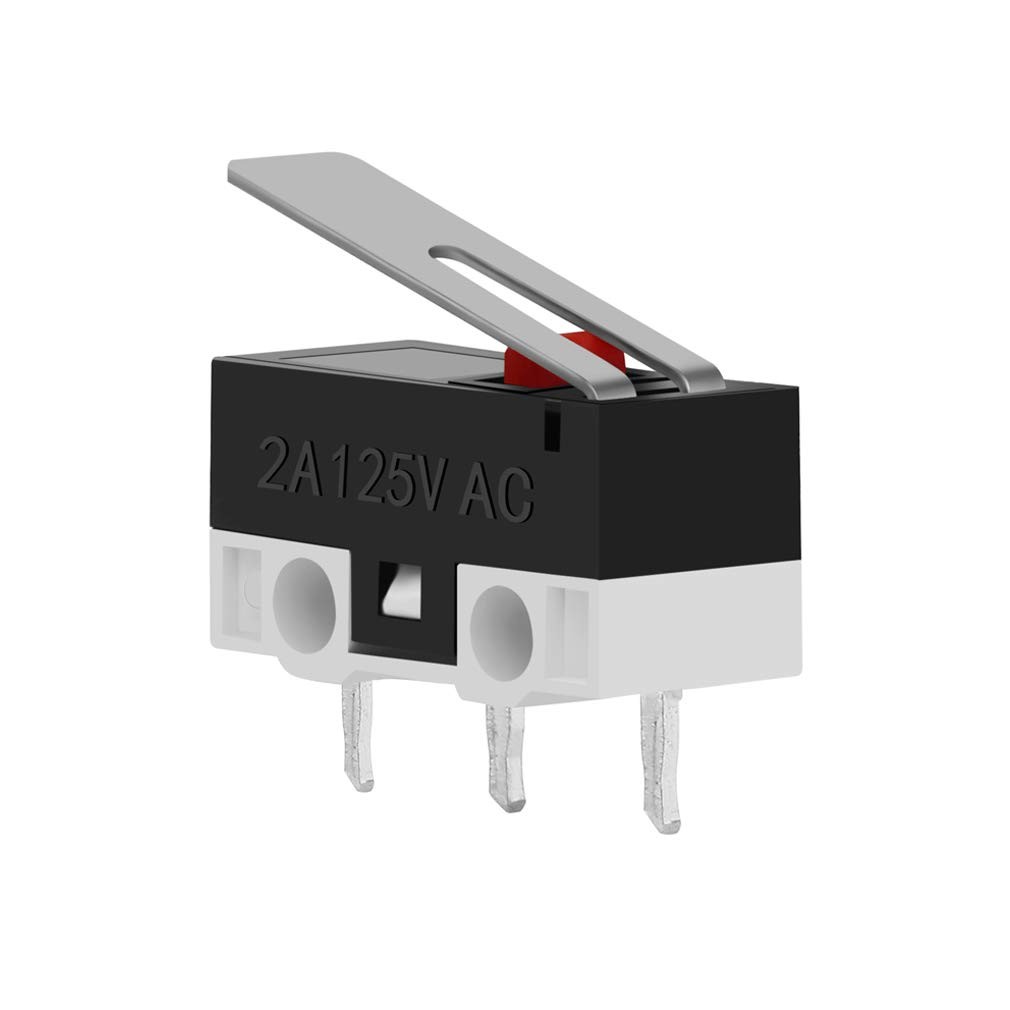
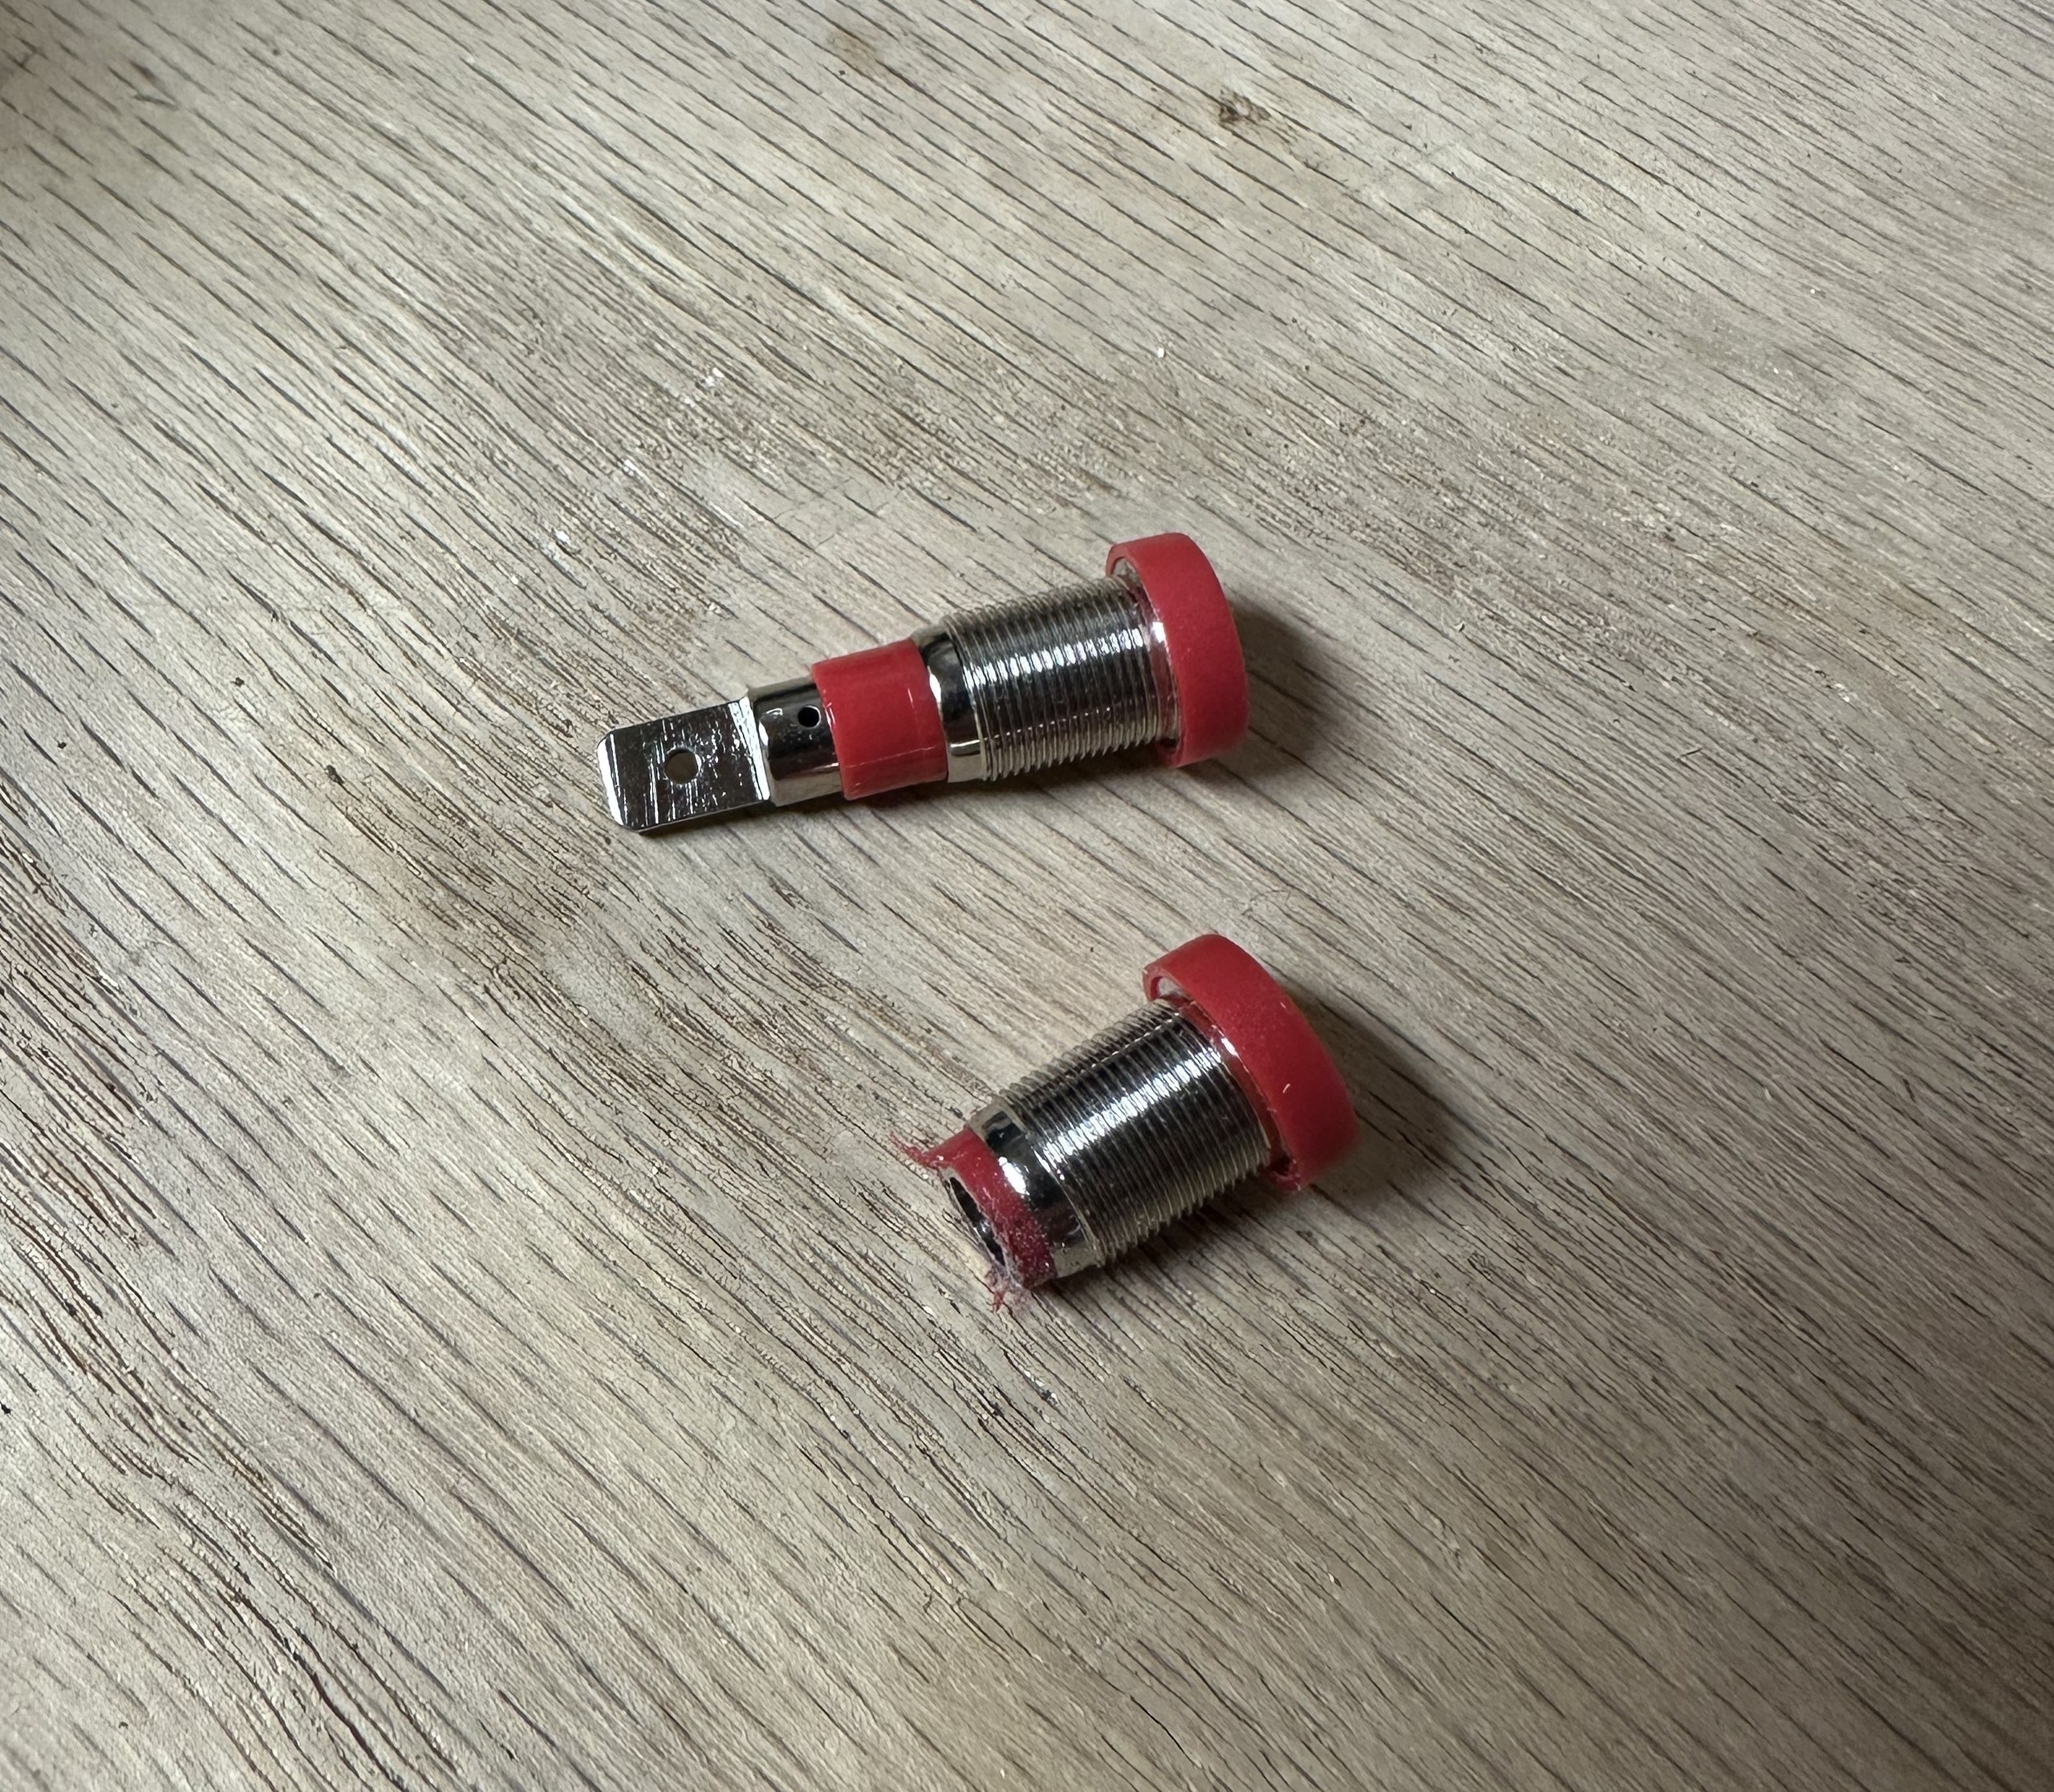
For the plug to reach the switch, it has to come out the back of the jack. I used a hacksaw to cut off the back of each banana jack so the tip of the plug pokes through into the microswitch.
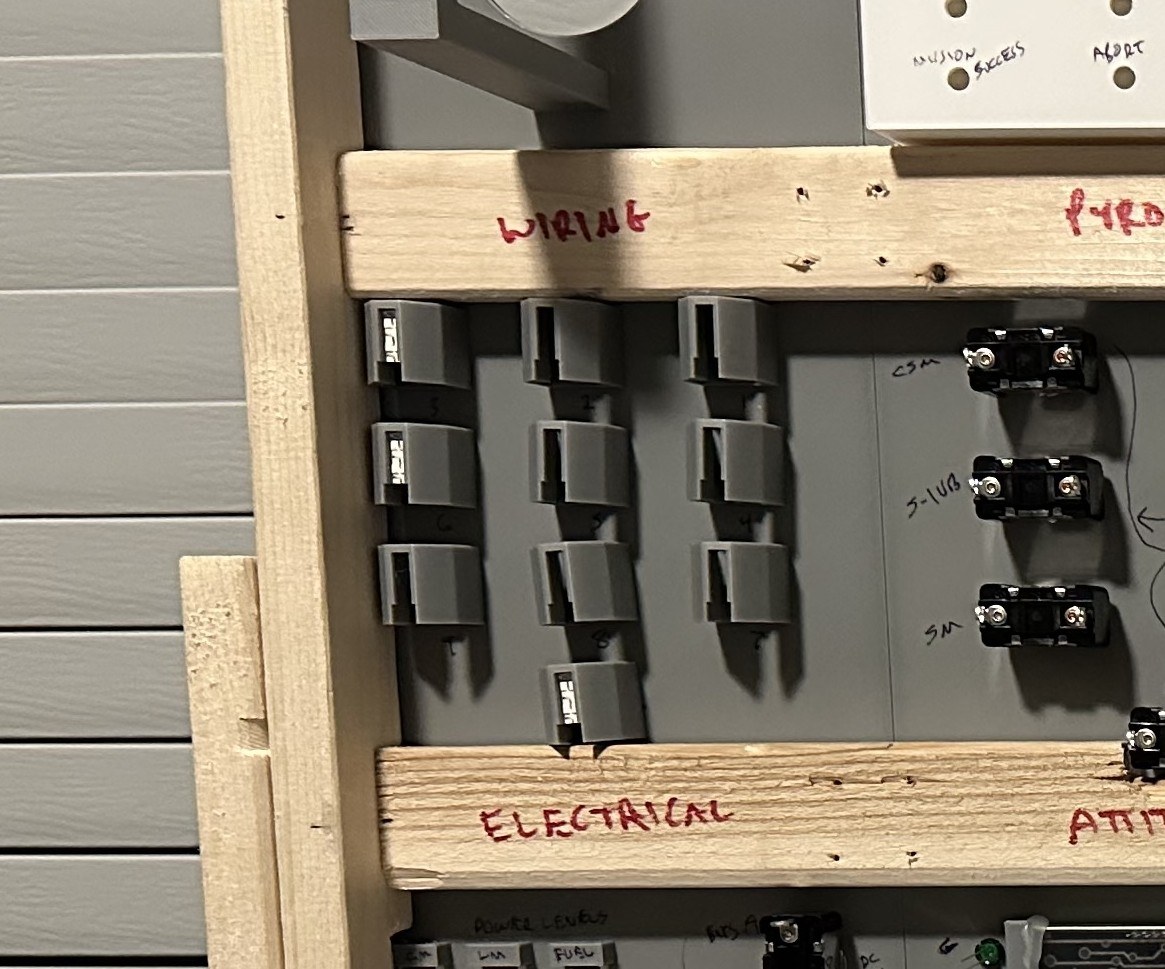
Here’s what the back of the Wiring panel looks like. Each of the jacks have their microswitch holders installed, but only a few of them have the actual microswitches inserted at this point. I thought about 3D printing the Wiring panel with the switch holders attached, but access is so tight here that it was easier to add them one at a time while screwing the banana jack on.


Leave a Reply