
With the panel layout finalized in Inkscape, it was time to turn those drawings into real panels. Each panel is 3D printed in two colors, gray with black lettering, and the general flow path to make them is as follows:
Inkscape → Autodesk Fusion → OrcaSlicer → 3D Printer.
Before printing 20 panels, I wanted to be sure every component would actually fit. So my first print was one large test panel with a cutout for every type of component on the simulator: arcade buttons, toggle switches, rocker switches, missile switch covers, 7-segment displays, bar graphs, the LCD, keypad, and joystick. A few holes needed small adjustments and it was much better to find that out early before repeating mistakes across all 20 panels.
Inkscape
The panel designs were already drawn to scale in Inkscape, so the first step was preparing them for 3D modeling. All of the text was converted to paths so it’s treated as shapes instead of a font. Then each panel is exported as a plain SVG.
Autodesk Fusion
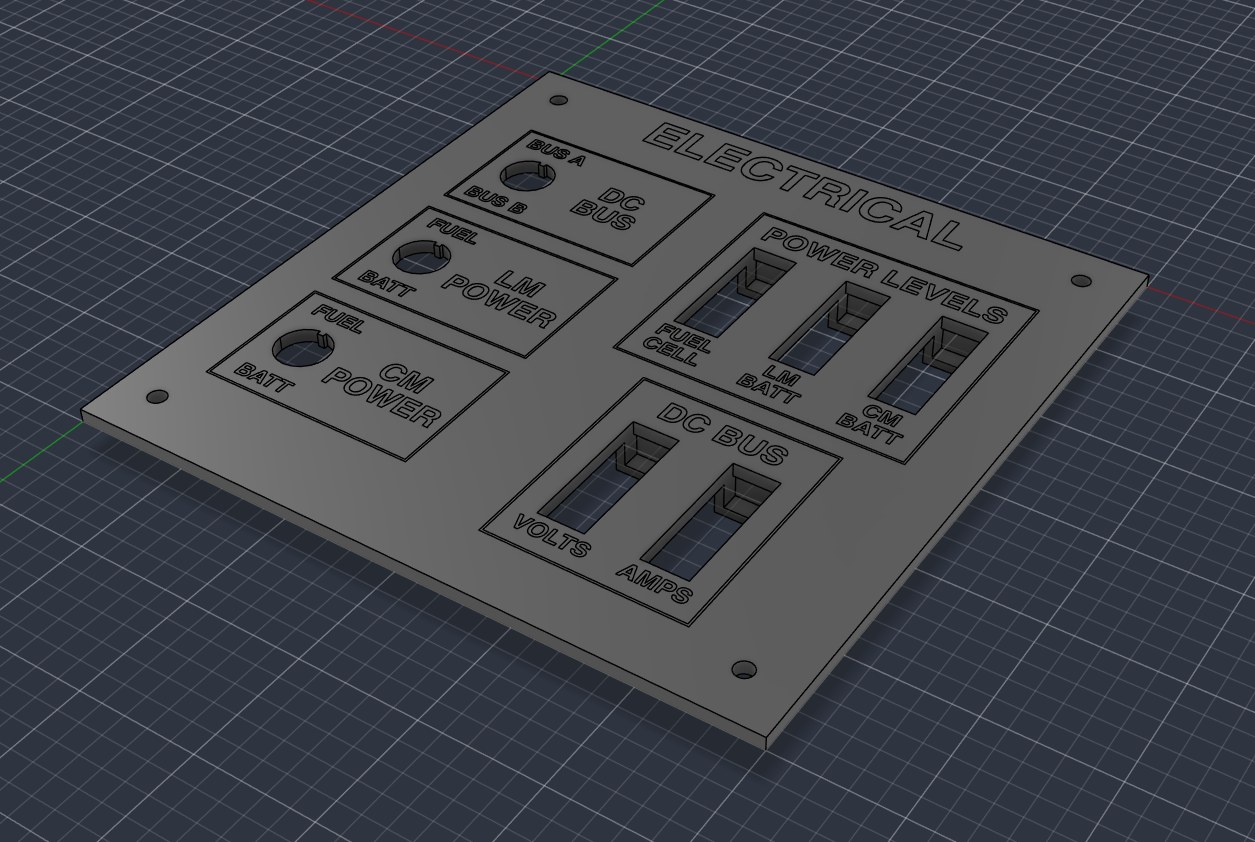
In Fusion, I import the SVG as a sketch, scale it to the correct size, and draw a 150 mm × 150 mm outline for the panel. From there, I extrude the panel body 3 mm thick, leaving the holes, lettering, and other lines open. The letters and lines are then extruded 2.8 mm, leaving a 0.2mm empty area right at the panel surface (exactly the height of a single 3D printer layer). Then the letters and lines are extruded the remaining 0.2mm as separate bodies, so they can be printed in a different color. Finally, all bodies are exported together as a single 3MF file.
OrcaSlicer
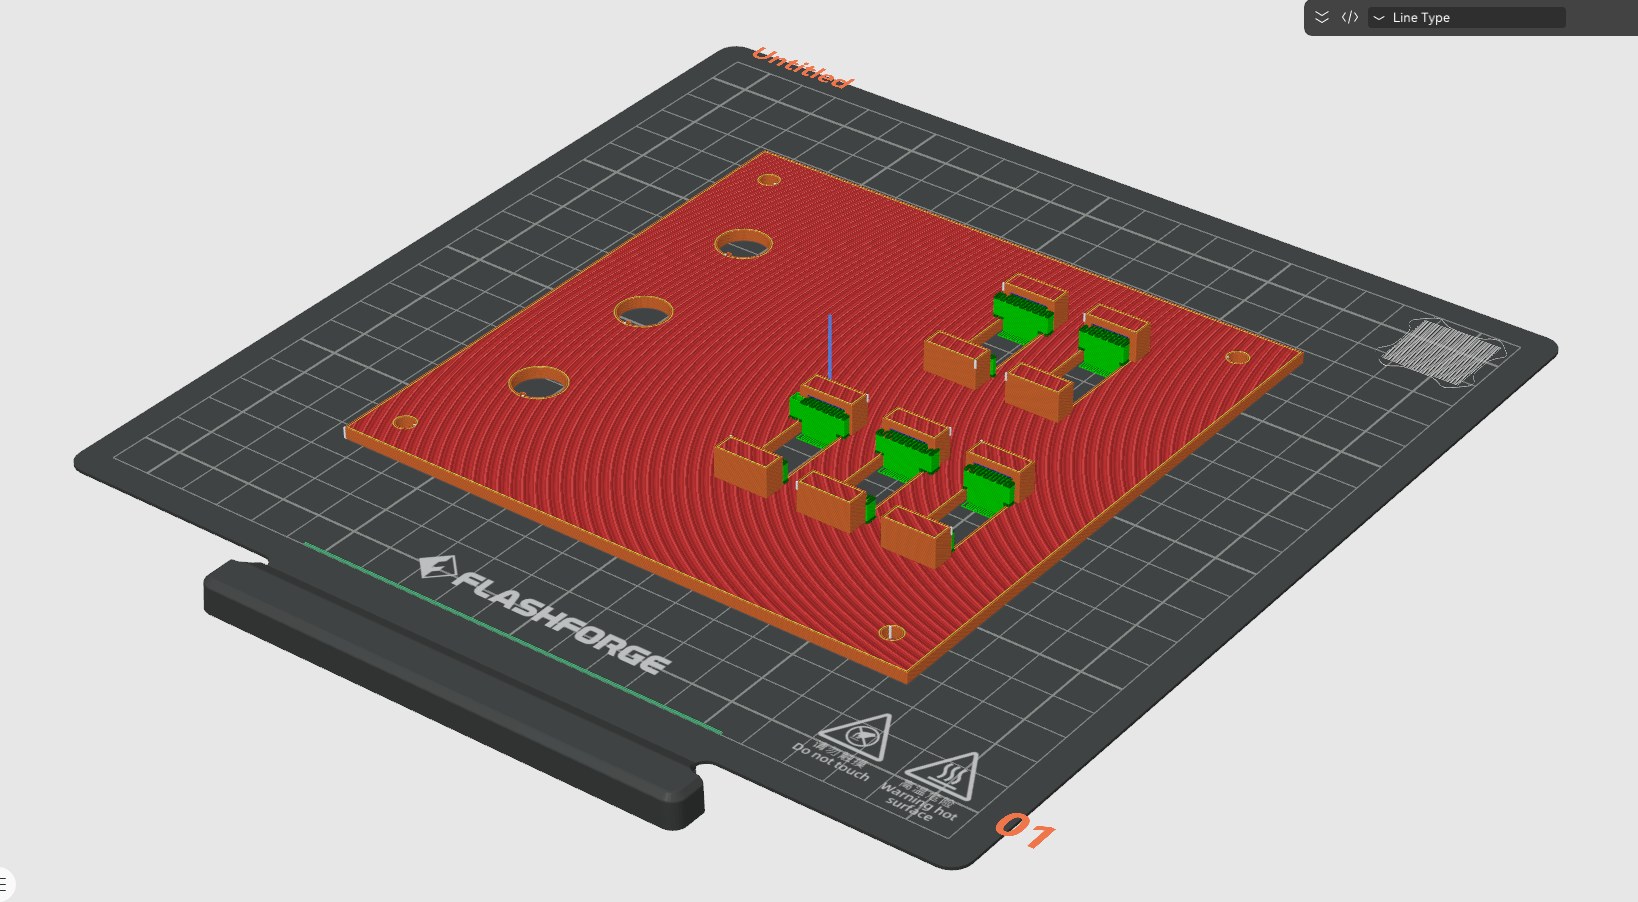
OrcaSlicer loads the 3MF file as a single object with multiple parts. I assign the lettering and lines as the first color and the panel body as the second, so the printer only needs one color change per panel. My printer is not multi-color, so I have to manually switch the color mid-print. The panel is flipped so the face sits on the build plate, which prints the text first and gives the front a smooth, flat finish. I printed the panels on my Flashforge AD5M and mounted the components.
Panel Assembly
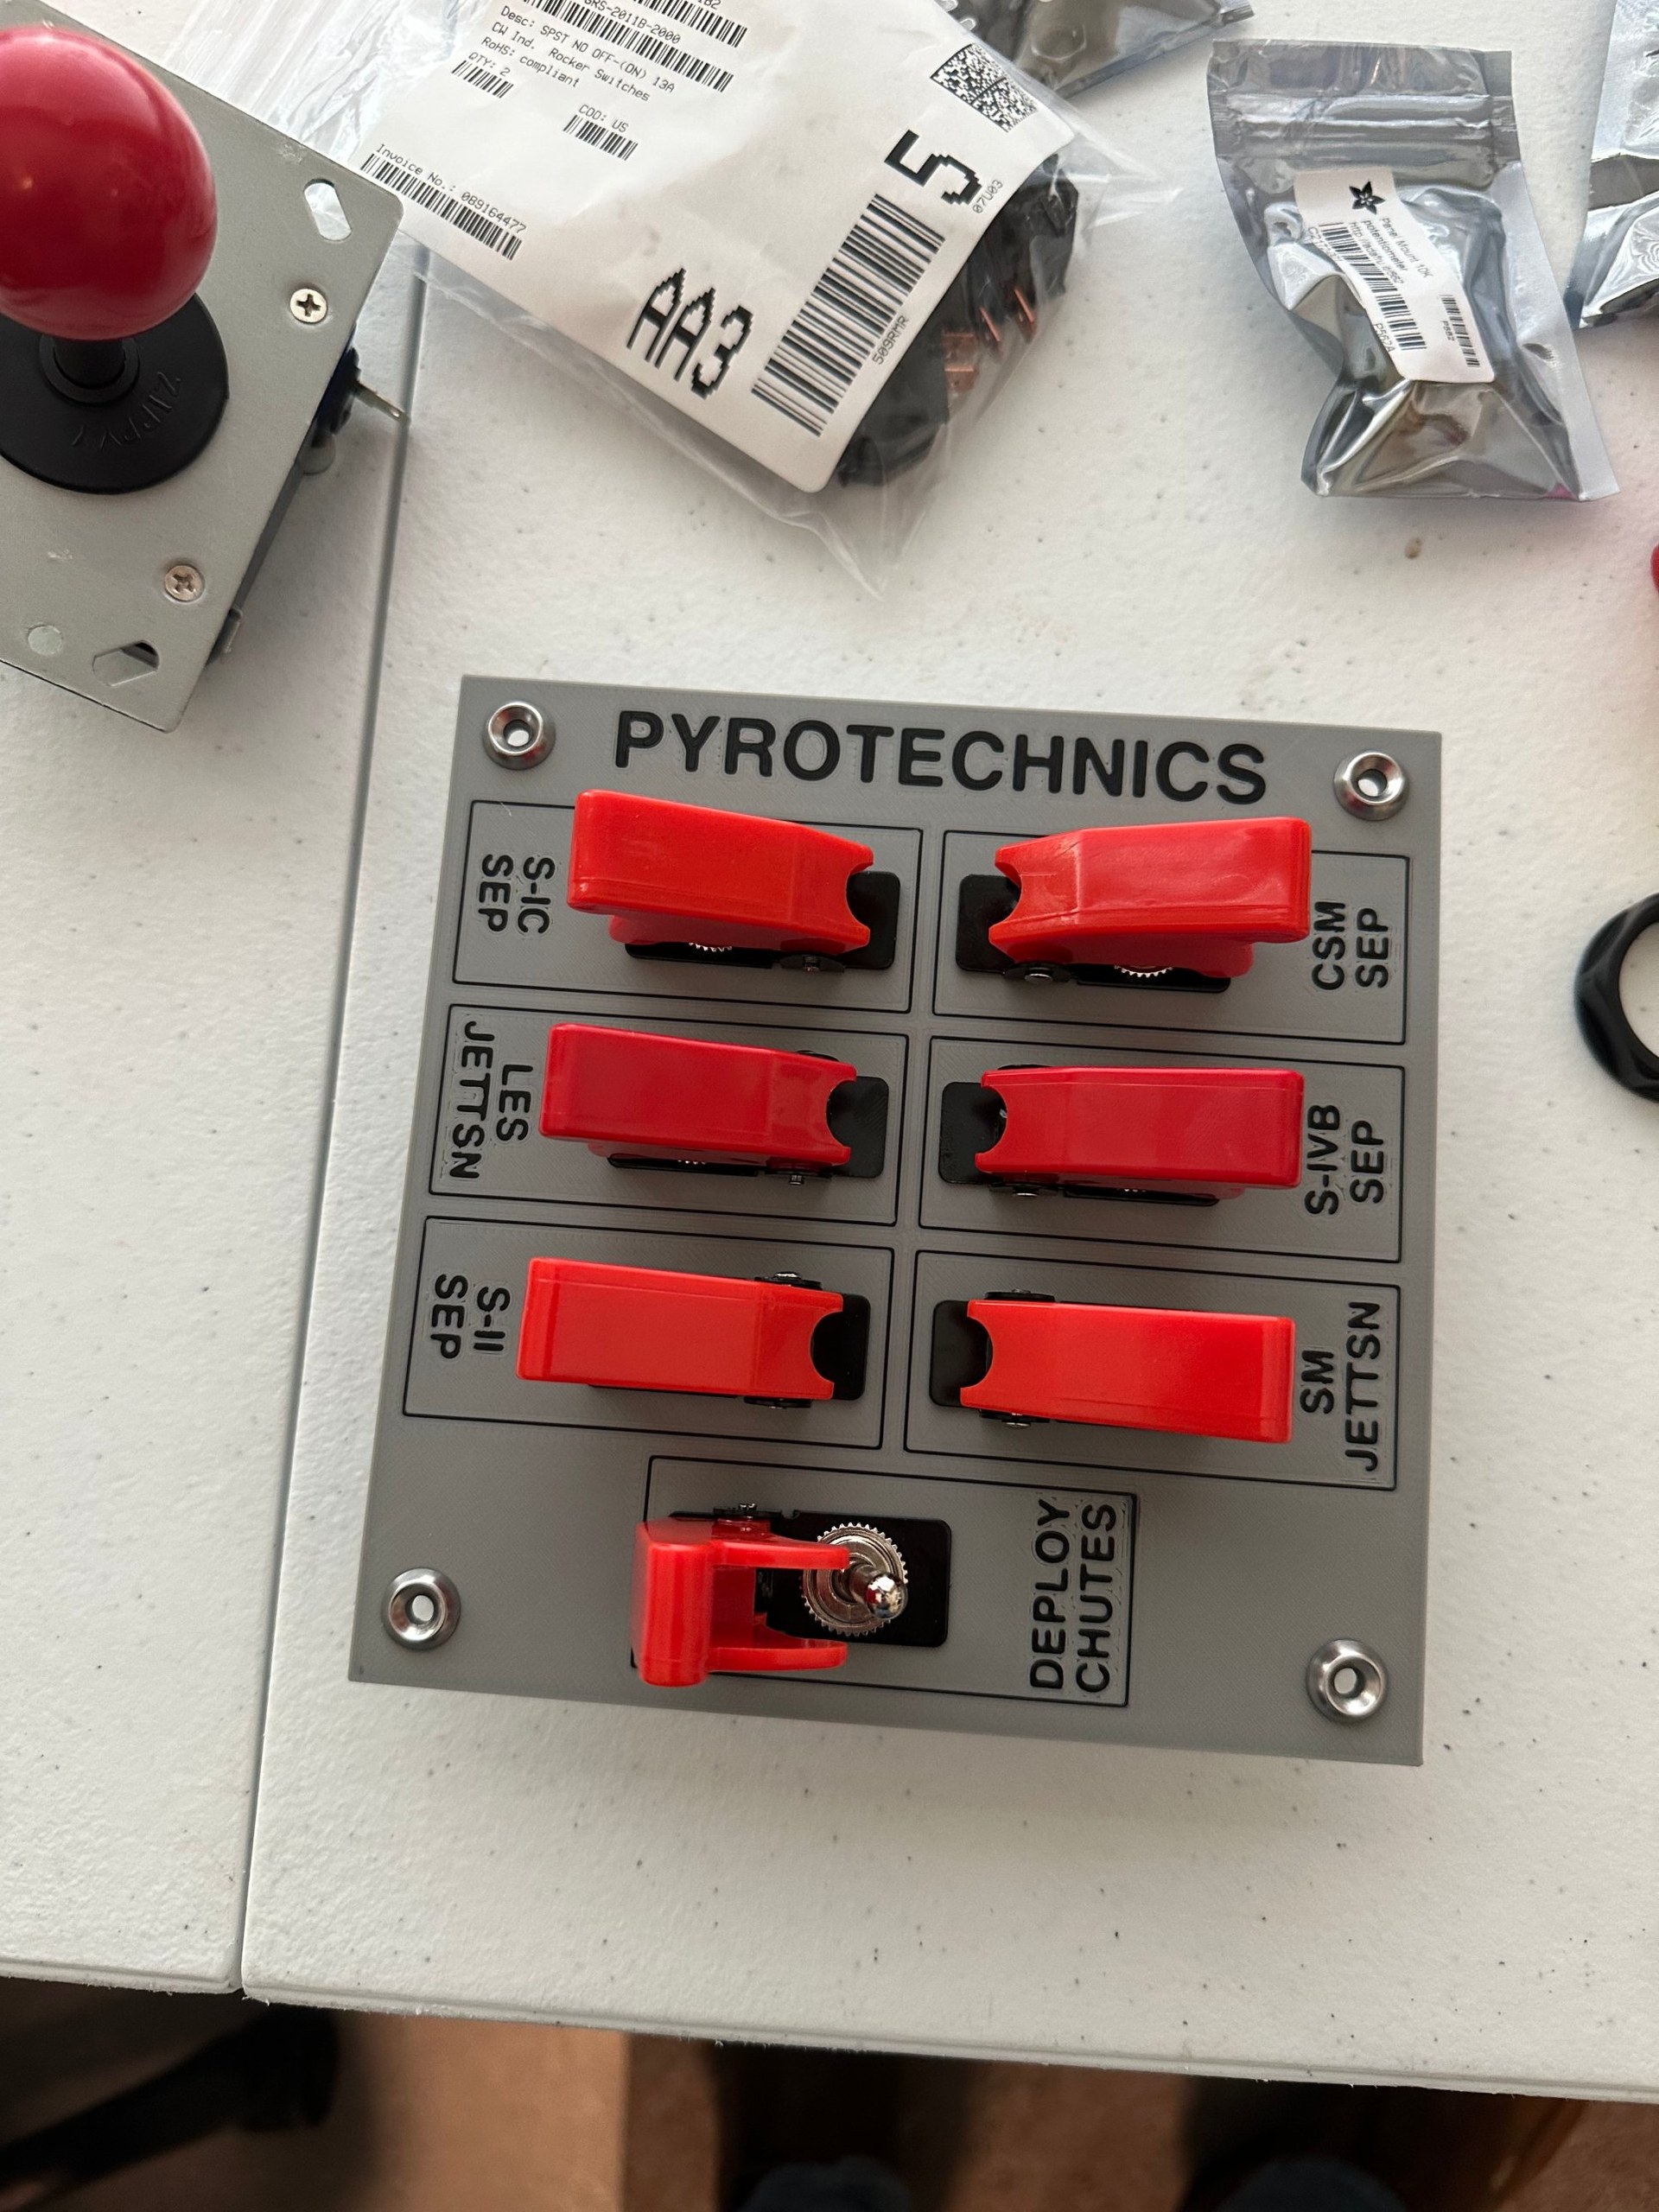
The simulator really started to take shape as each panel was assembled.
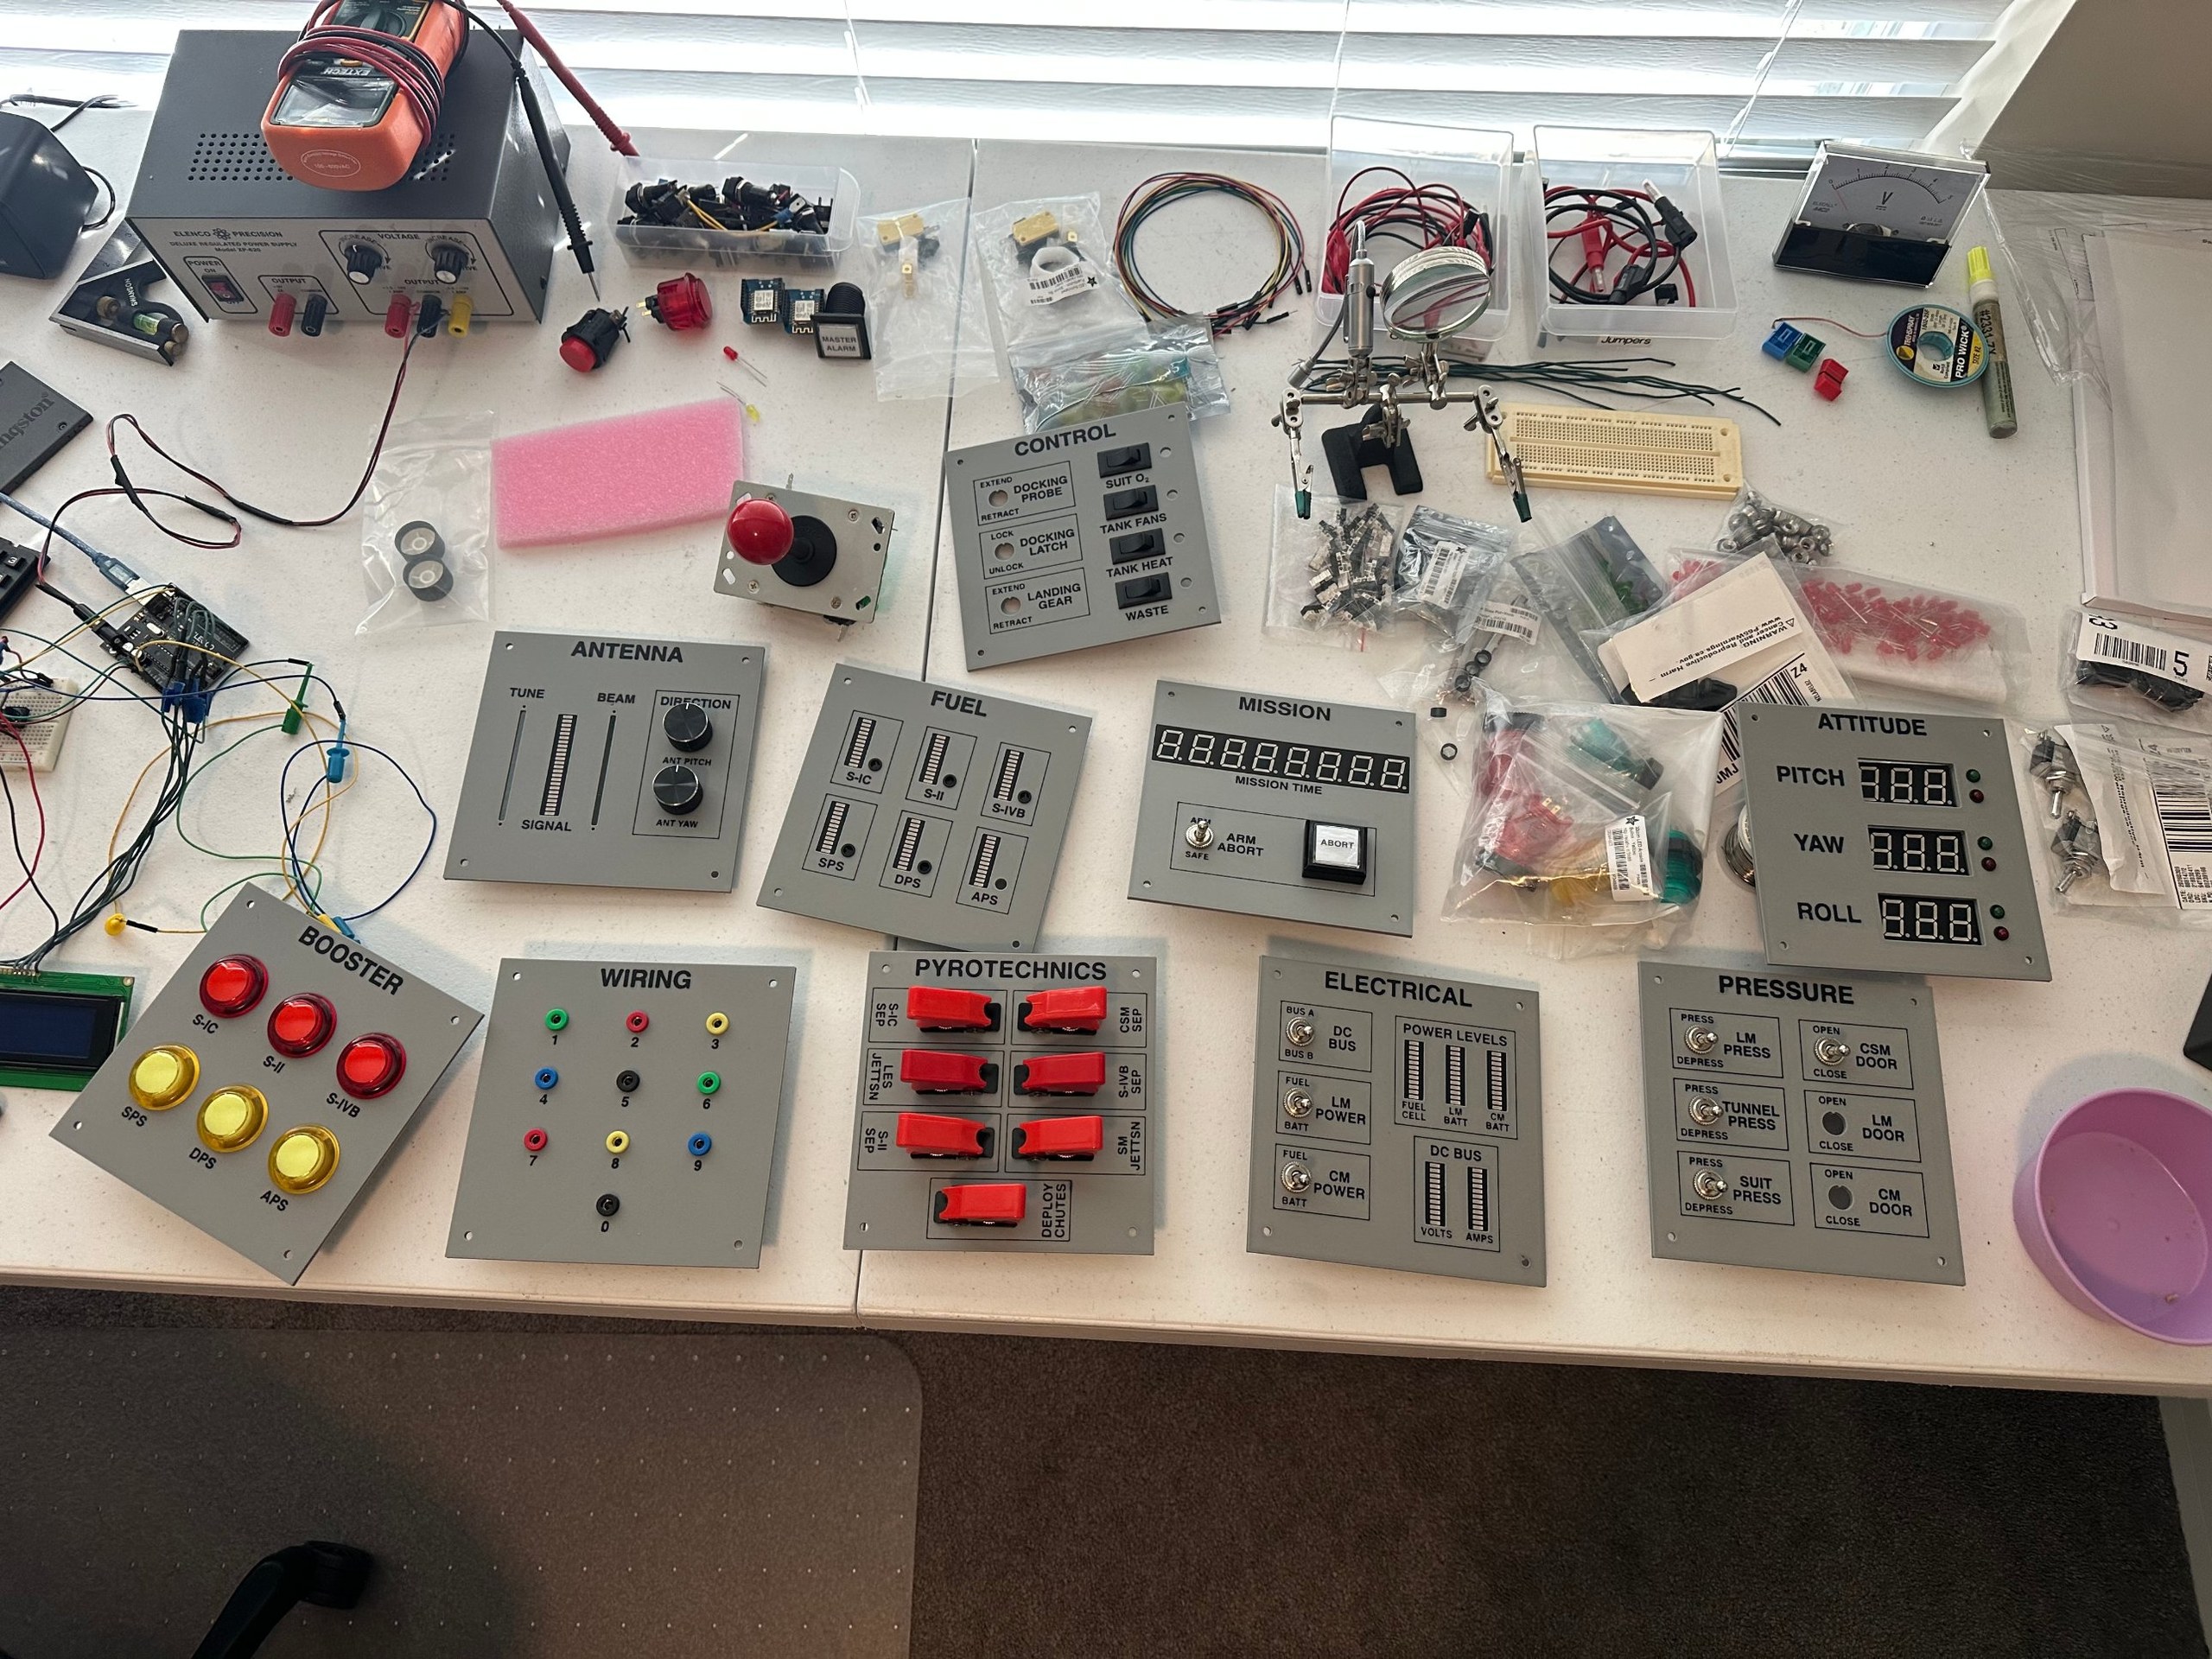
Once all 20 panels were done, I laid them out on a simple frame I built from 1×2 boards to see the full console together for the first time.
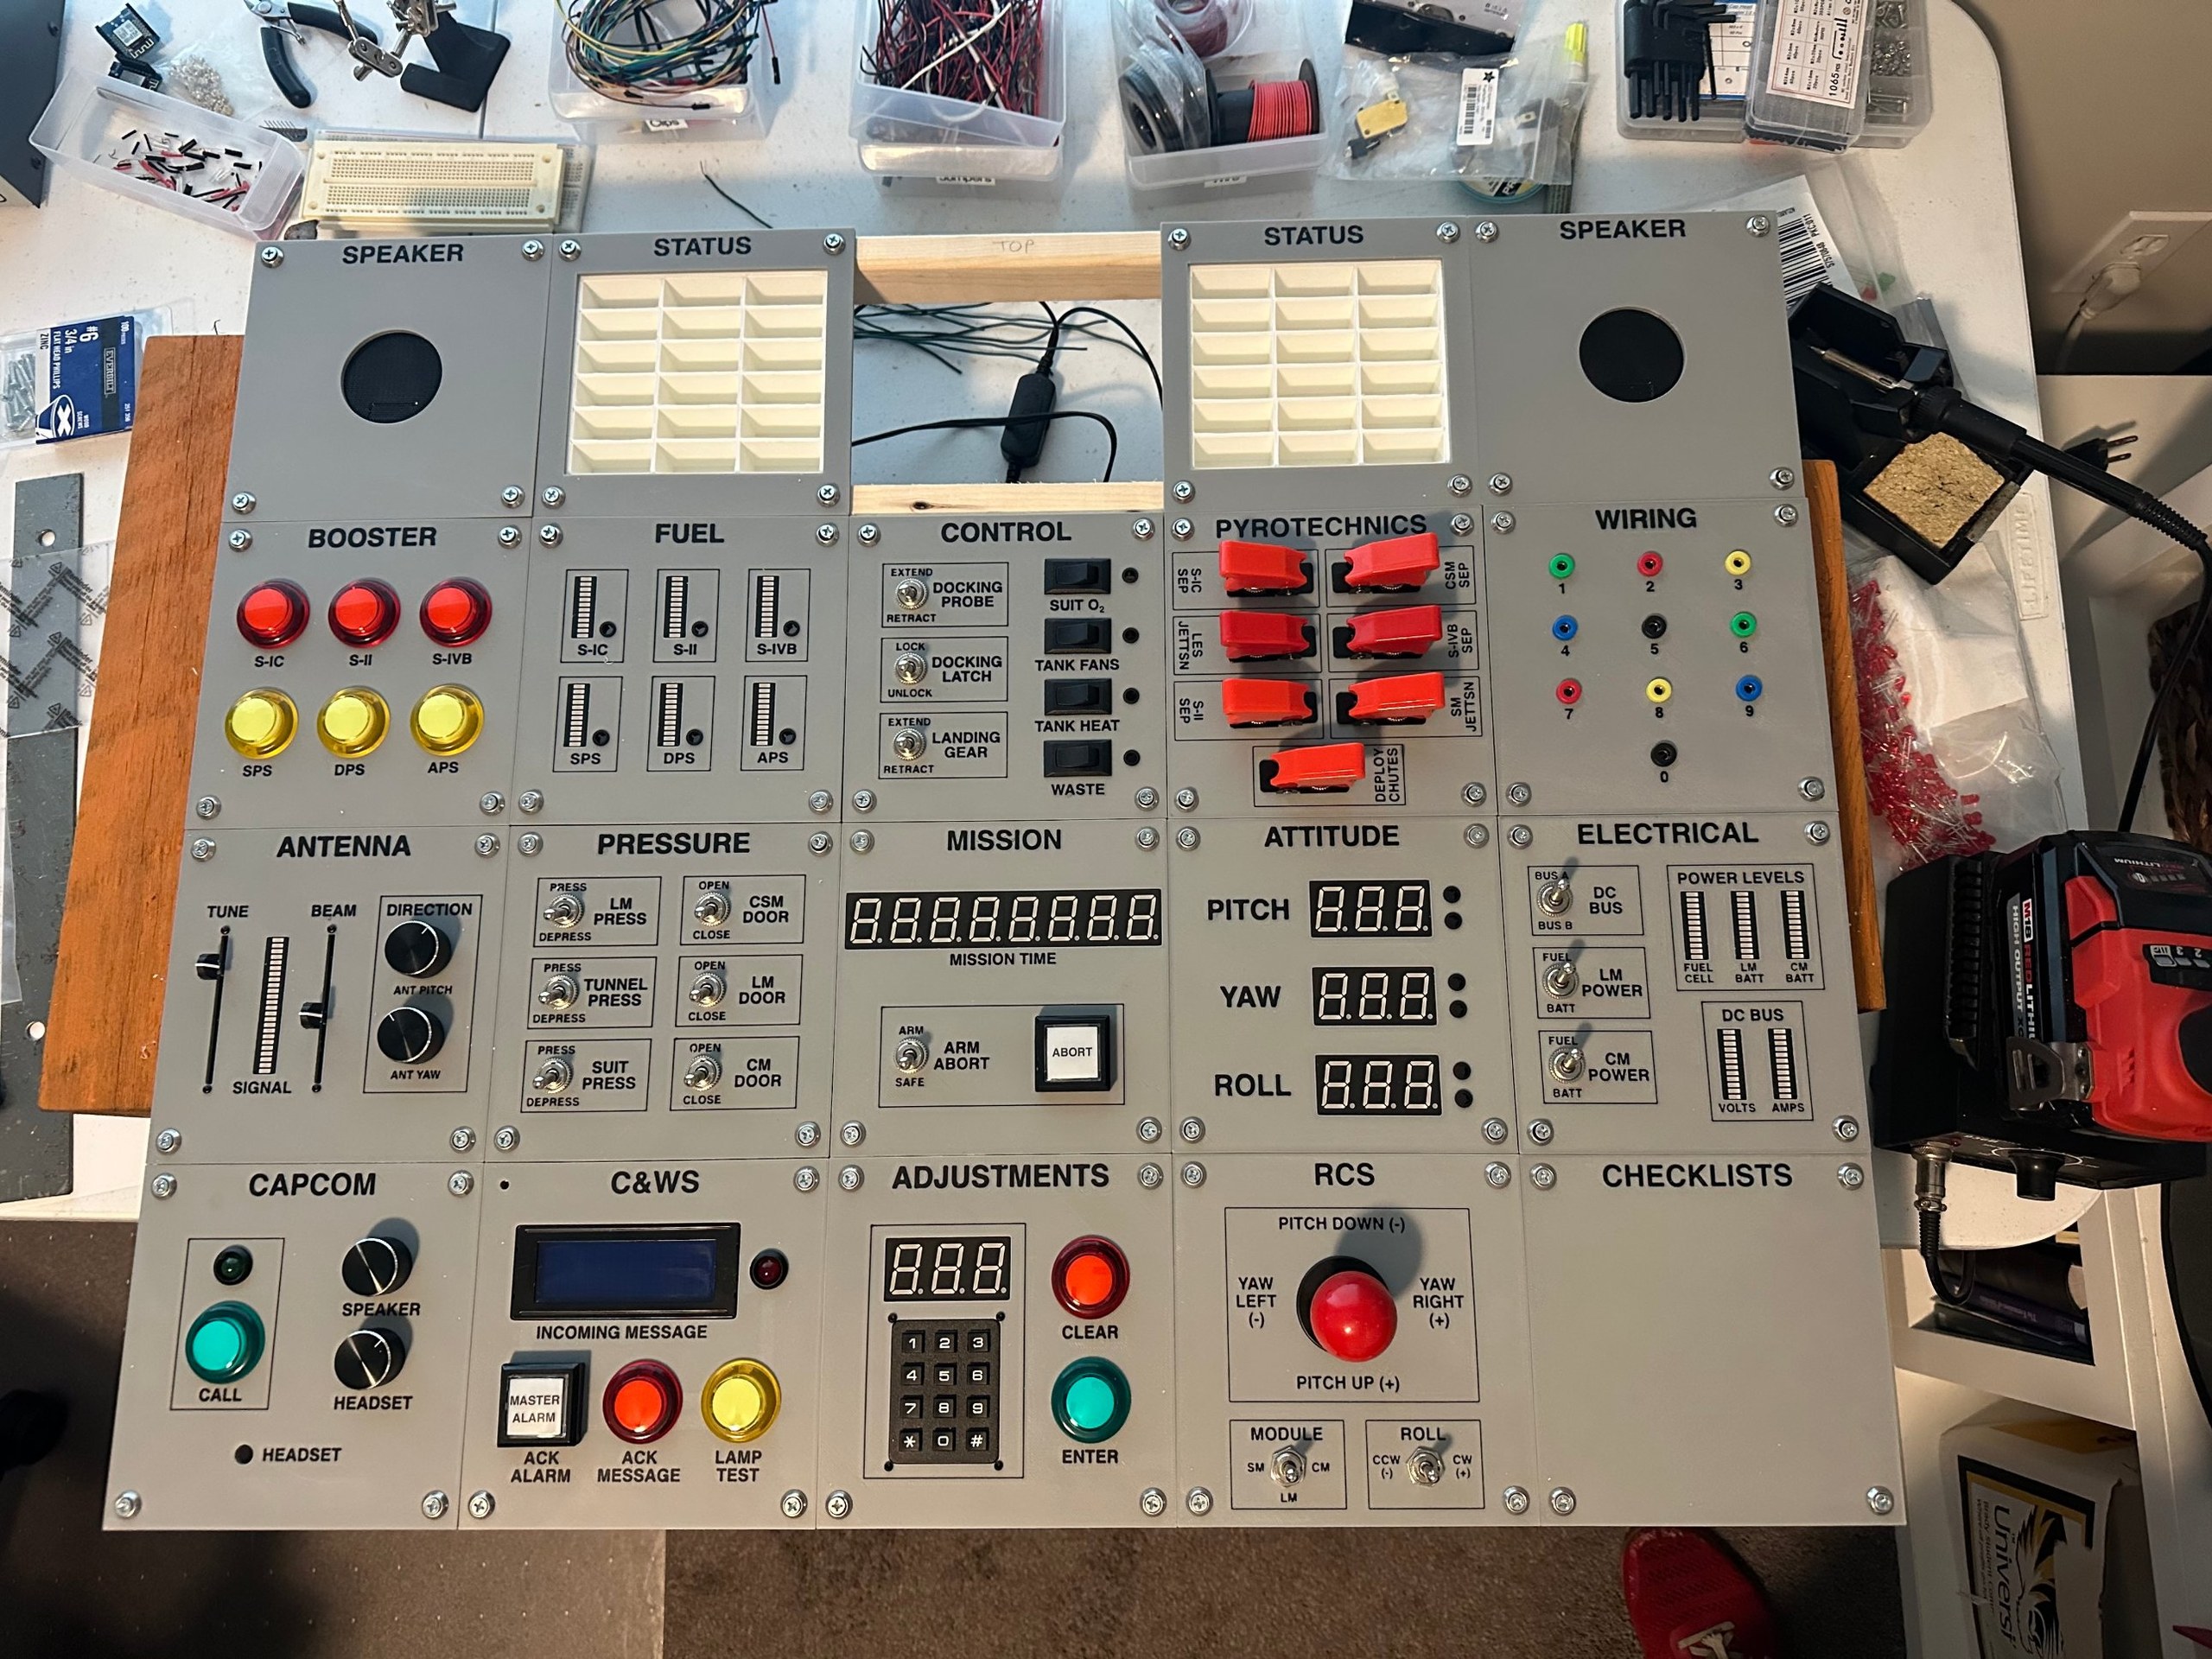
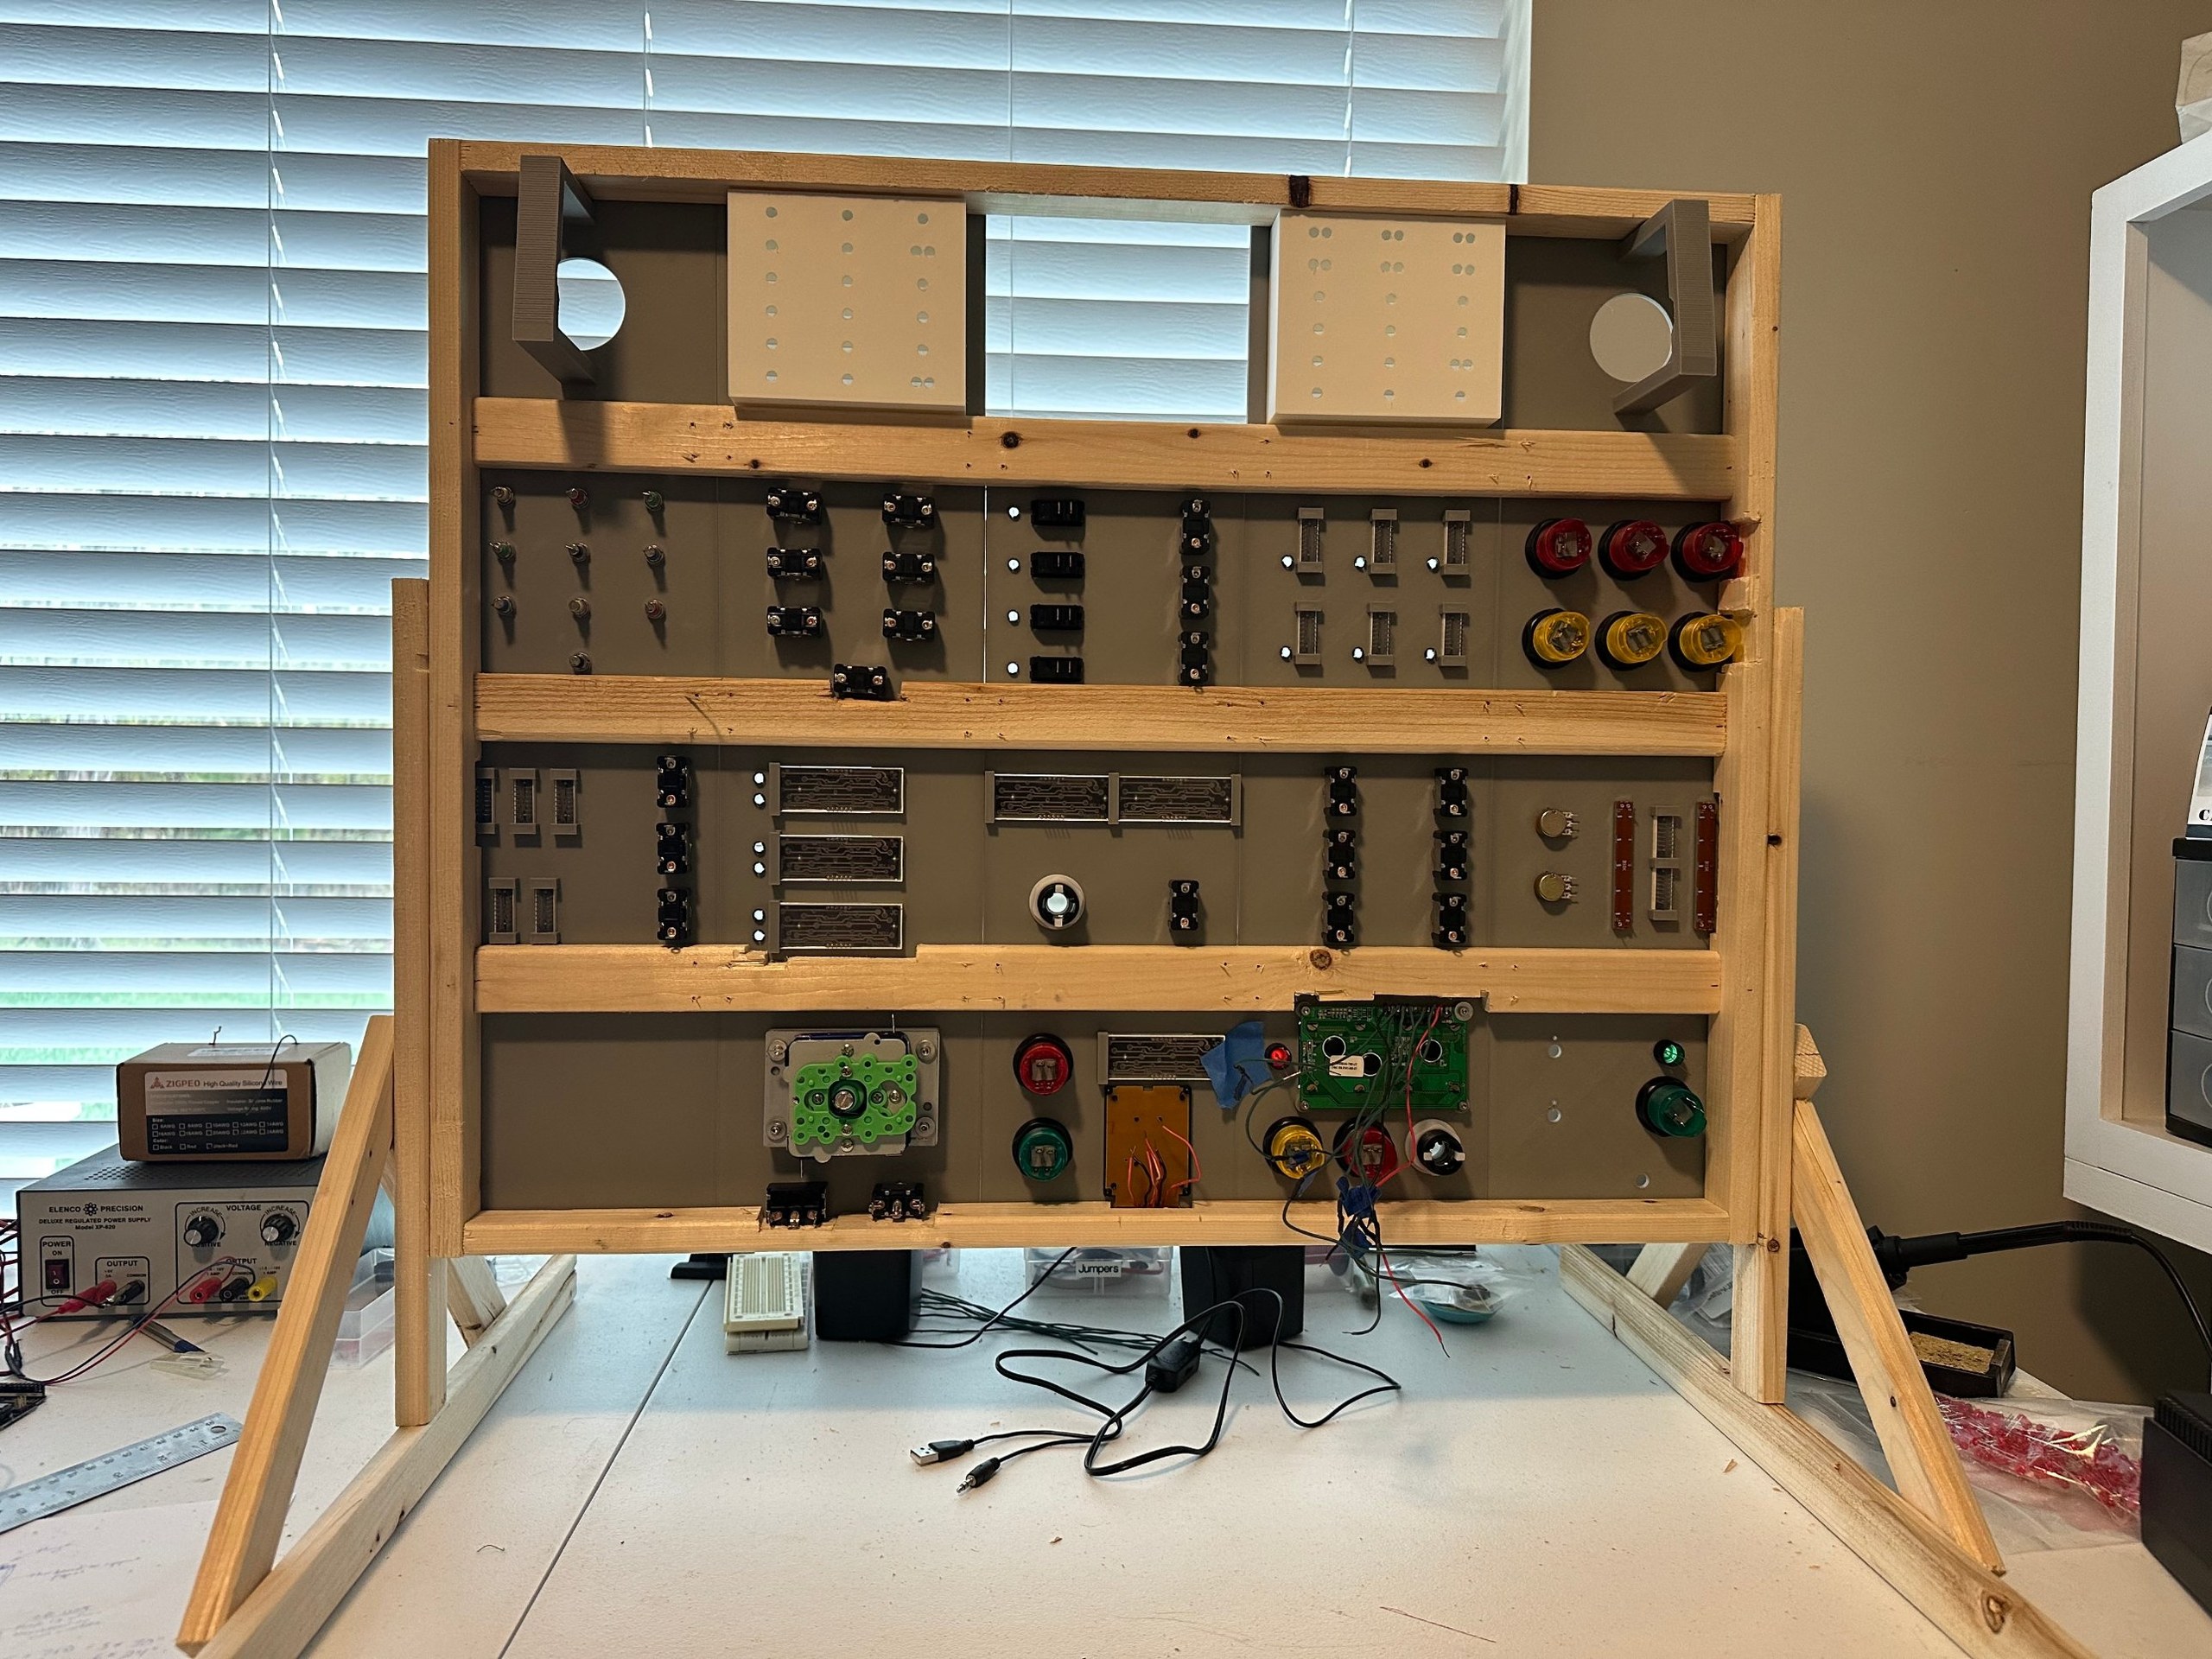
The wiring will all be done manually, so I also built a stand that holds the panel frame upright. That gives easy access to the back of every panel while I run wiring and solder connections.


Leave a Reply