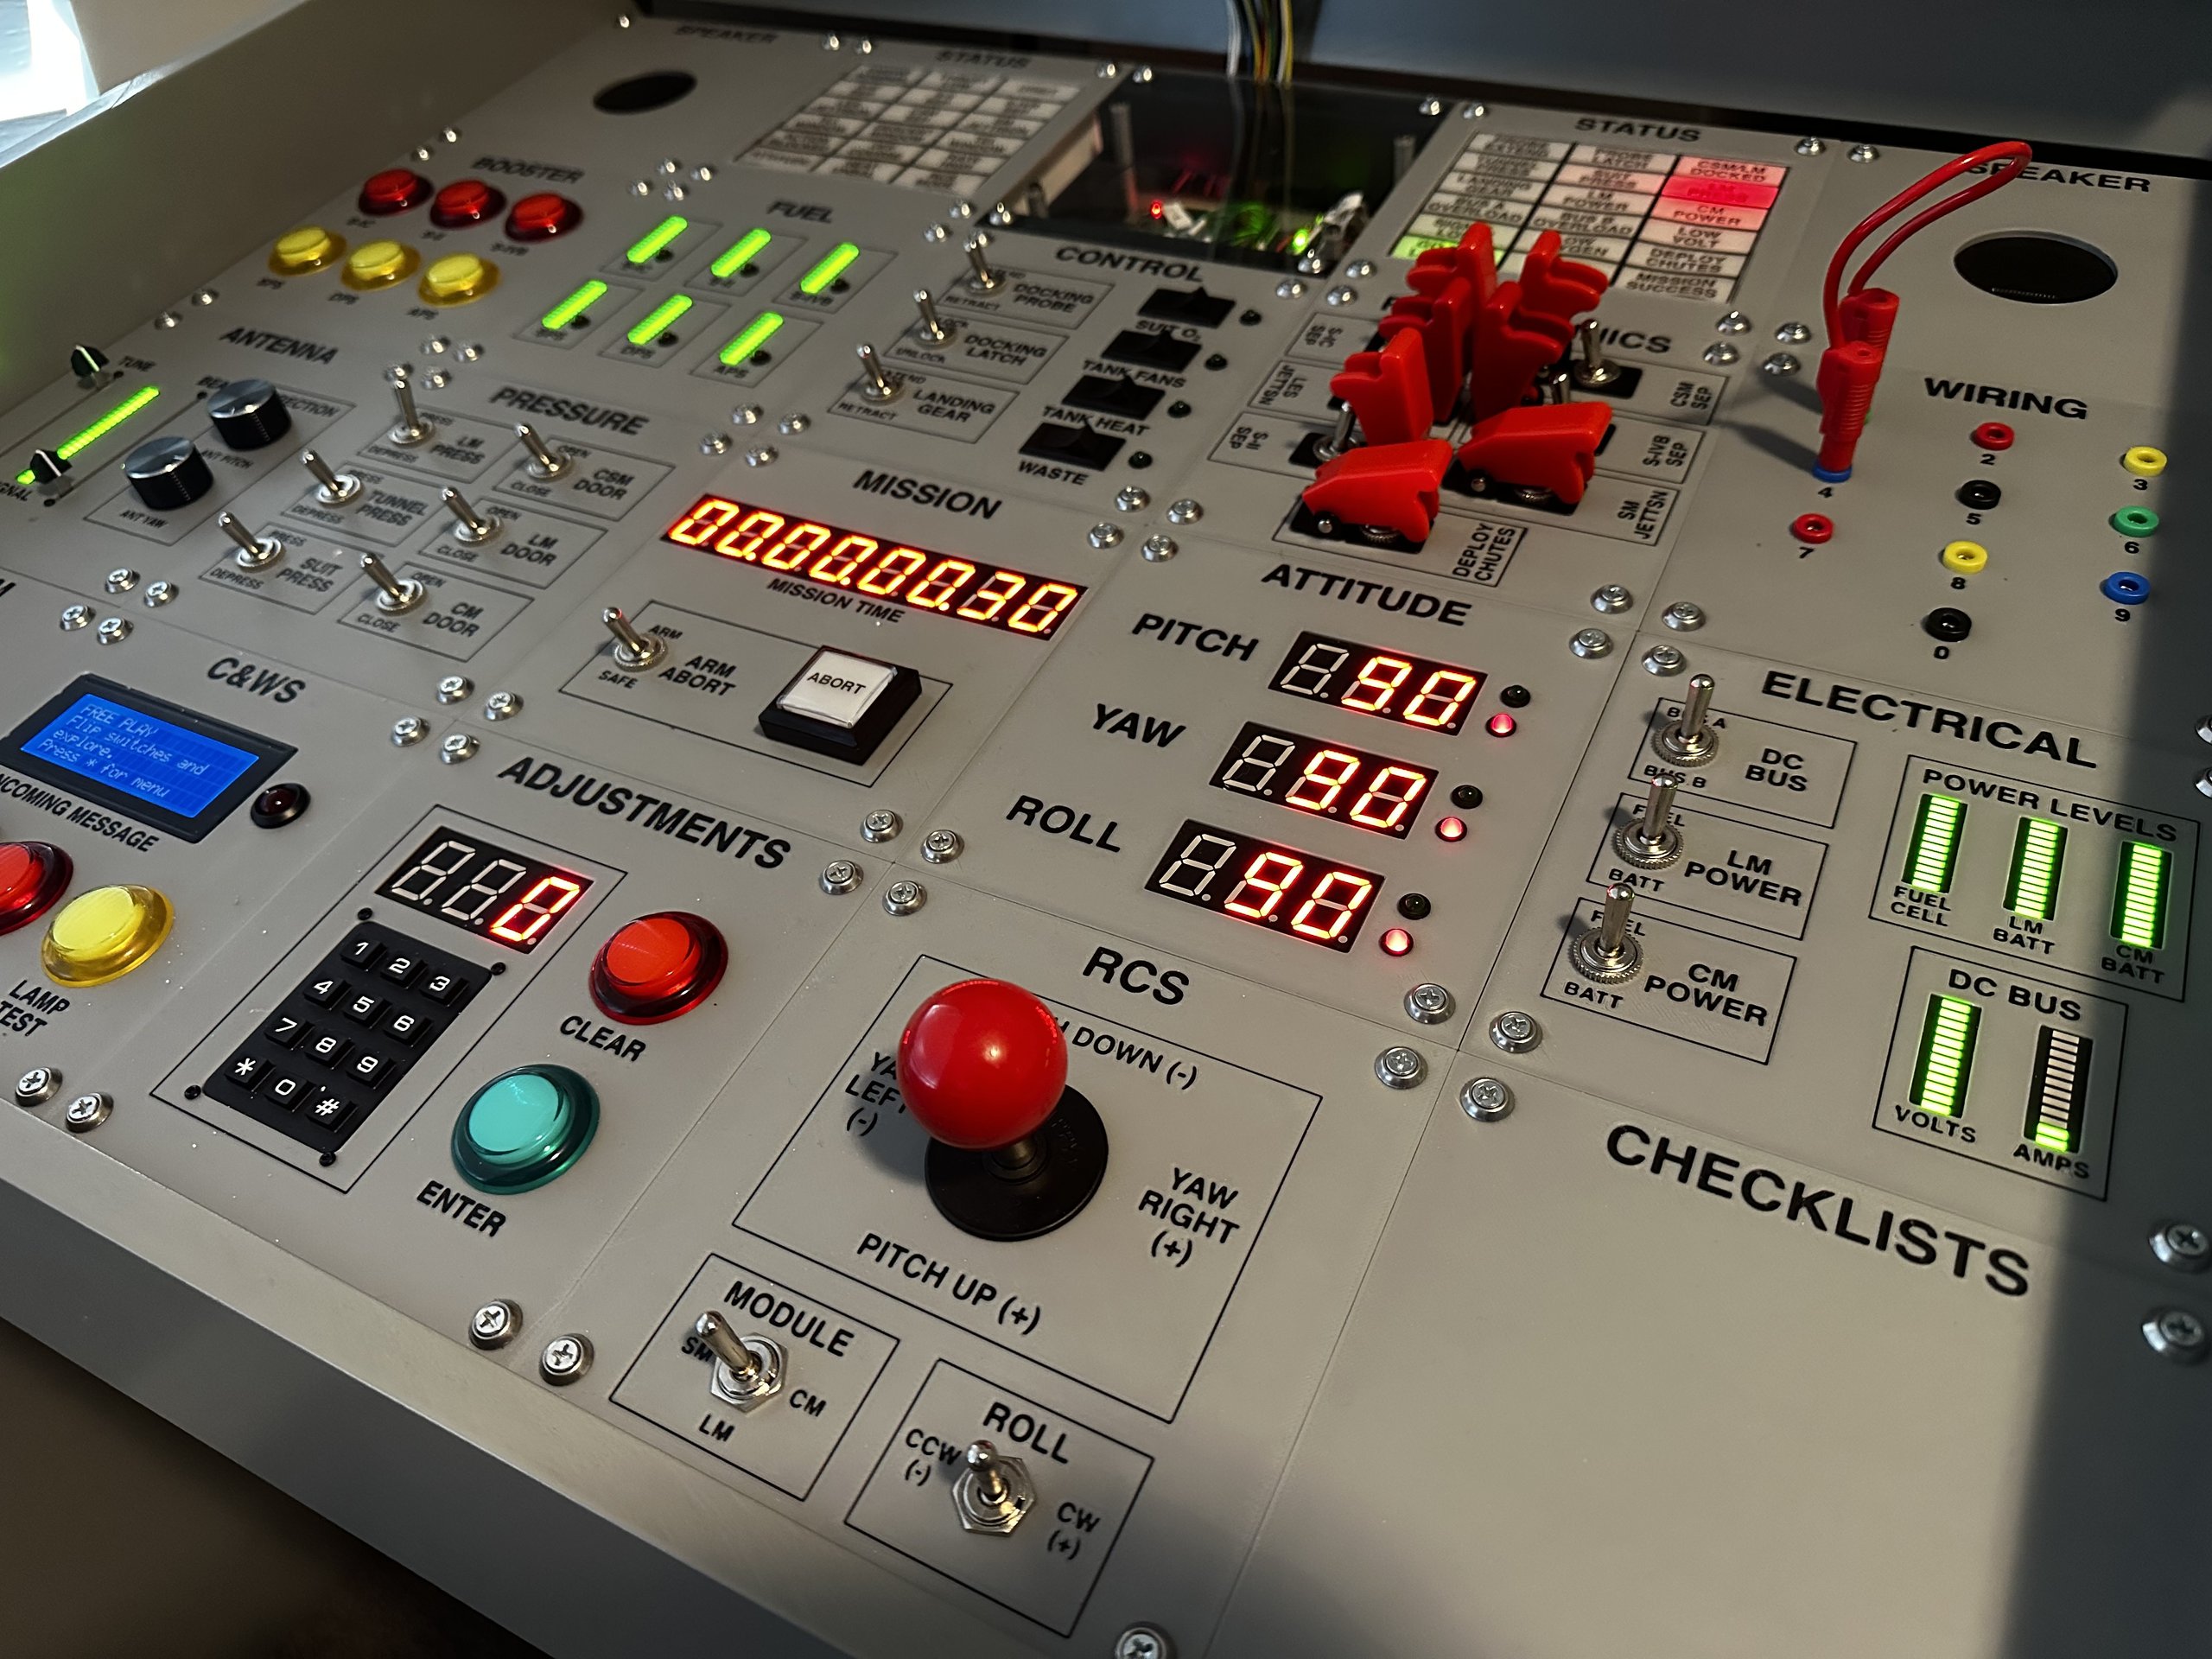

The Apollo Simulator is a desk-sized mission simulator I’m building for my kids, inspired by Jeff Highsmith’s Mission Control Desk. Rather than a free-play soundboard, it walks through the full Apollo 11 mission (launch, staging, the trip to the Moon, landing, and the return home) with real switches, displays, alarms, and audio that respond to what’s happening. A Raspberry Pi runs the mission while an Arduino handles hundreds of lights and dozens of switches on the panels. It’s still in progress, so check back as the build continues. Check out the pages below for more information on the build (or click here for all related posts).
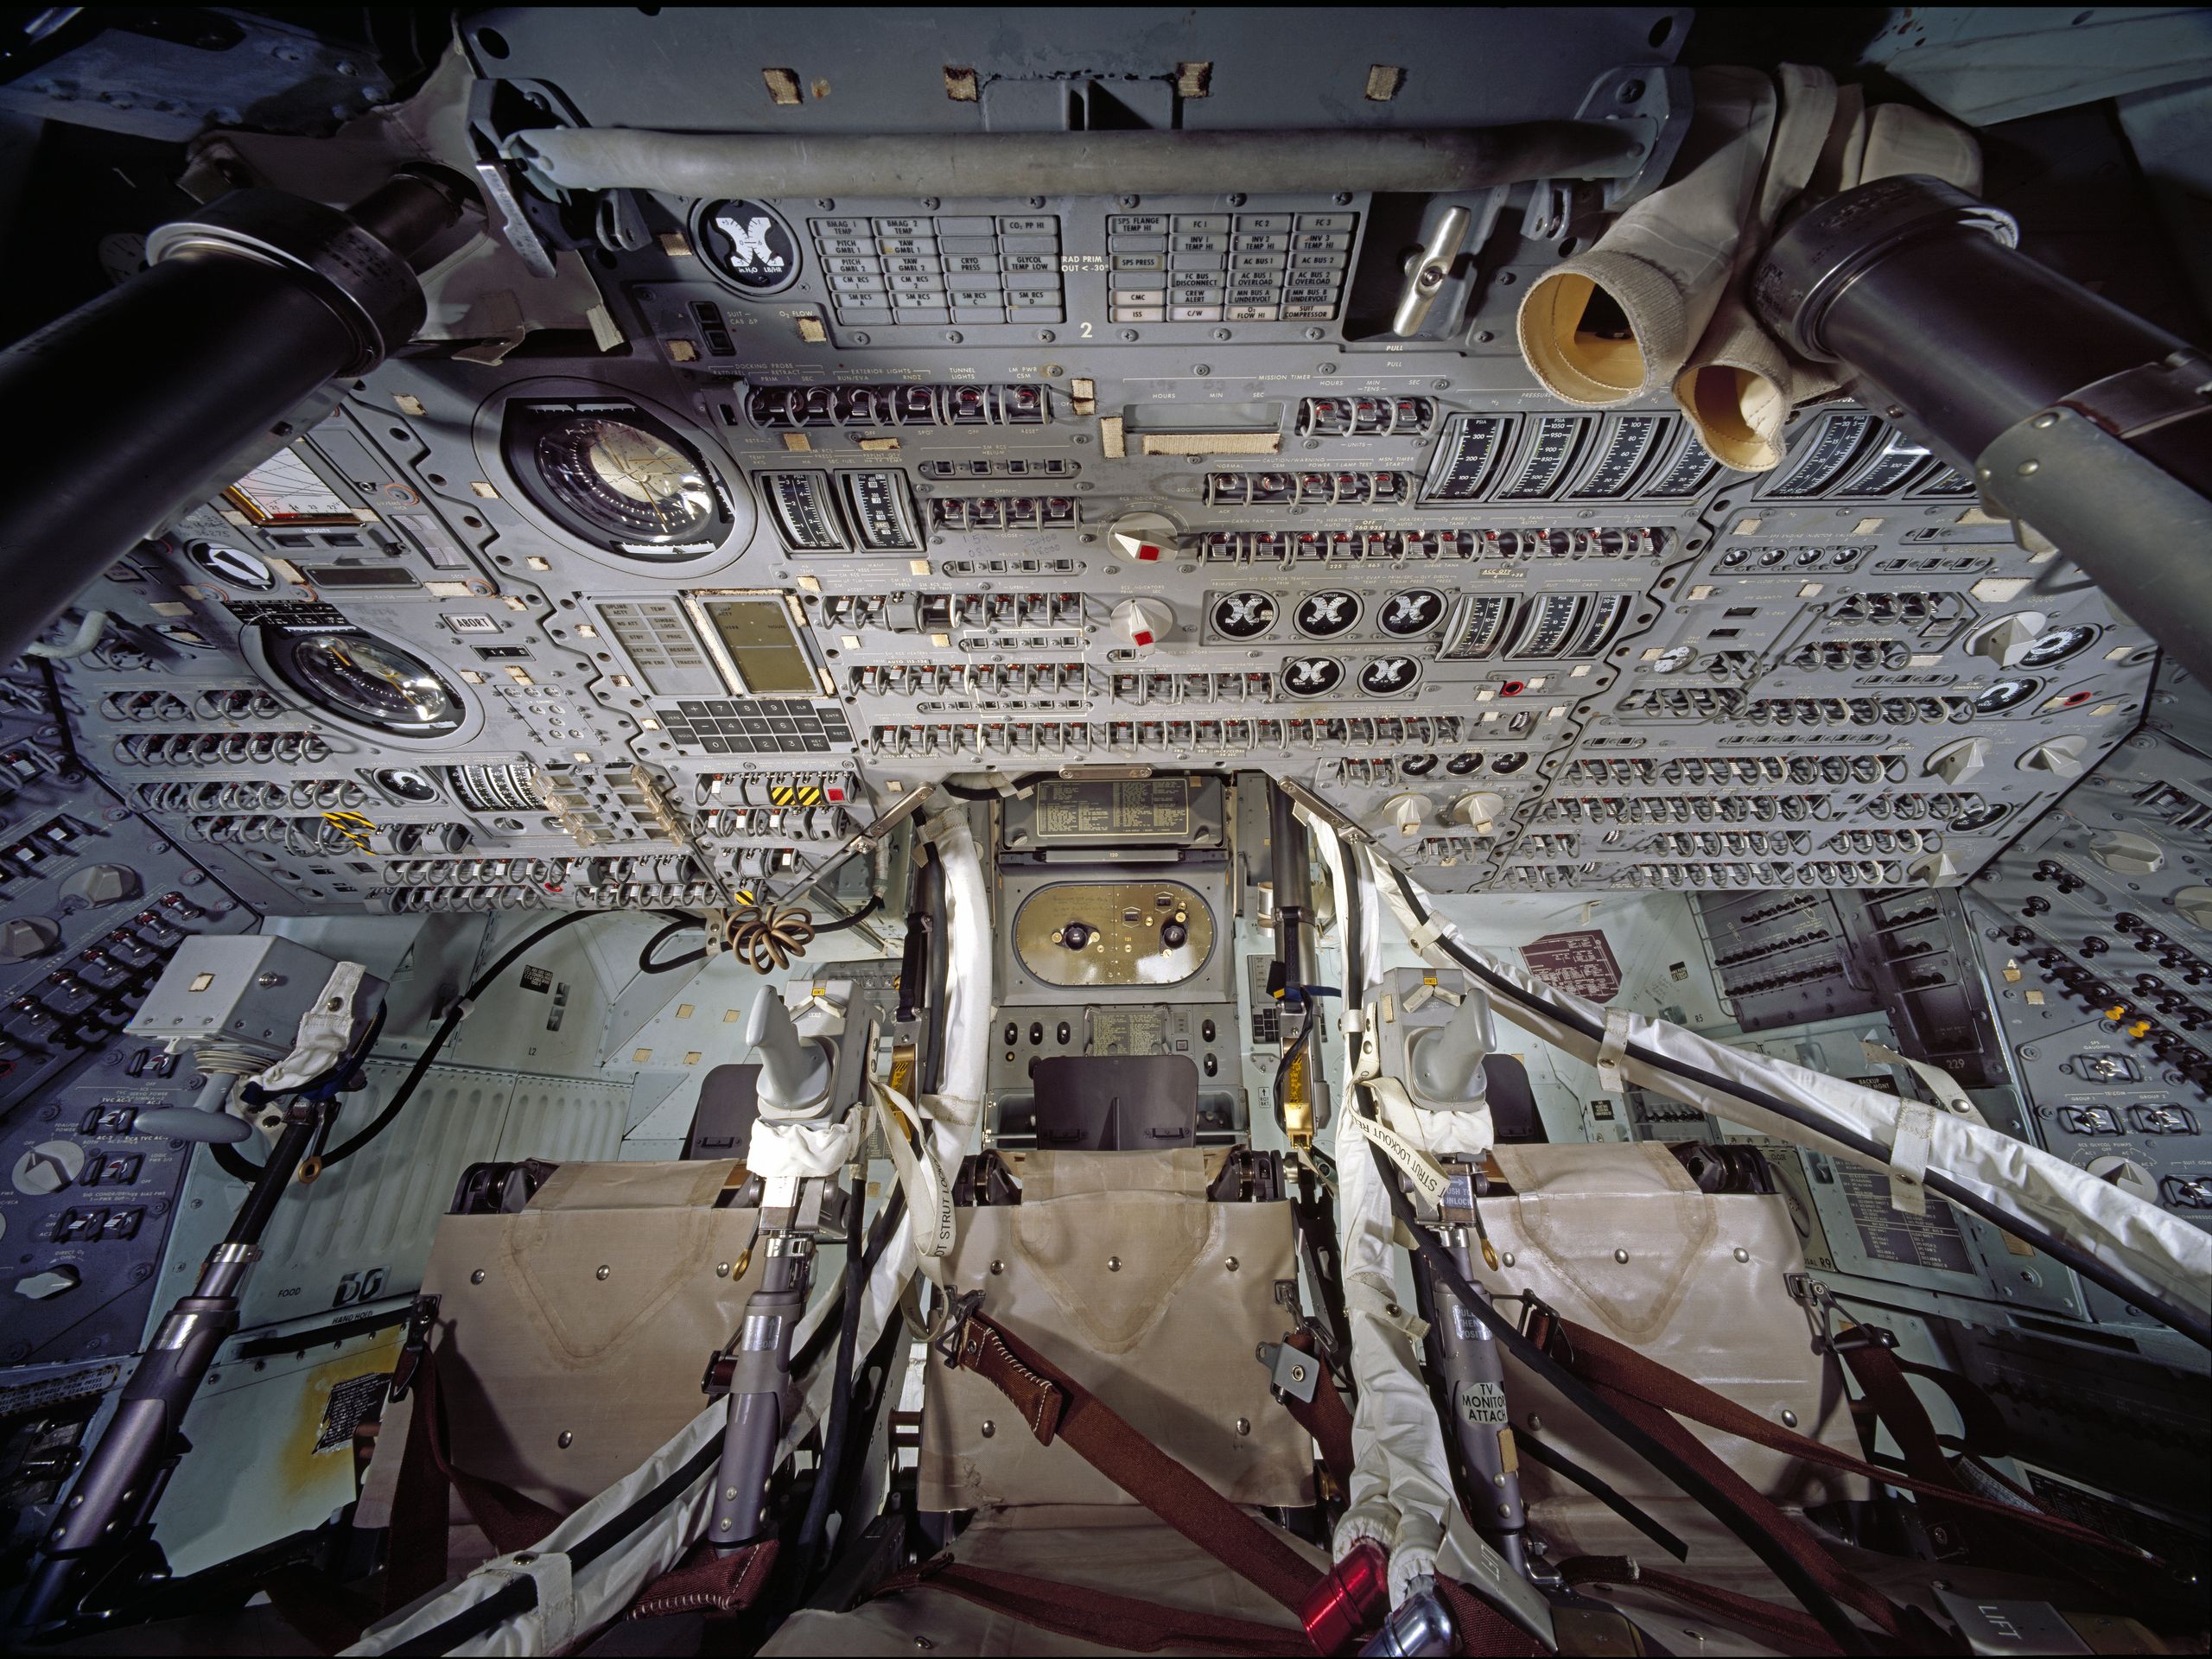
Inspiration
Several years ago I came across Jeff Highsmith’s Mission Control Desk project and immediately filed it away as something I…
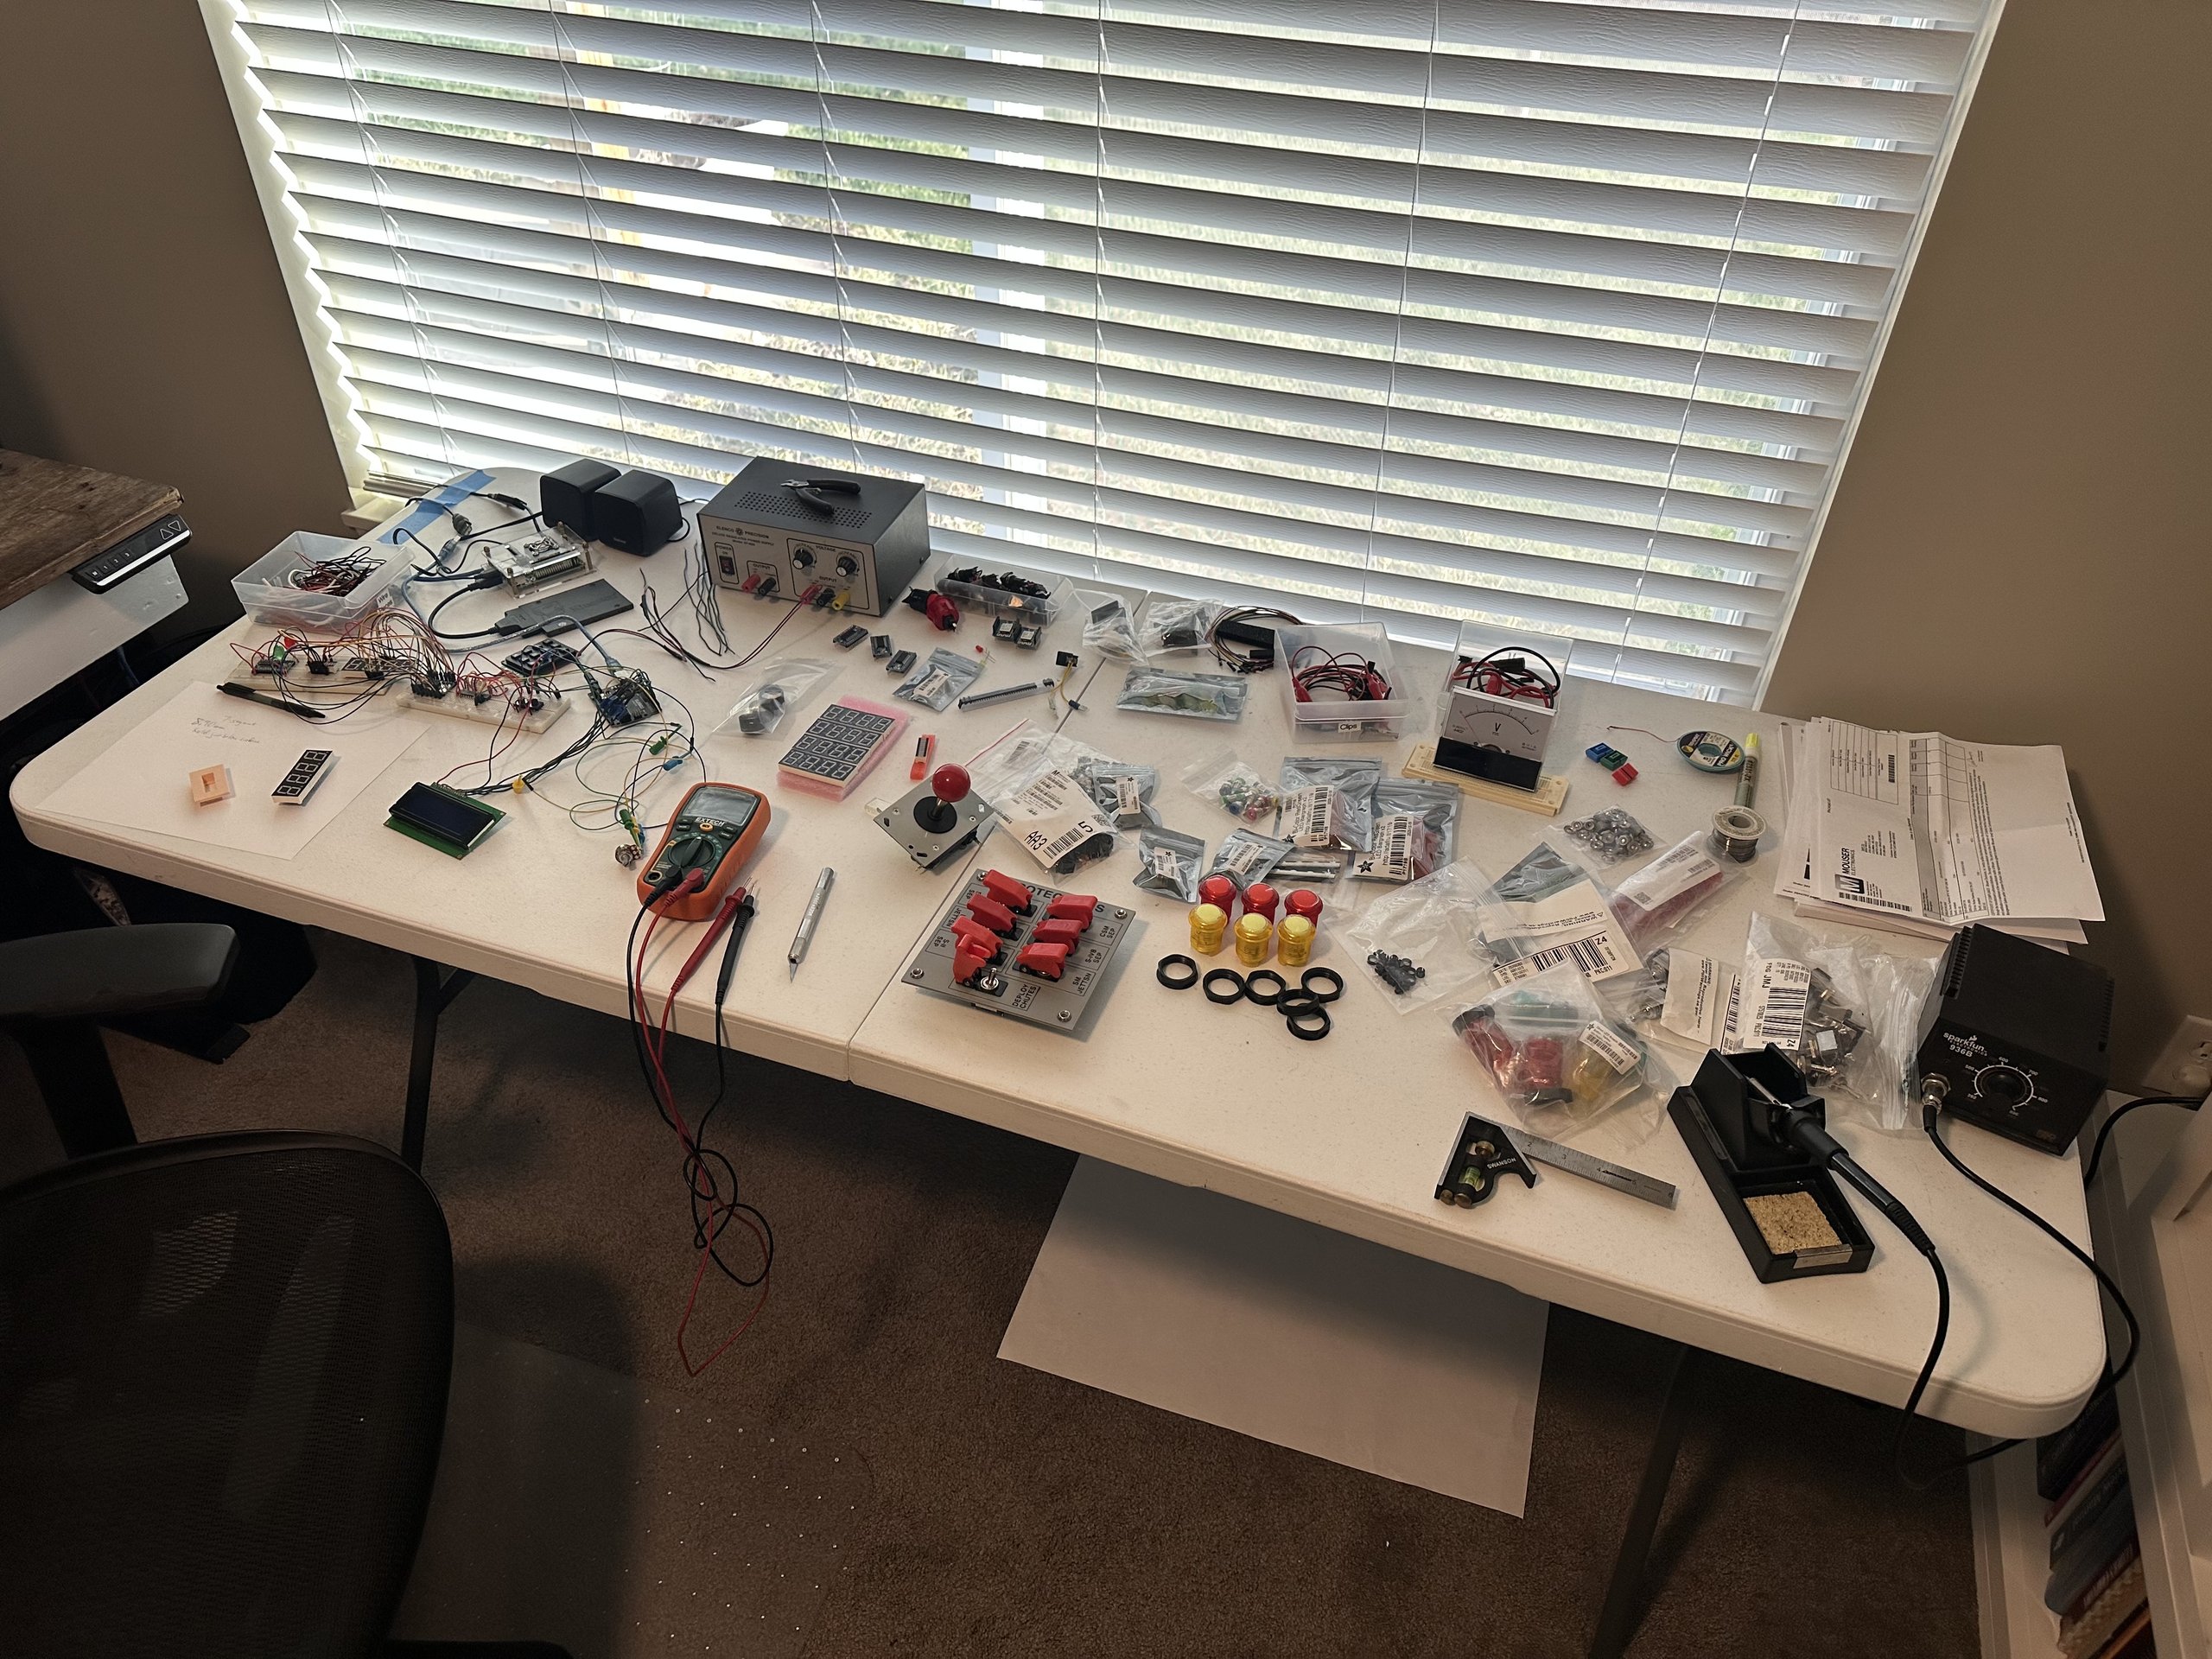
Electronics
I spent some time researching the Apollo 11 mission and came up with a full list of activities that the…
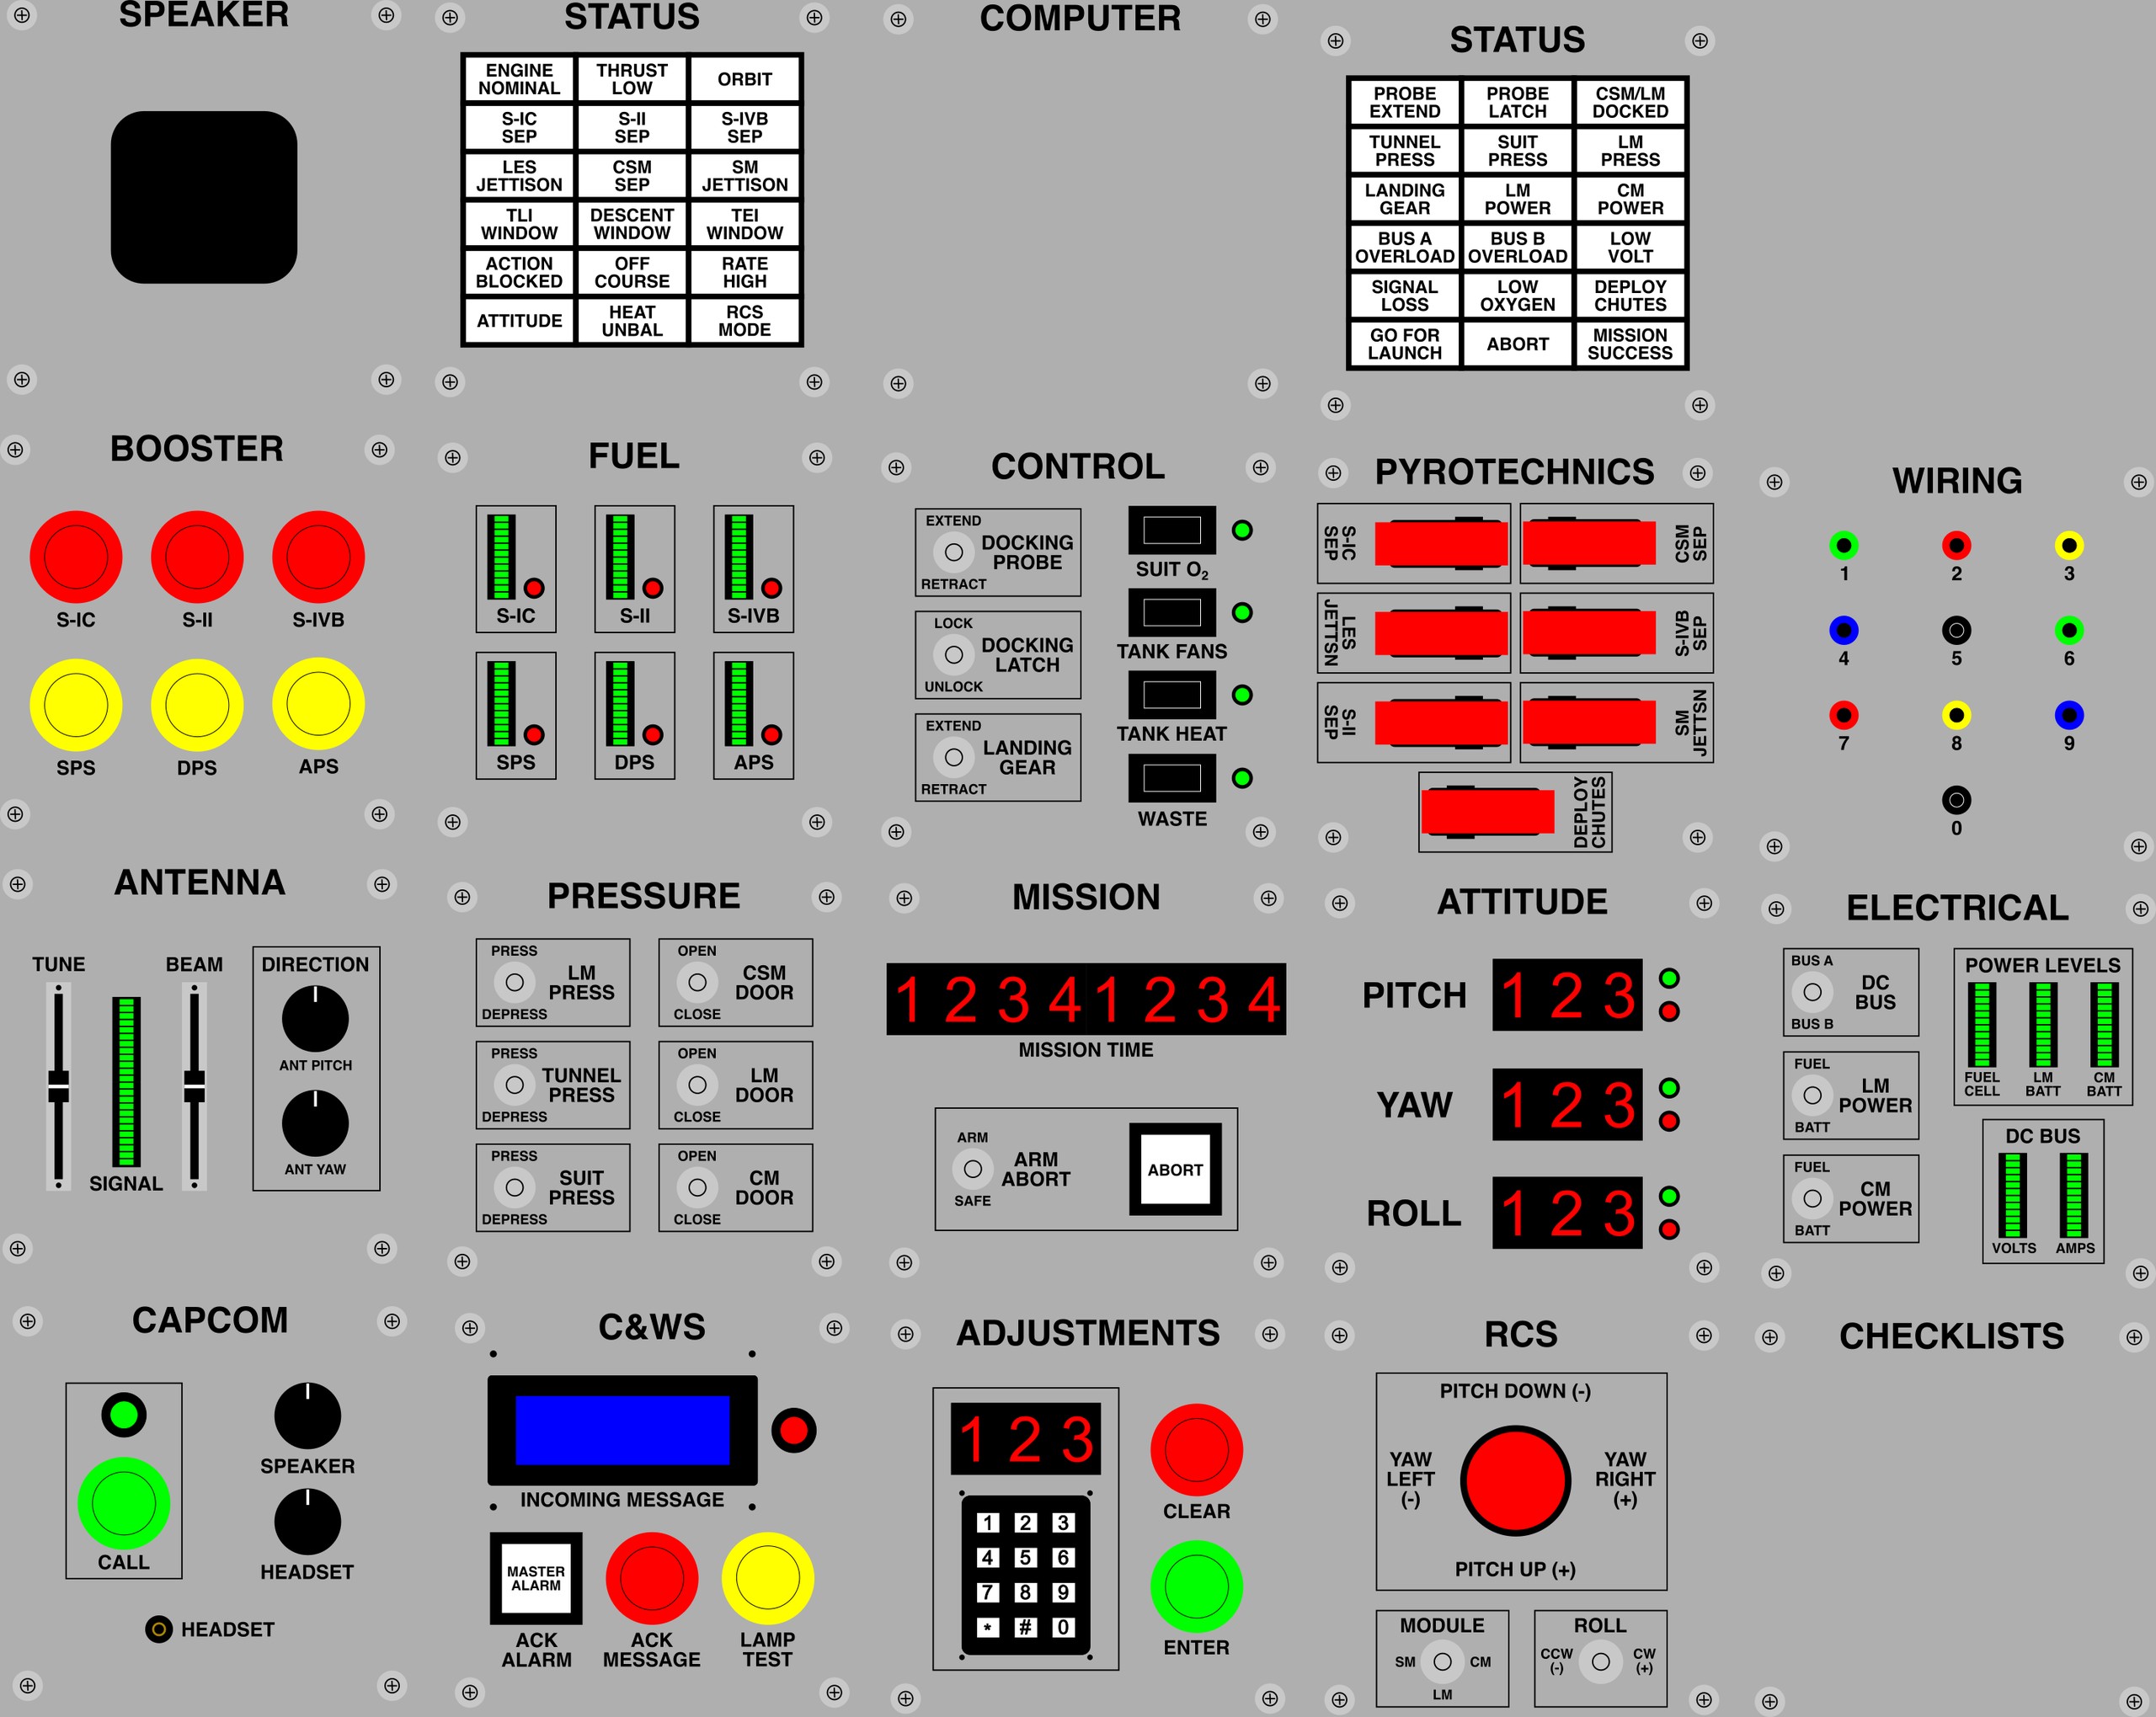
Panel Layout
With the electronics picked out, the next big step was figuring out how everything would actually fit together on the…
3D Printed Panels
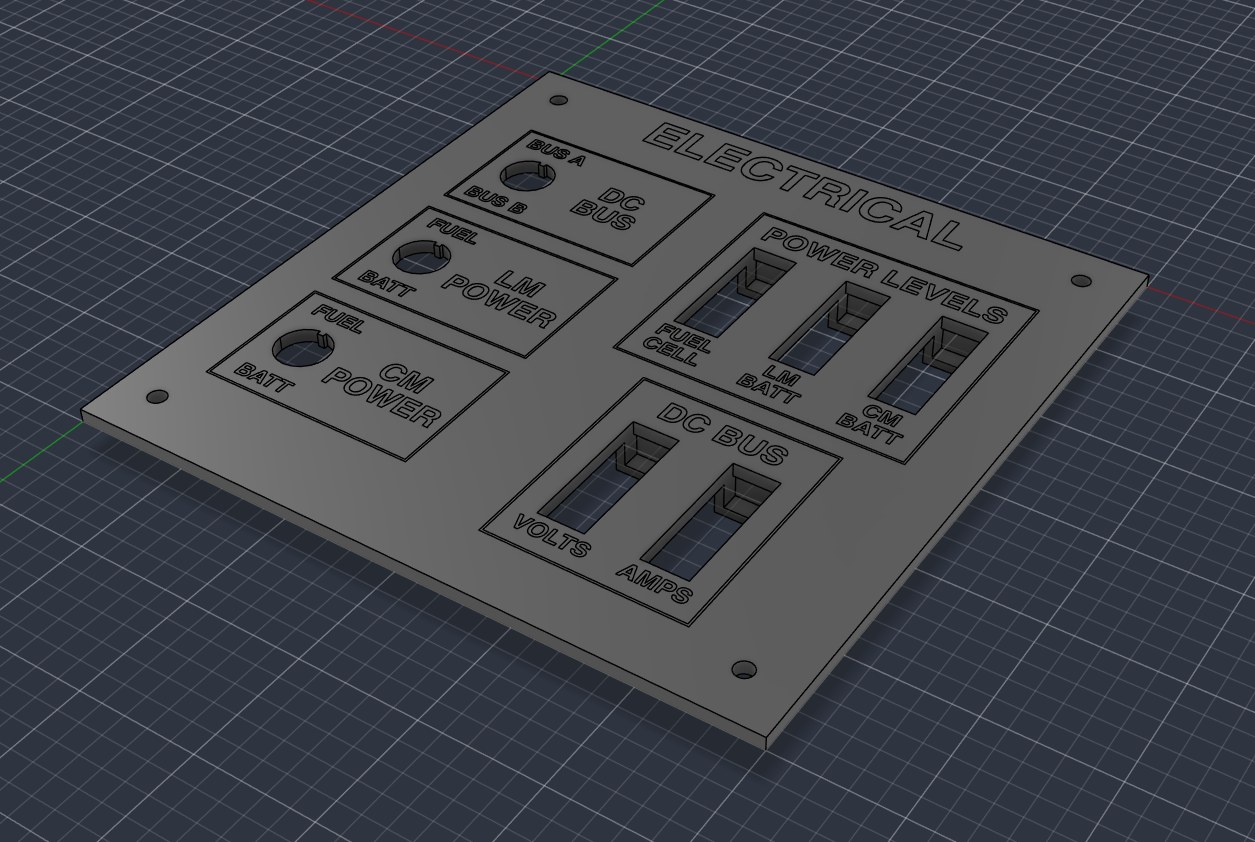
With the panel layout finalized in Inkscape, it was time to turn those drawings into real panels. Each panel is…
Banana Jacks
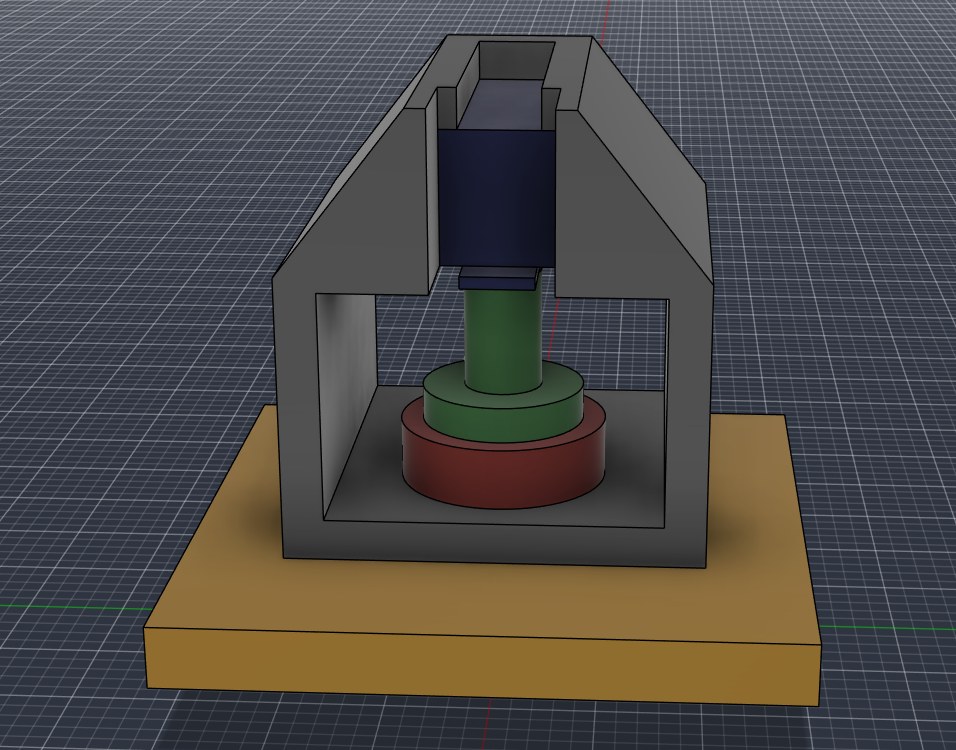
The Wiring panel has 10 banana jacks, numbered 0 through 9. The goal of this panel was to make my…
Desk
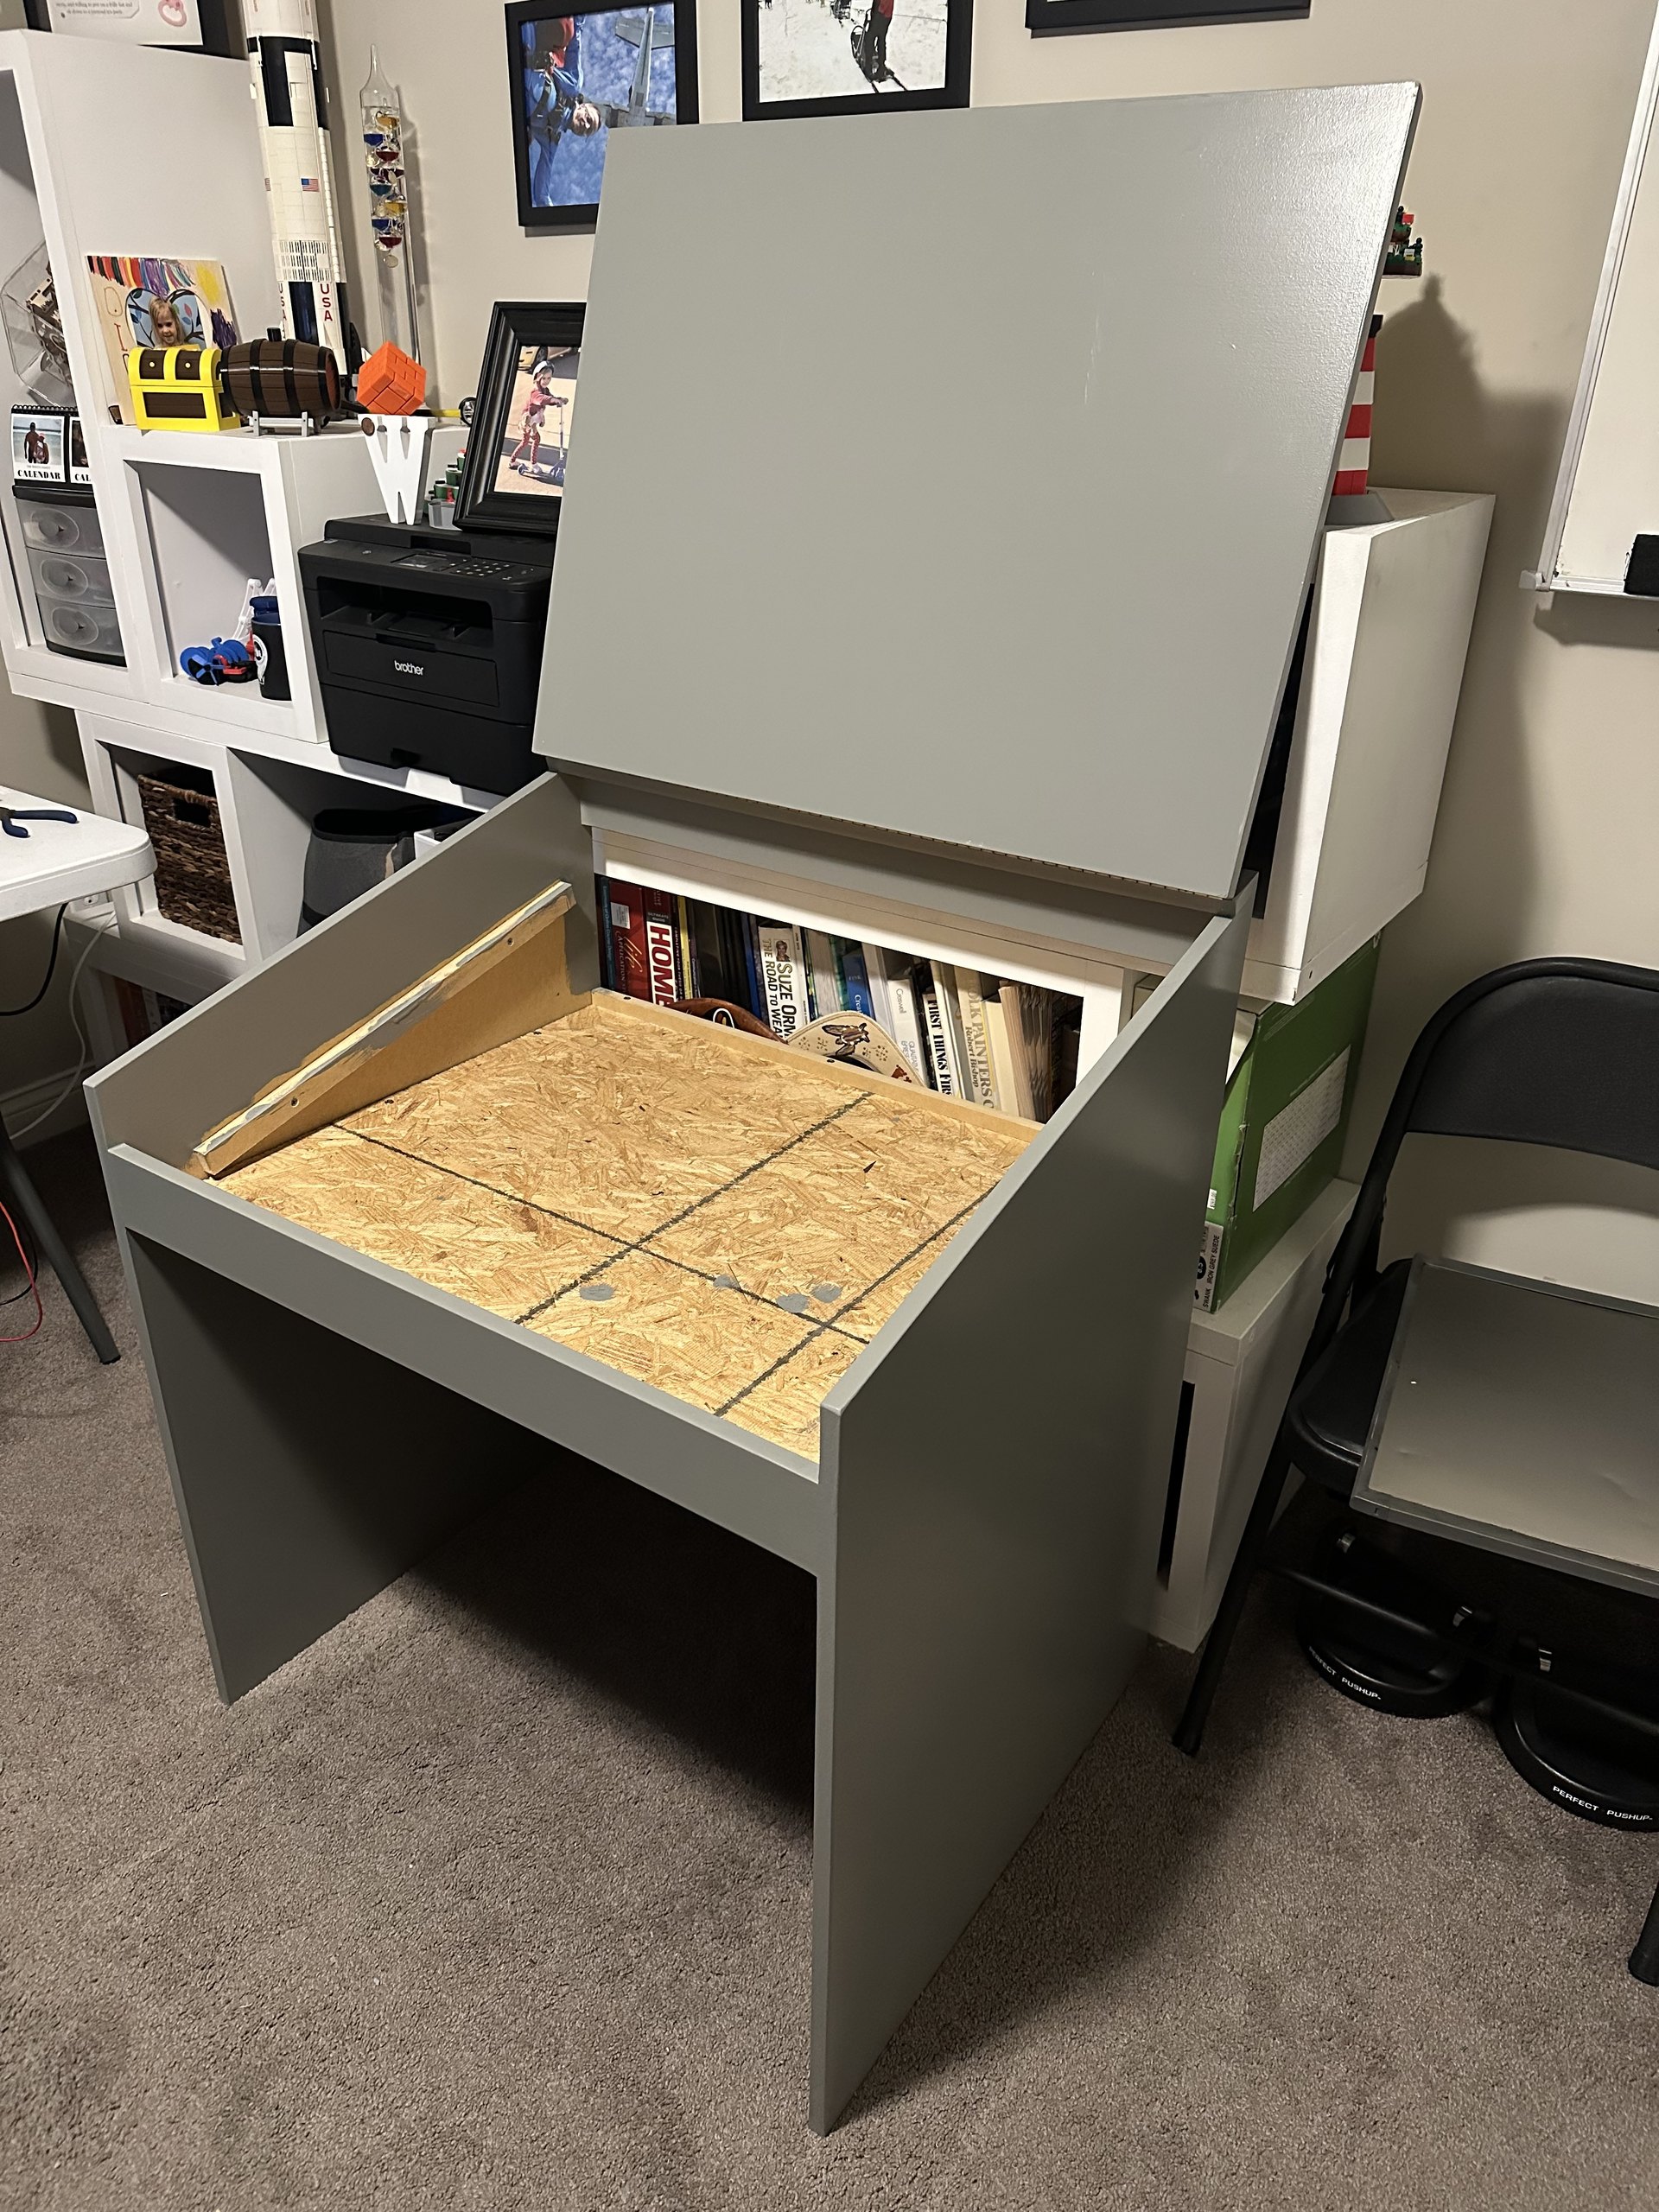
With the panels printed, the simulator needed a proper home. I wanted it to look and feel like a regular…
Mission Map
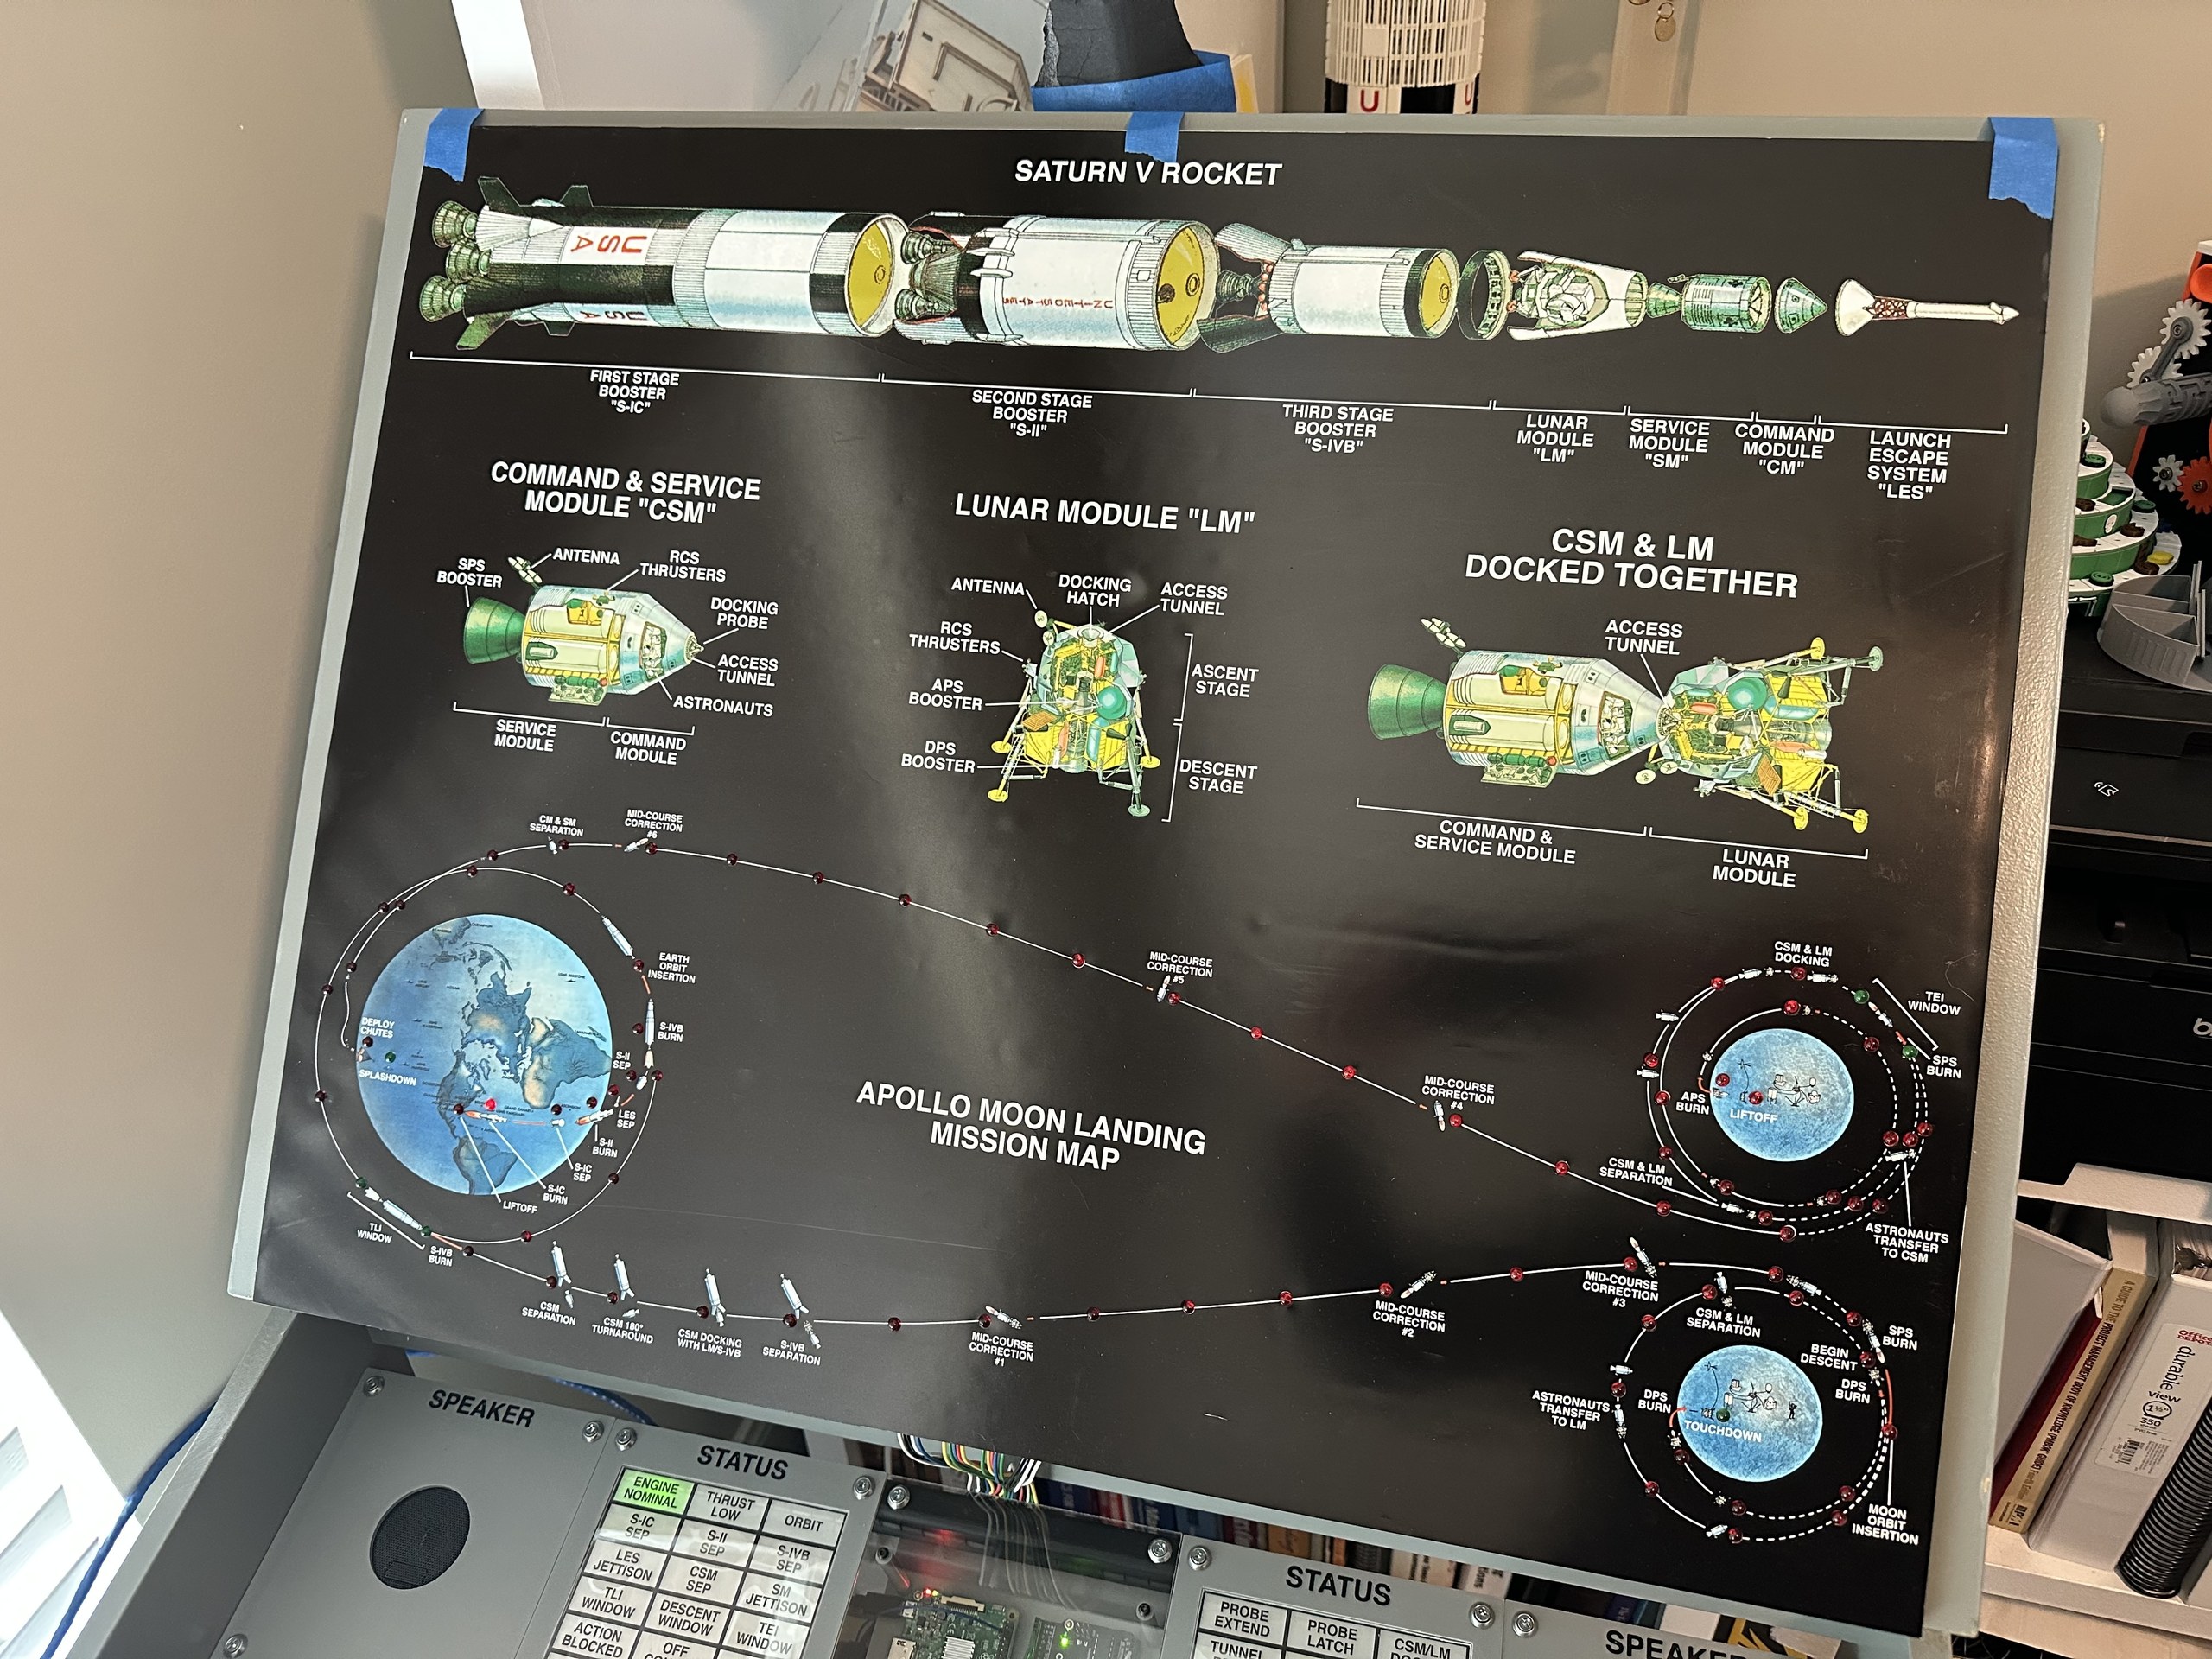
I wanted the mission map, located under the desk’s lid, to be a guide for the entire mission. I settled…
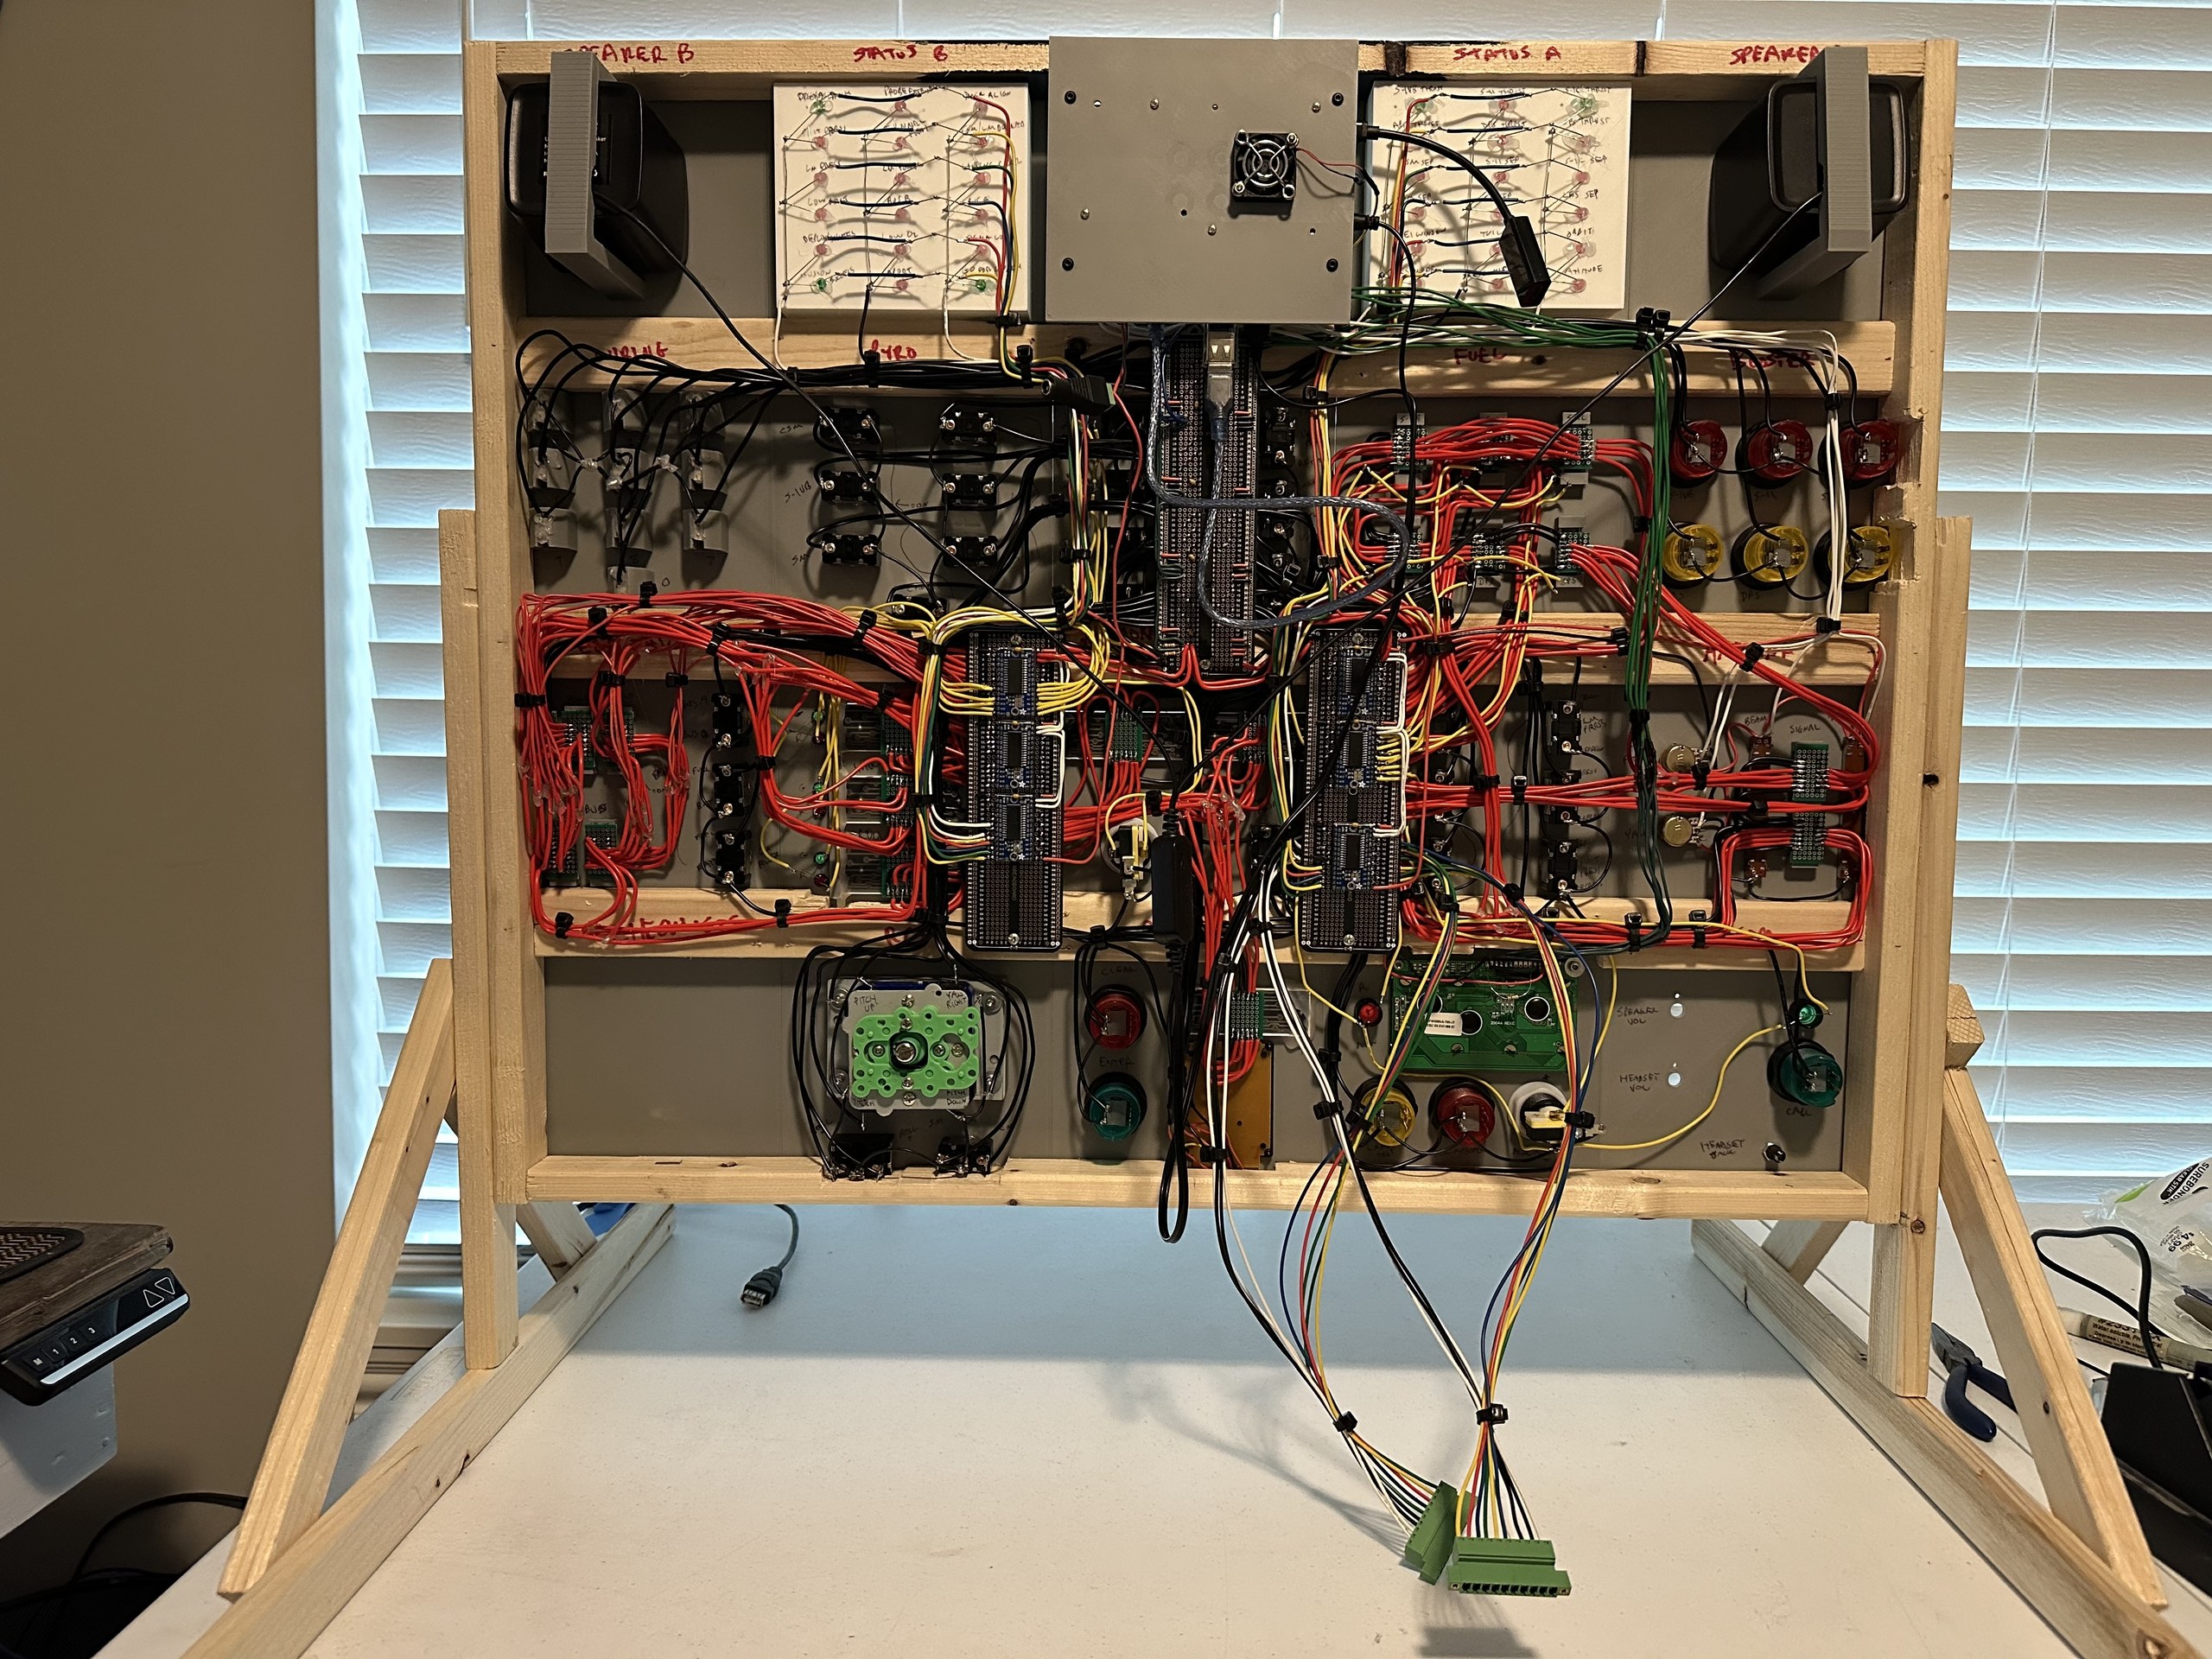
Wiring
Most of the work so far has been pretty fun and interesting, but now it’s time for the tedious part:…

