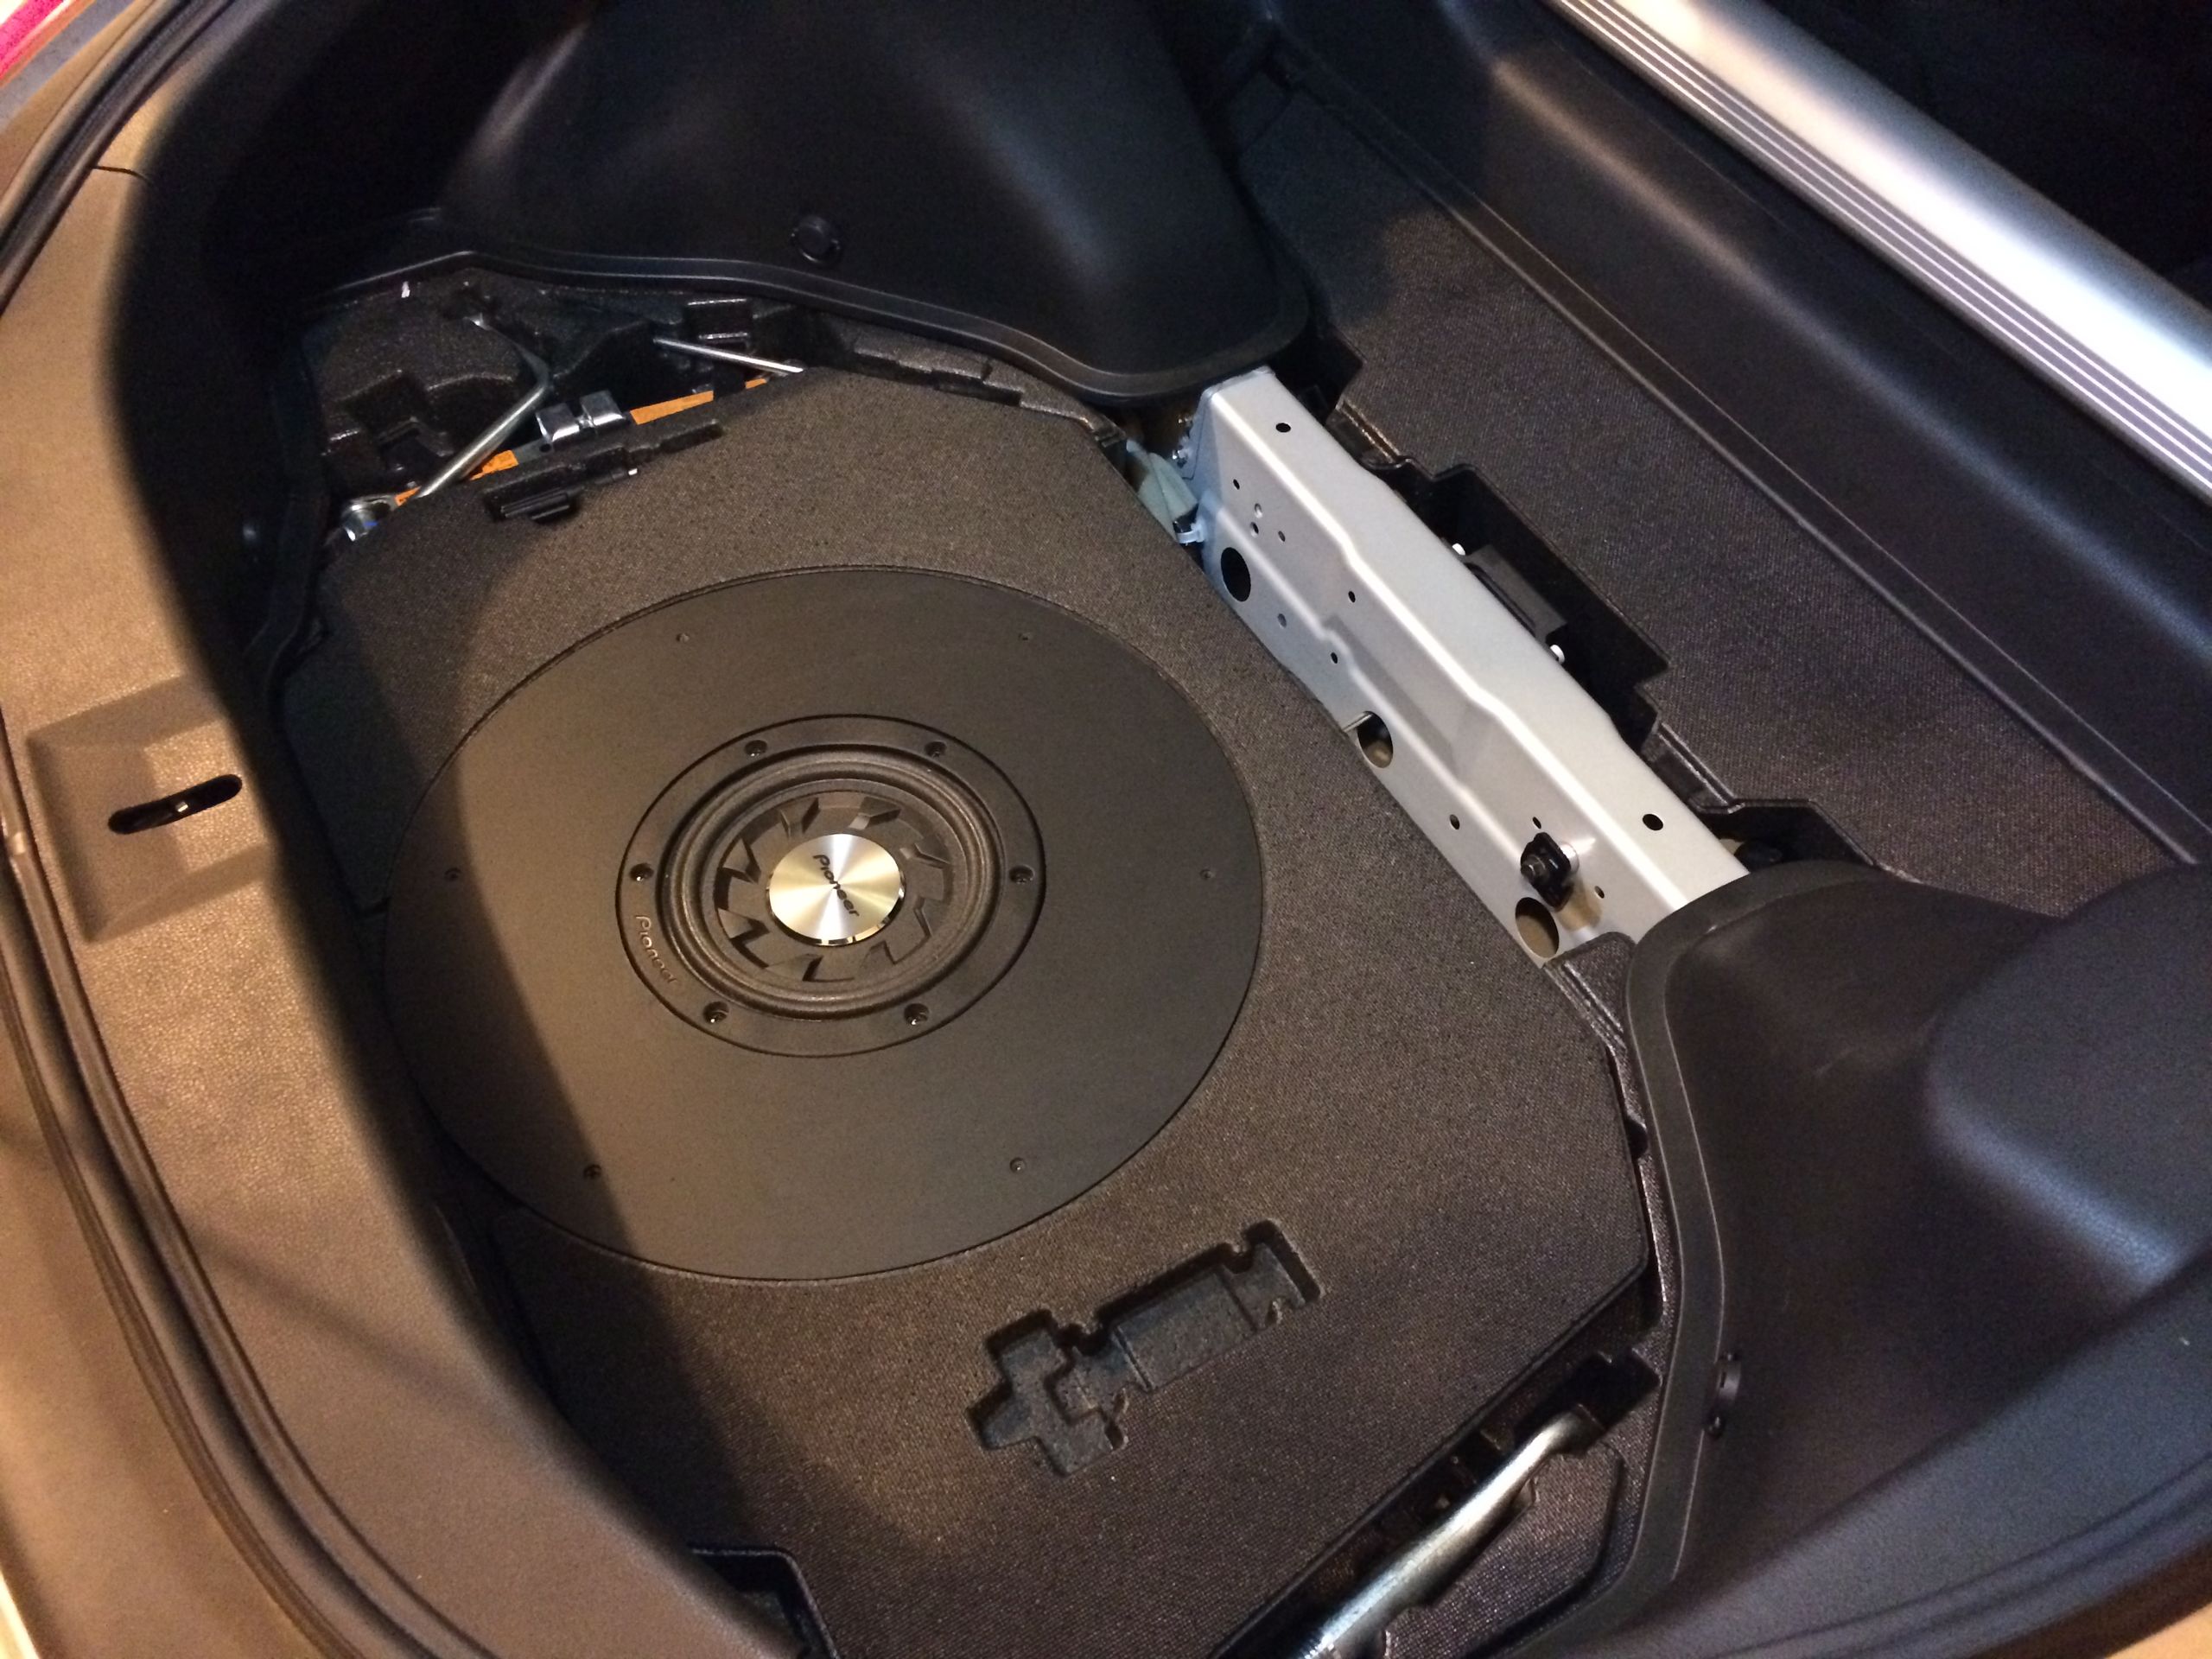

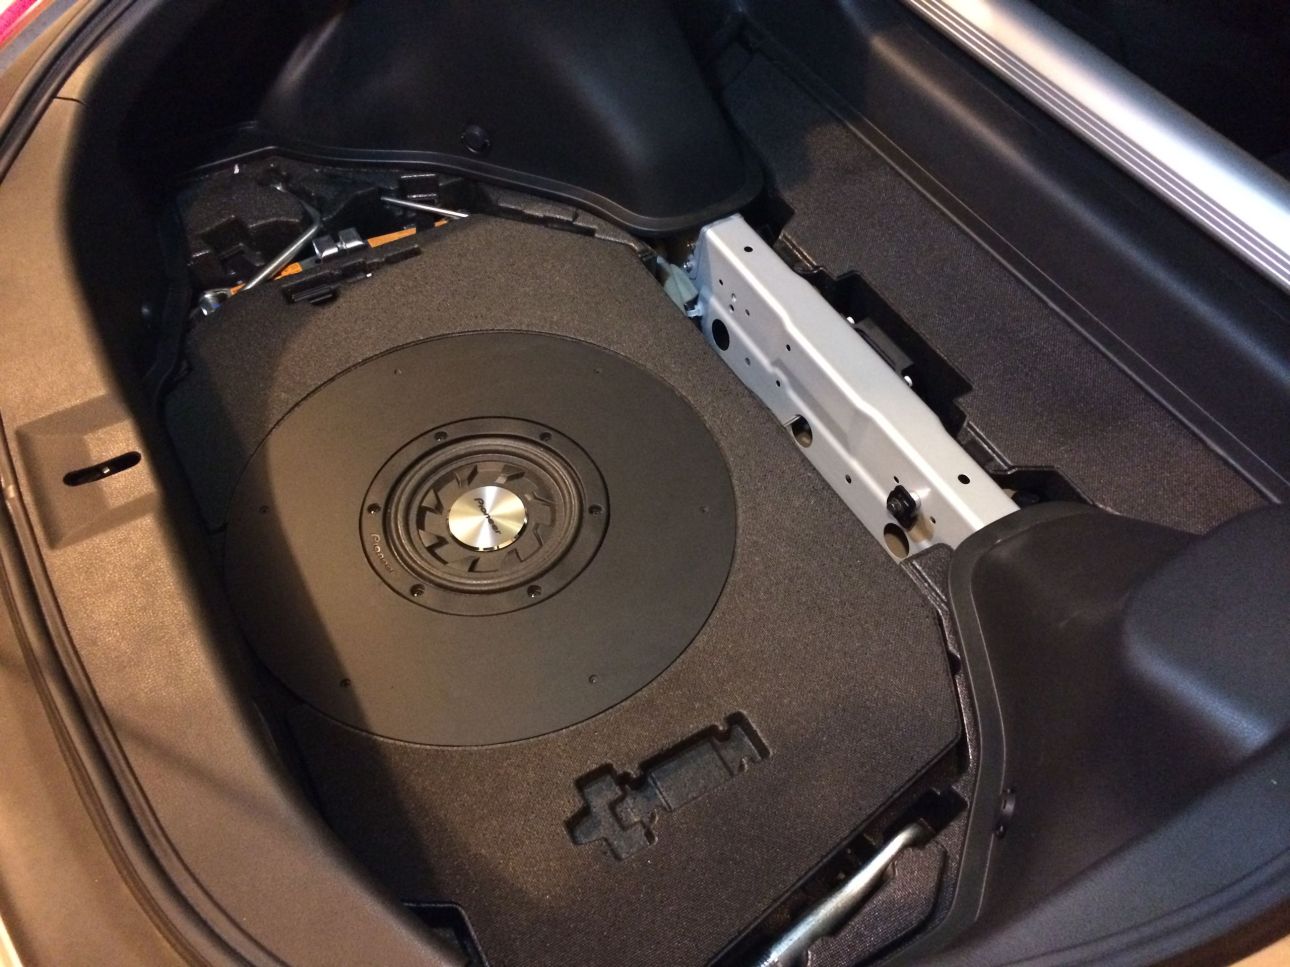
I swapped out my head unit last summer. Since then I’ve been unimpressed with the stock speakers and their lackluster bass. So I thought it would be nice to drop in a little 8″ sub to give it a little kick. The problem is that I didn’t want a sub box sitting in the back of my car. I looked around and custom enclosures for the Z are pretty expensive. Plus, there are only a couple out there and none of them are that great in my opinion. I searched the 370Z forums and found an example of a sub enclosure that fits inside the spare tire. This makes it look stock at first glance and saves already limited trunk space.
The box is made out of various thicknesses of MDF. All pieces are circular and the sides are actually rings that build up the walls of the box. The speaker terminals are located on the bottom so that the speaker wires can feed up through the wheel spokes. The bottom of the box has a hole for the spare tire mounting stud to hold the tire and enclosure down tight. Unfortunately, this means I’ll have to take out the speaker and then the box in order to use my spare tire, but hopefully I won’t ever have to do that. Luckily, Nissan provides a screwdriver in the trunk that I can use to remove all of this. Each piece of MDF is glued to the next using Liquid Nails. There are screws coming in from the bottom and the top to keep everything tight. All of the internal seams are also sealed using silicone caulk.
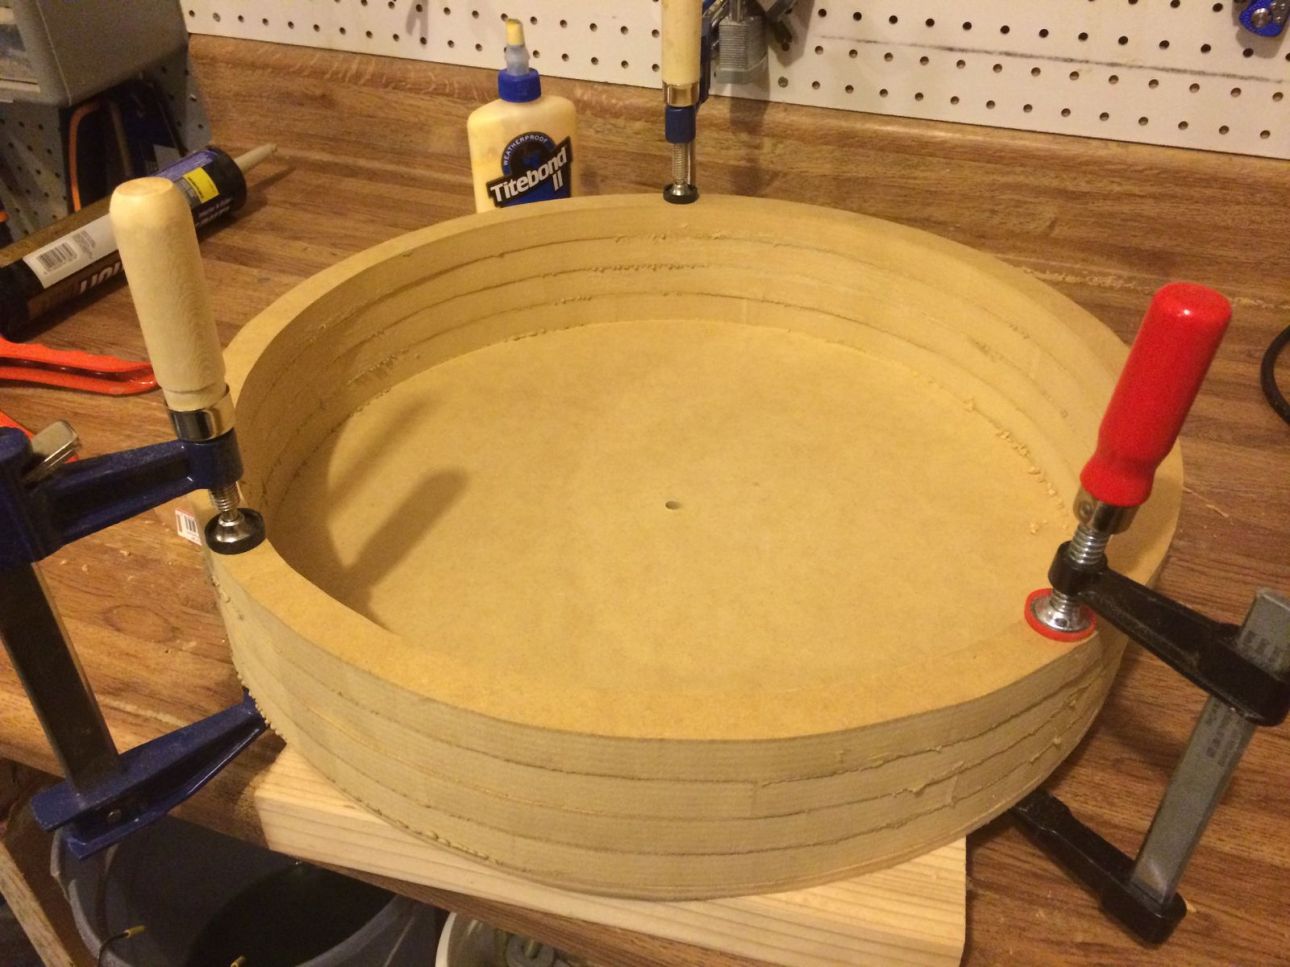
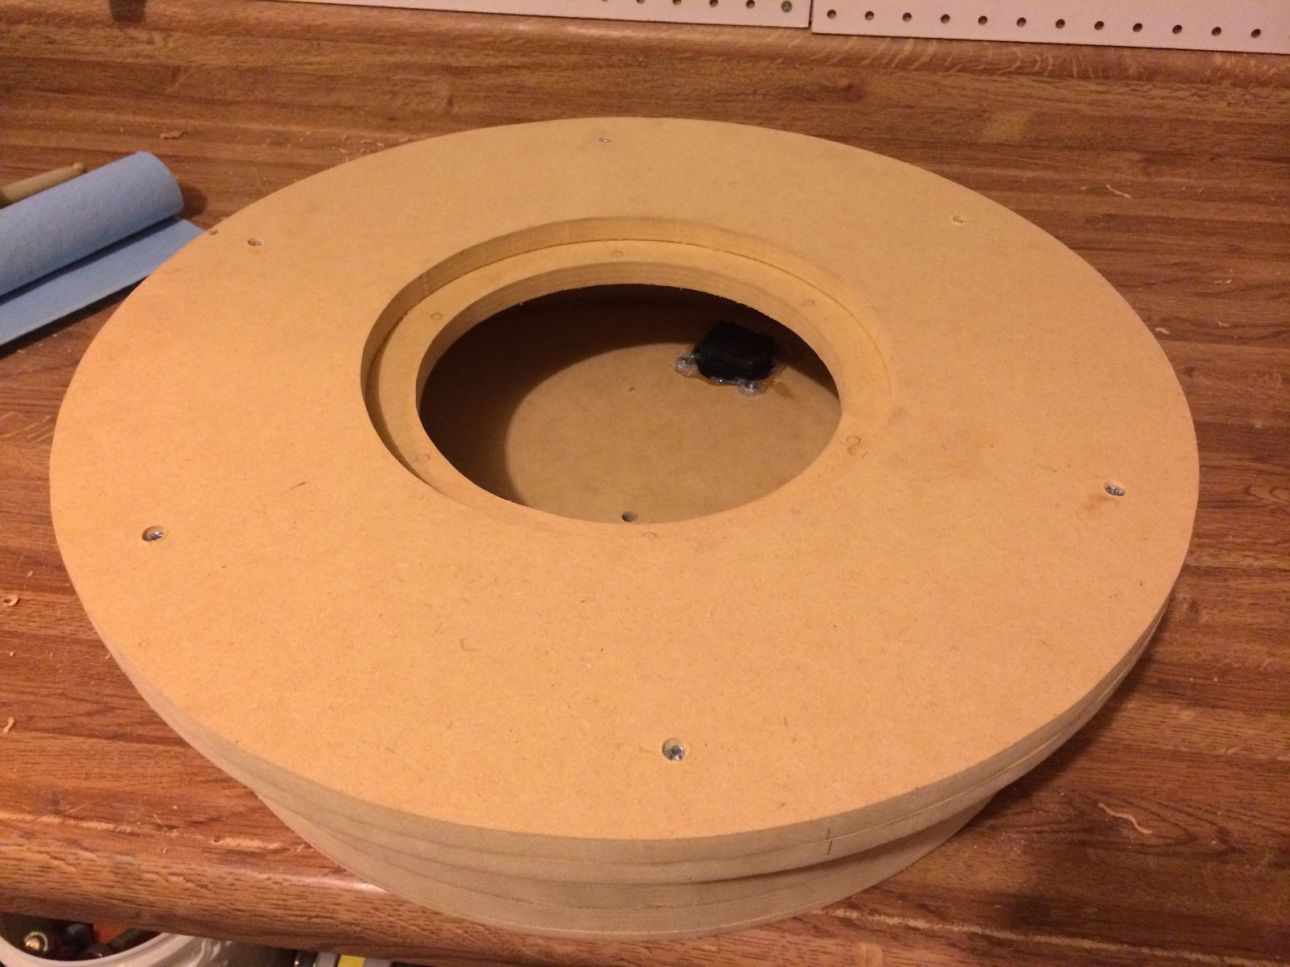
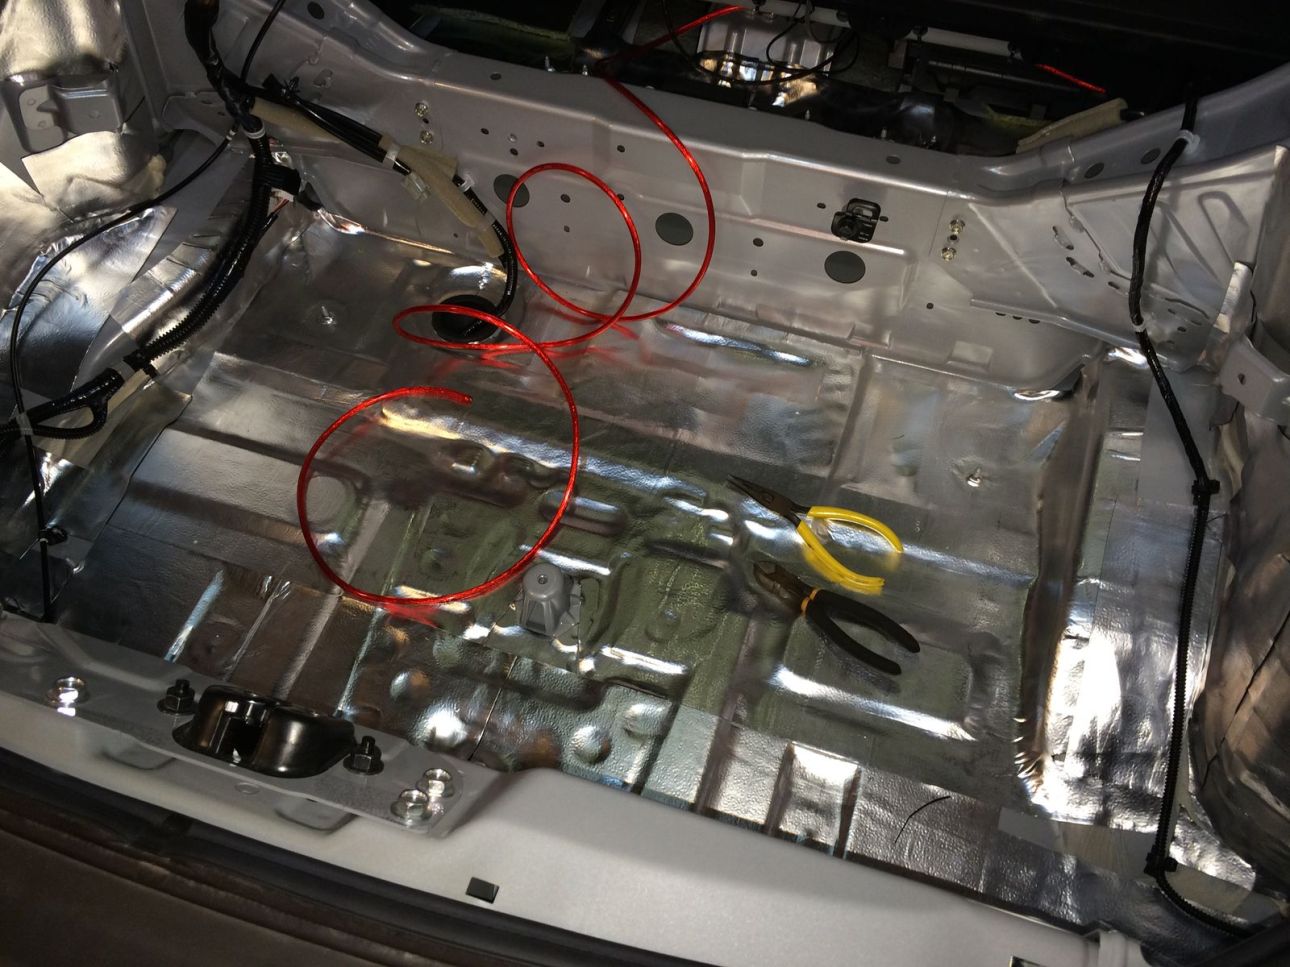
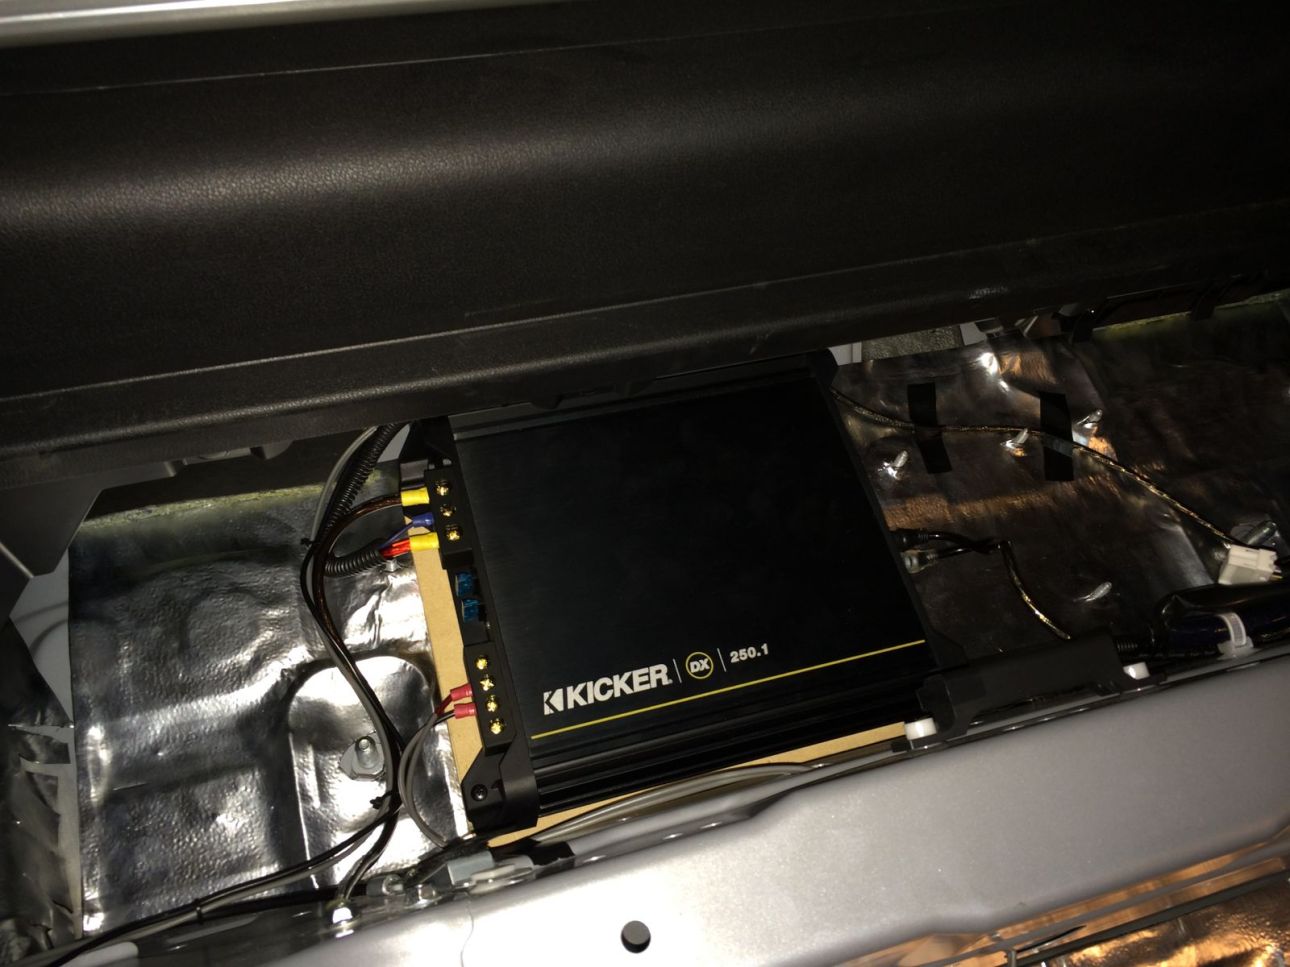
I chose the Pioneer TS-SW841D subwoofer because it has a mounting depth of only 2.5″. The box I created has a depth of only 3.5″, so this was a key factor in choosing a speaker. The spare tire mounting stud will also be inside the box under the sub. So the actual available depth is just under 3″. I chose the Kicker DX250.1 amplifier to power the sub. It’s a relatively small amp that can fit behind the seats and in front of the rear strut bar. This will make it completely hidden from view once installed. I also put in some sound dampening mat anywhere I could fit it while I had the interior torn apart. The Nismo suspension makes for a rough and noisy ride so I wanted to knock that down as much as possible since I had the chance.
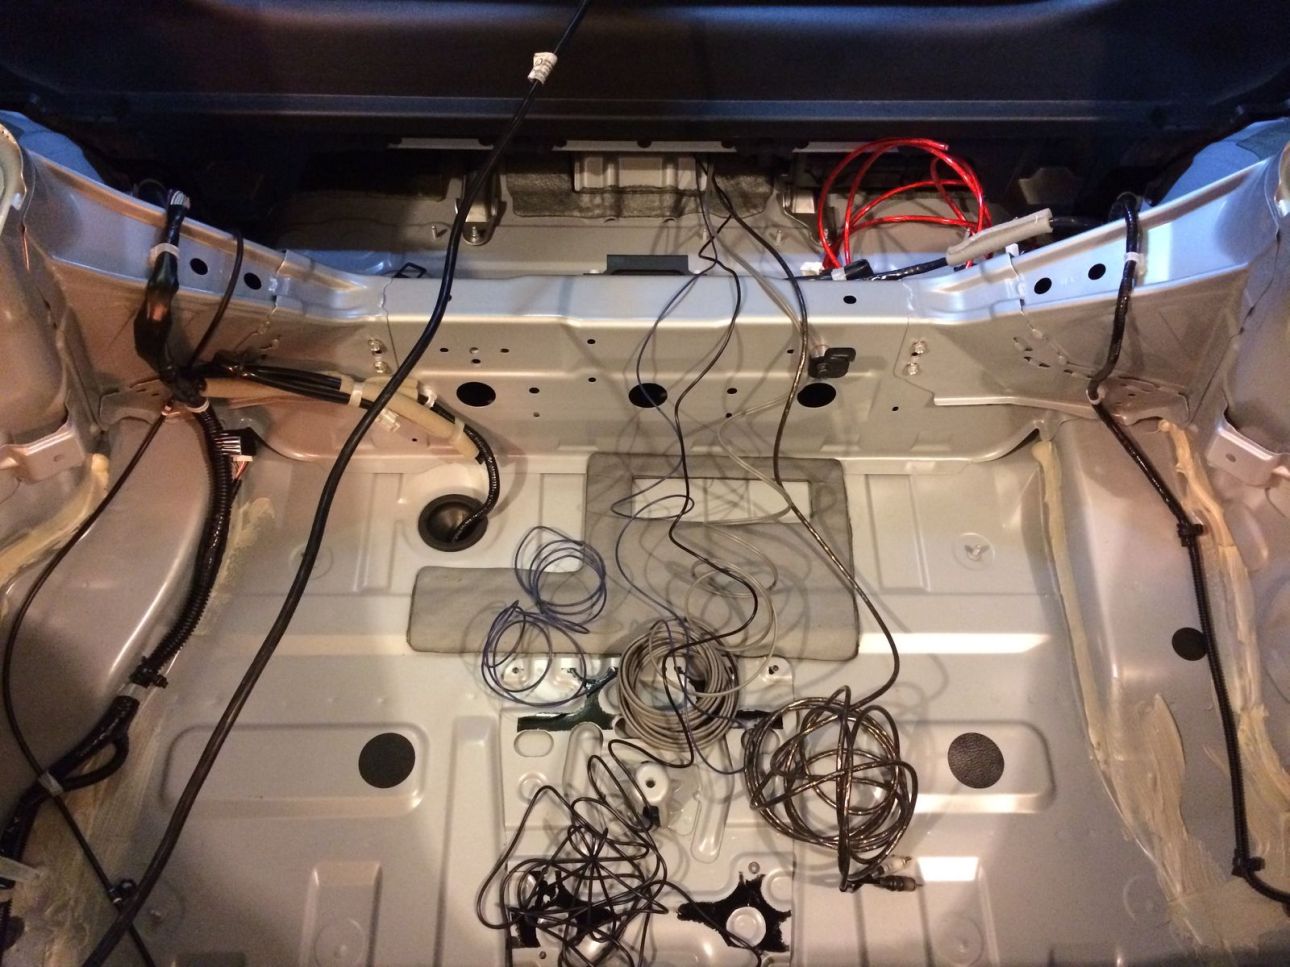
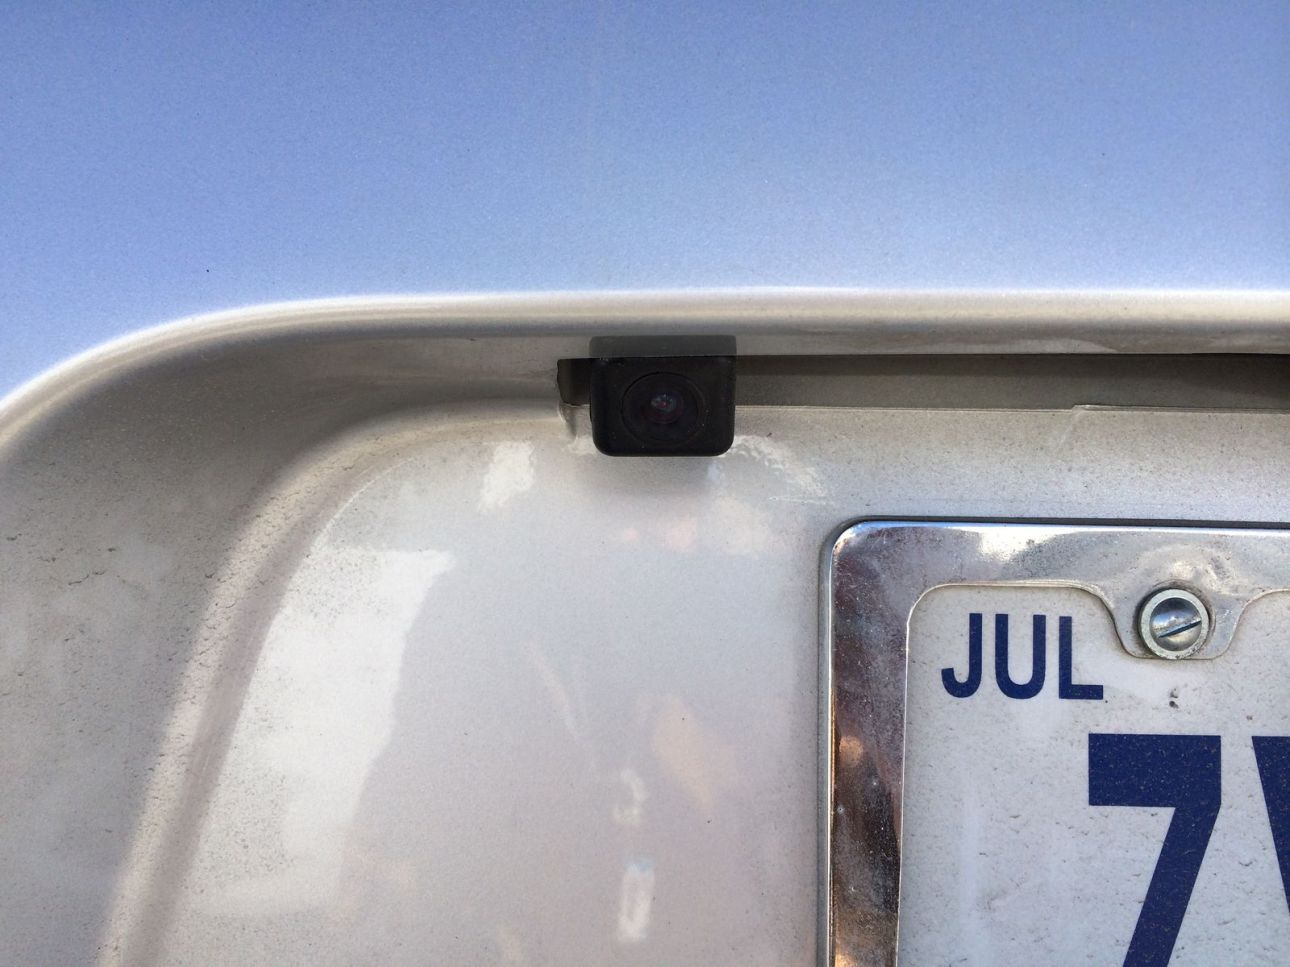
Another issue I wanted to address is that parallel parking or driving in reverse at all with 15% tint is next to impossible at night. Especially with the already poor visibility of the Z. My head unit supports a backup camera input so I installed one while I had my car torn apart. I purchased this camera from eBay. It was only about $13. It has a 170-degree viewing angle, shows distance markers on the picture, and has a very small form factor. I brought accessory power to it from the back of my head unit since I already had to run the video cable there. The reverse light signal can be found in an orange wire running horizontally across the very back of the car. There are several wires with the same color in that bundle, so a little trial and error was necessary. I mounted the camera next to the license plate light recessed as much as possible to make it less visible.


Leave a Reply